What are Pearl Nails?
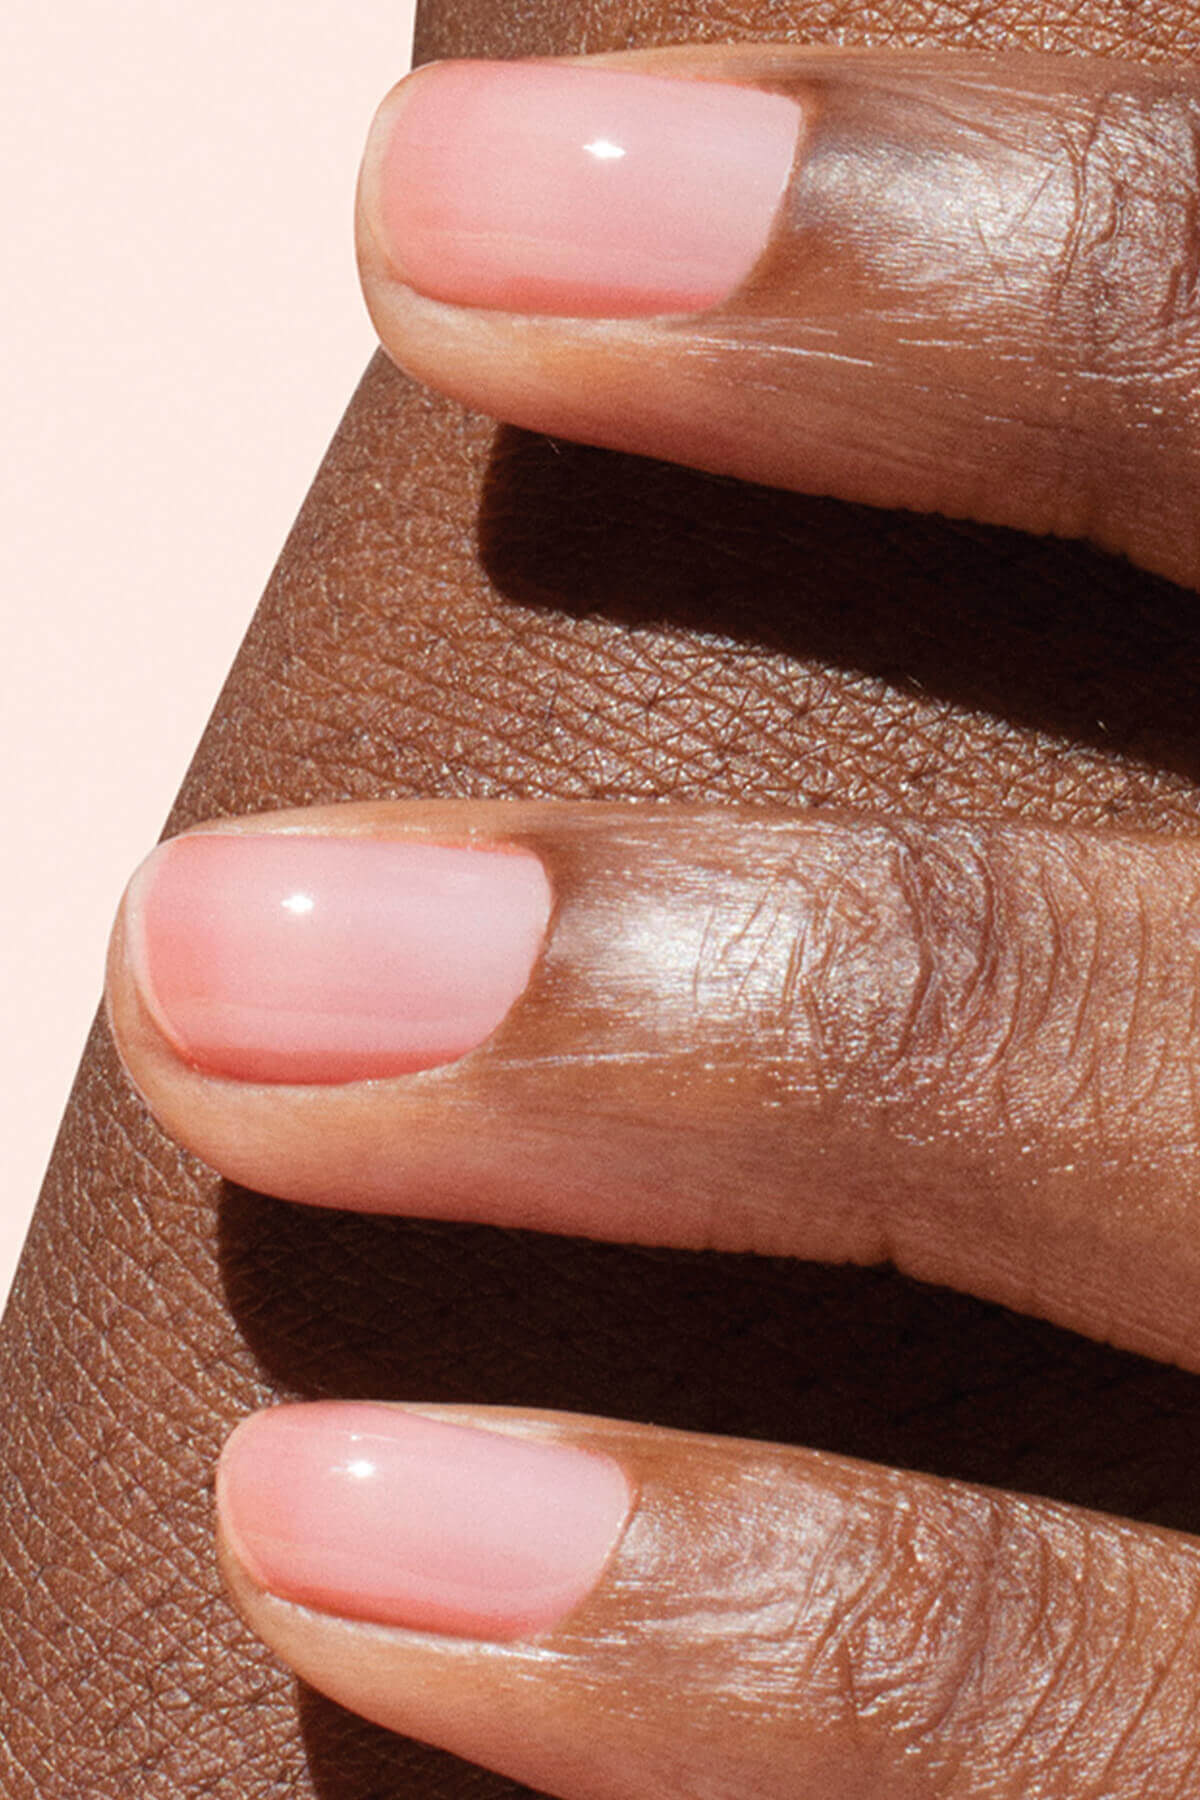
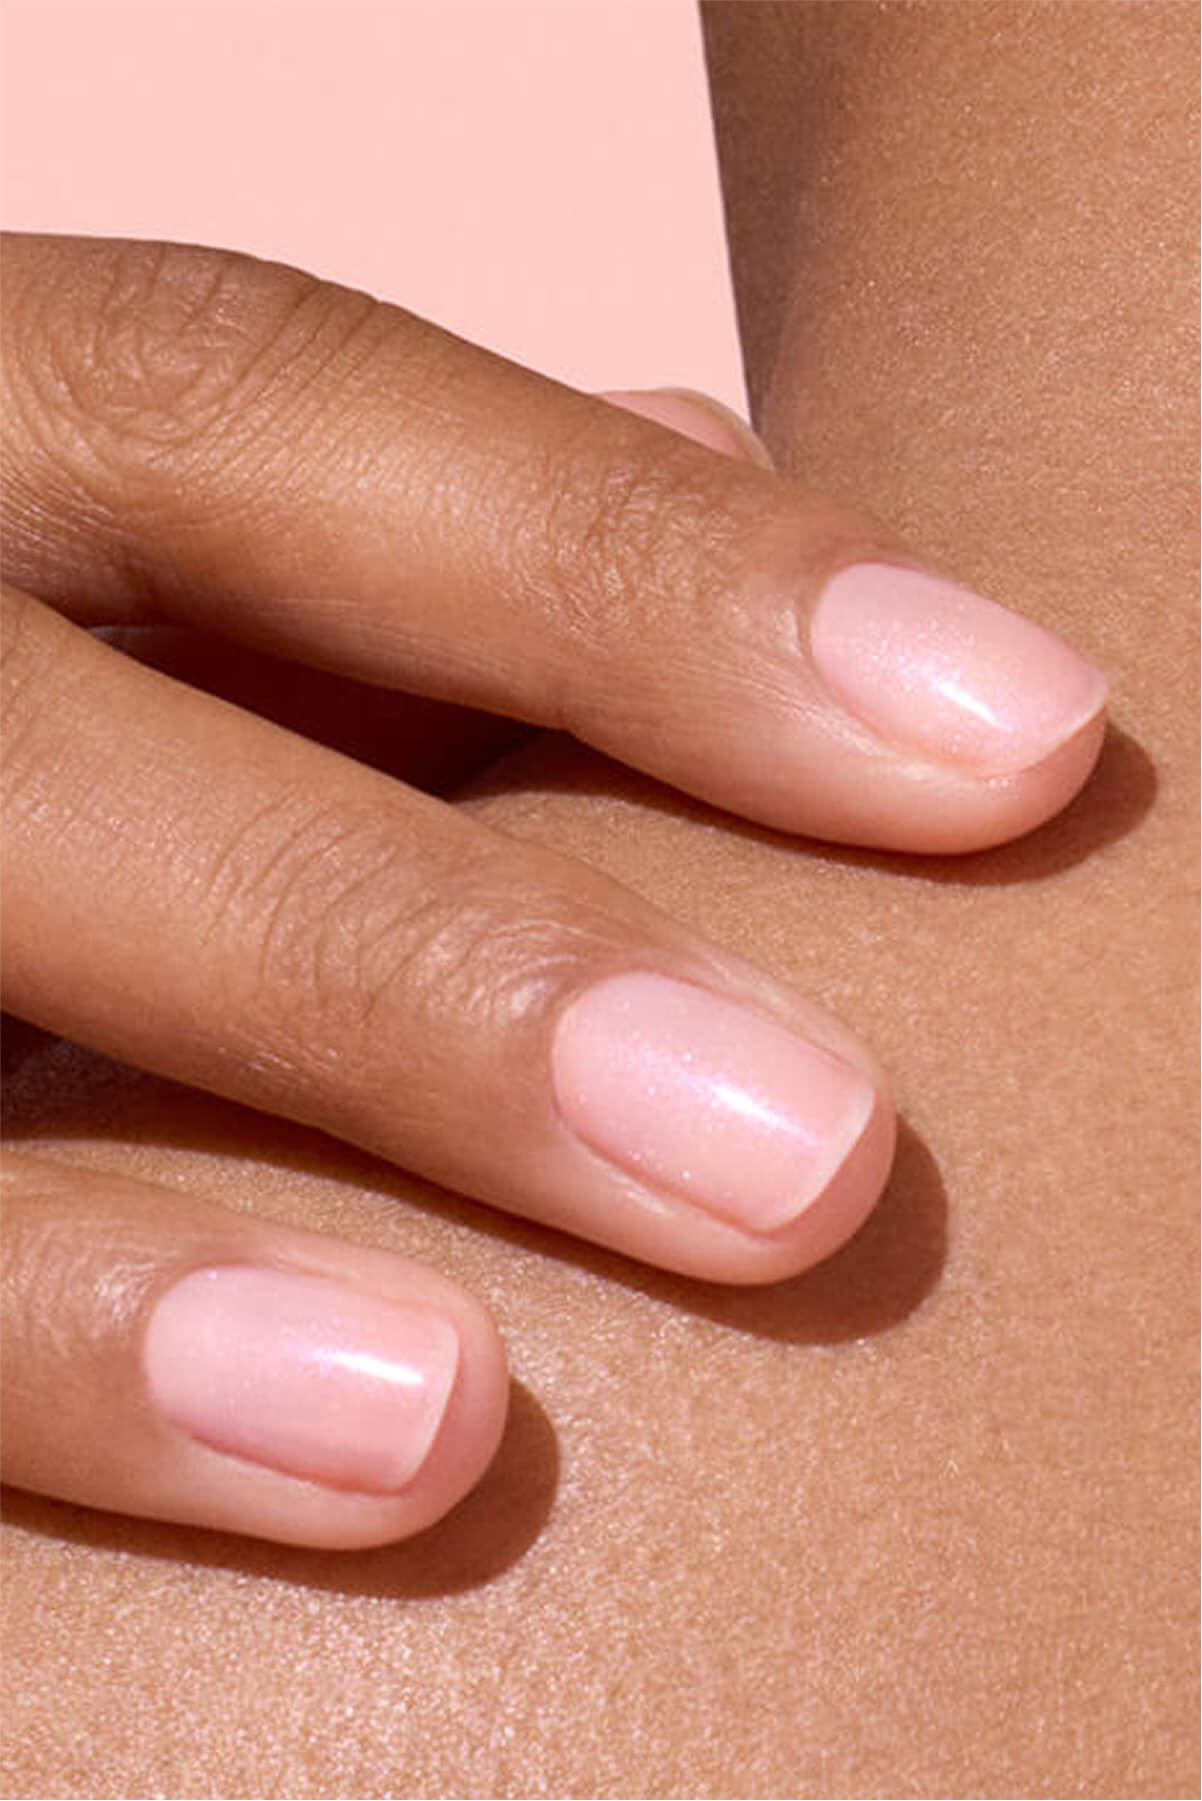
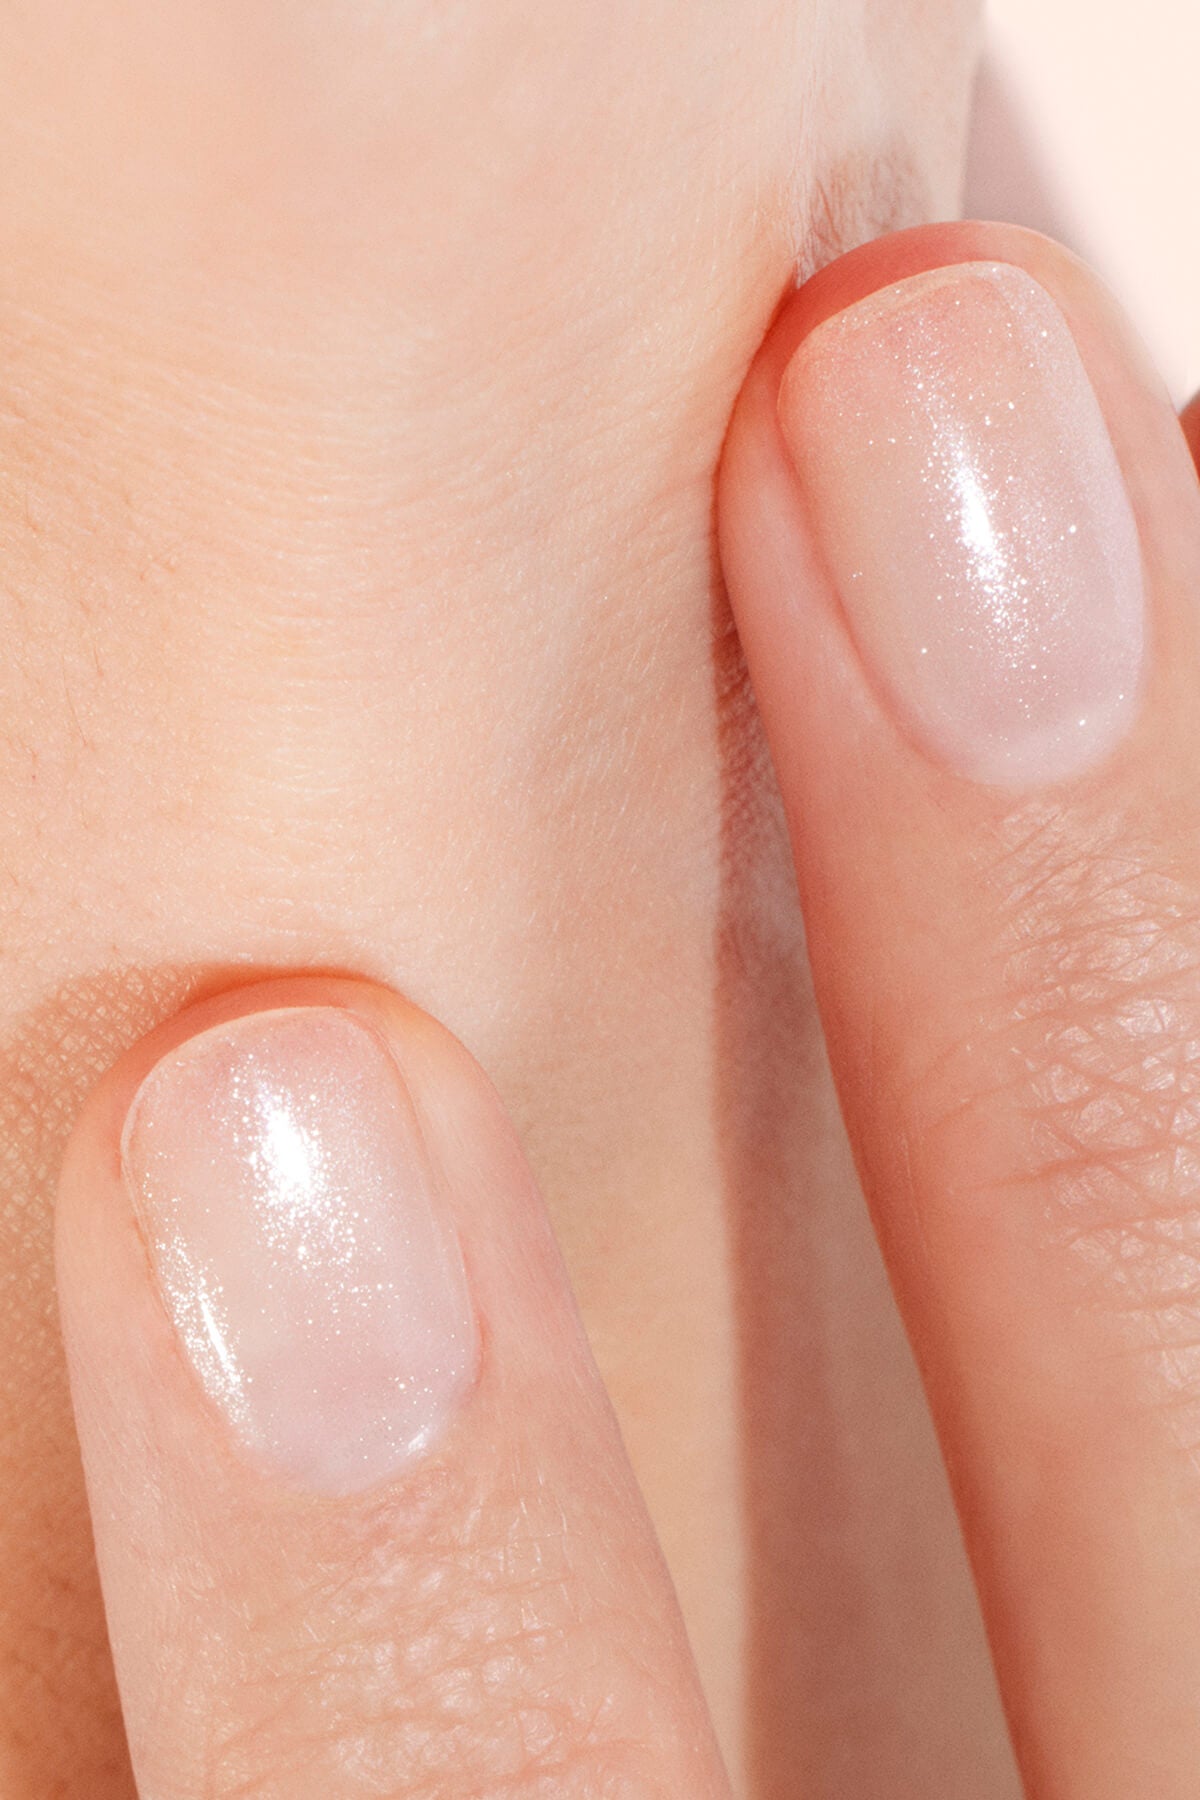
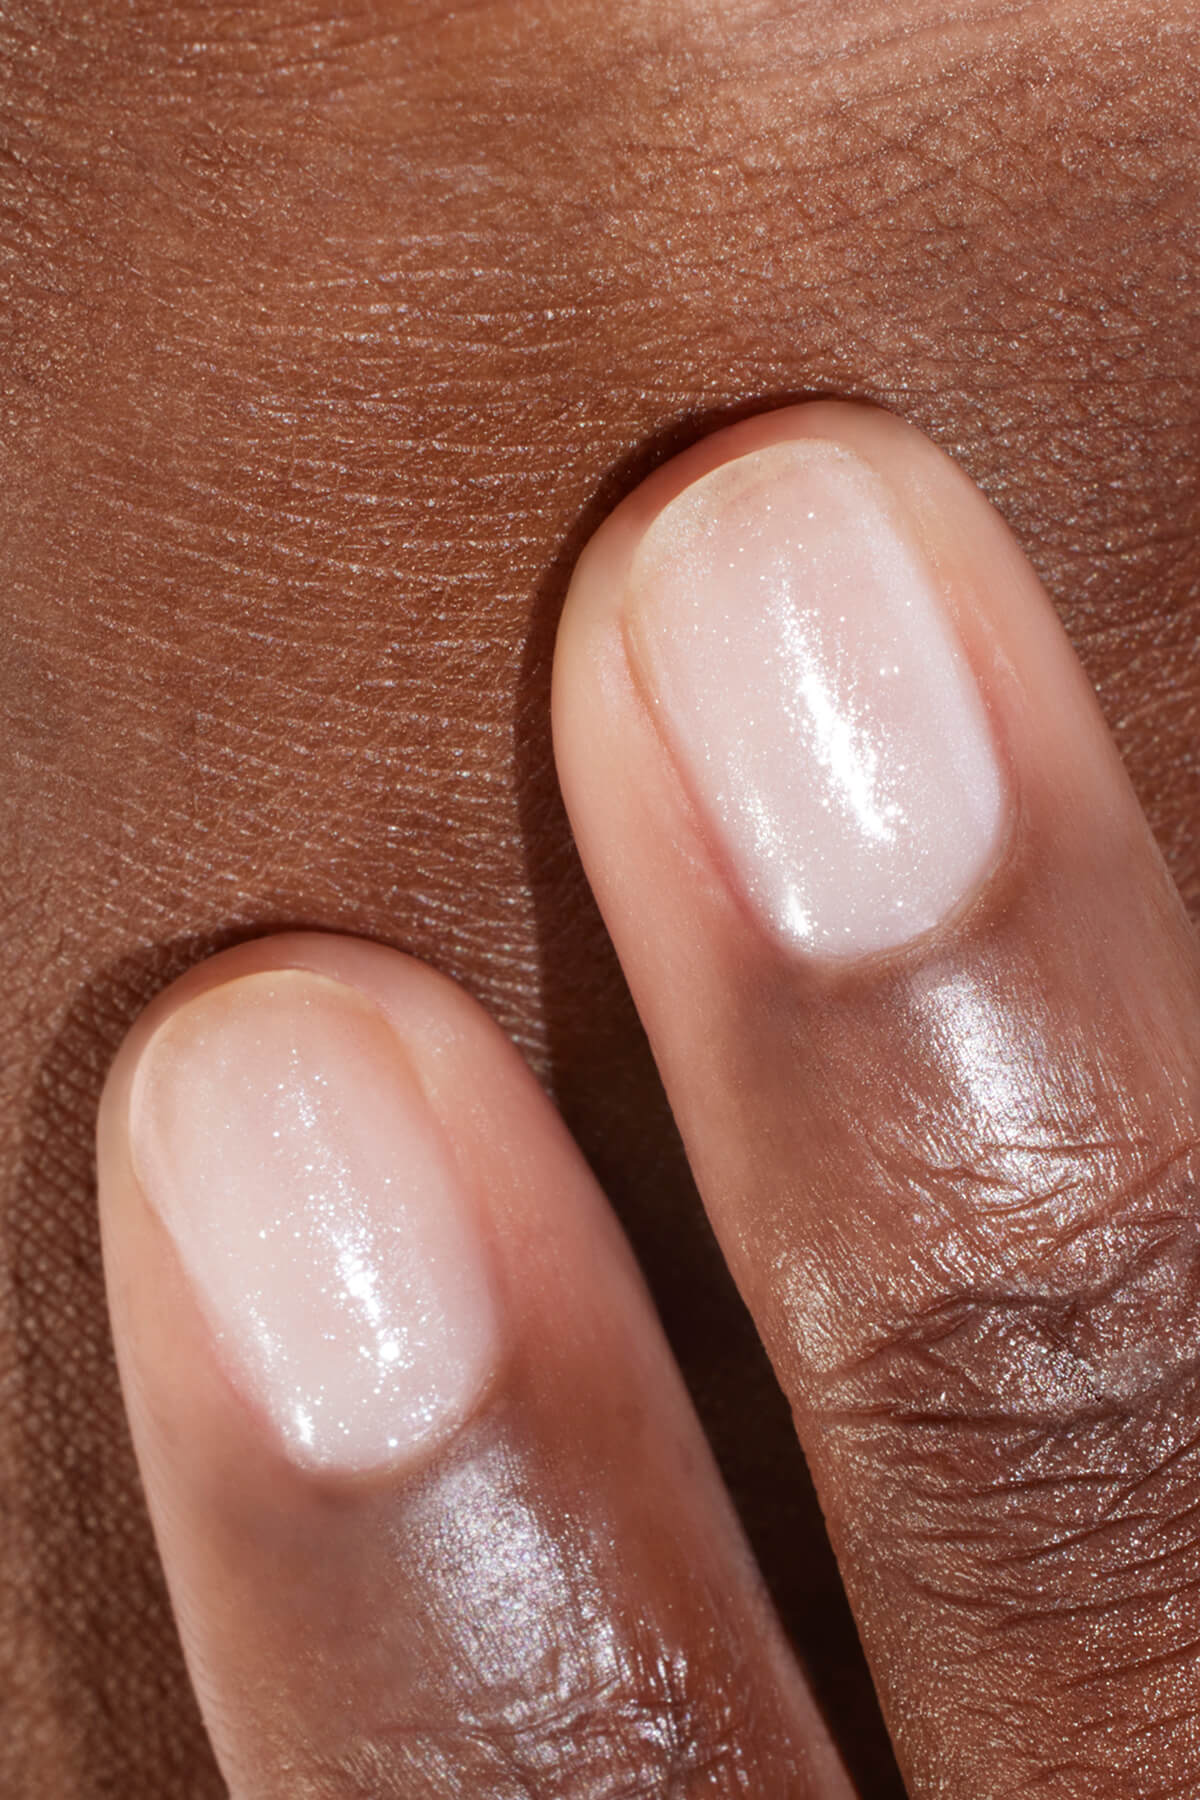
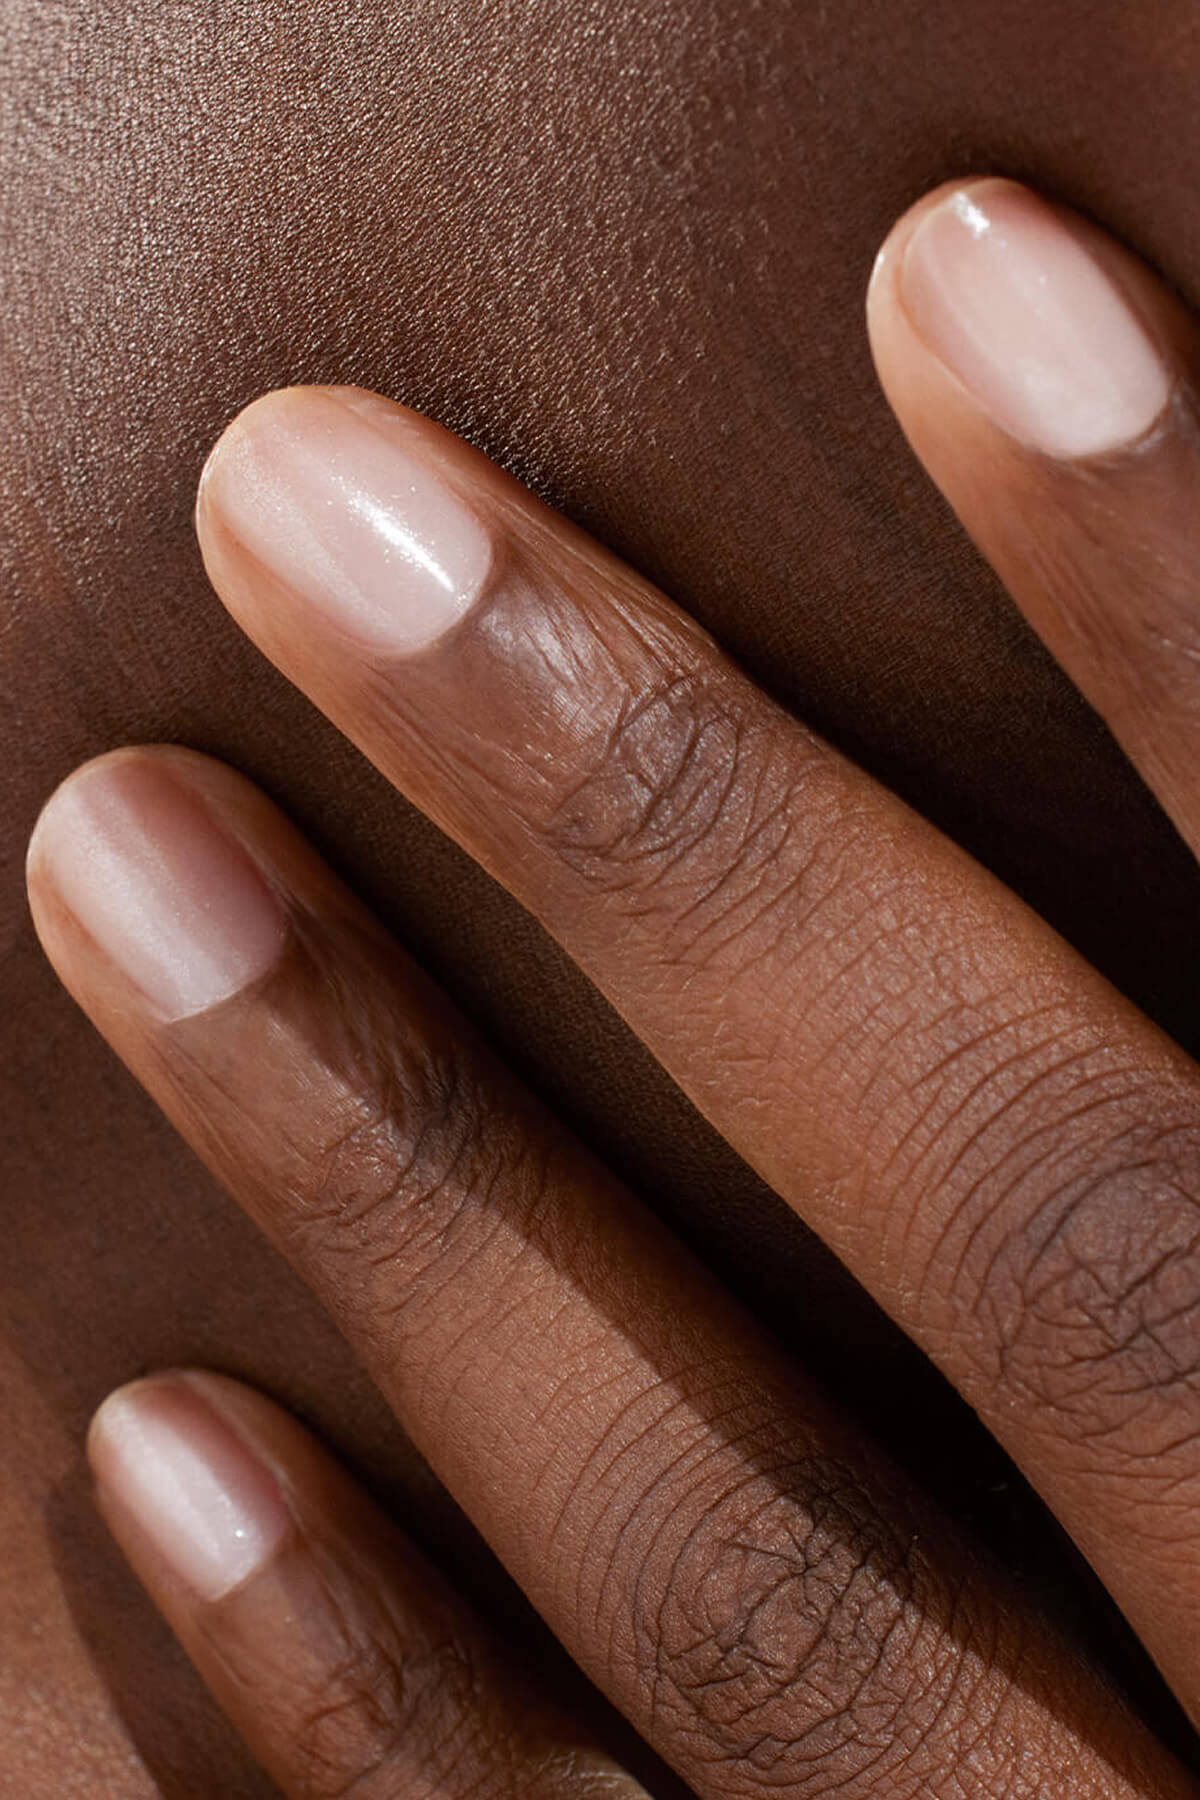
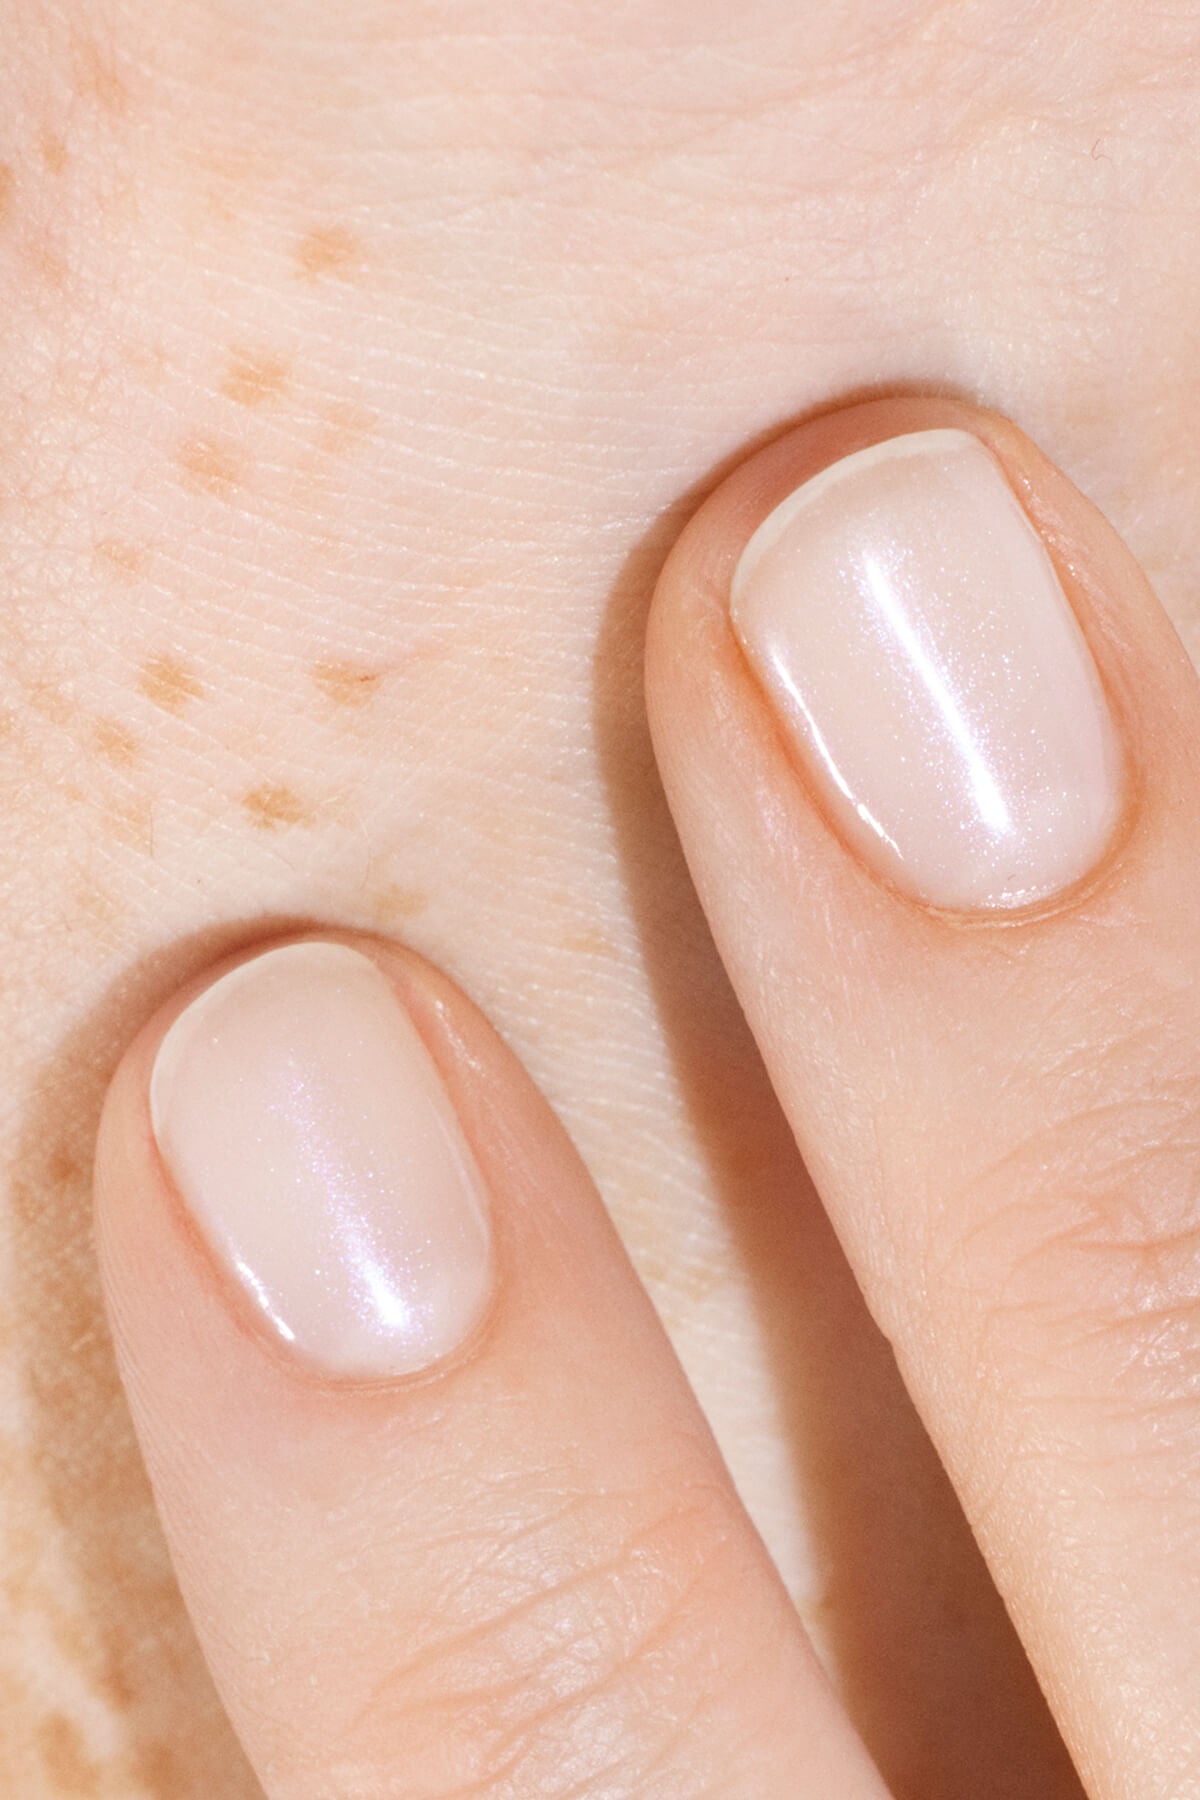
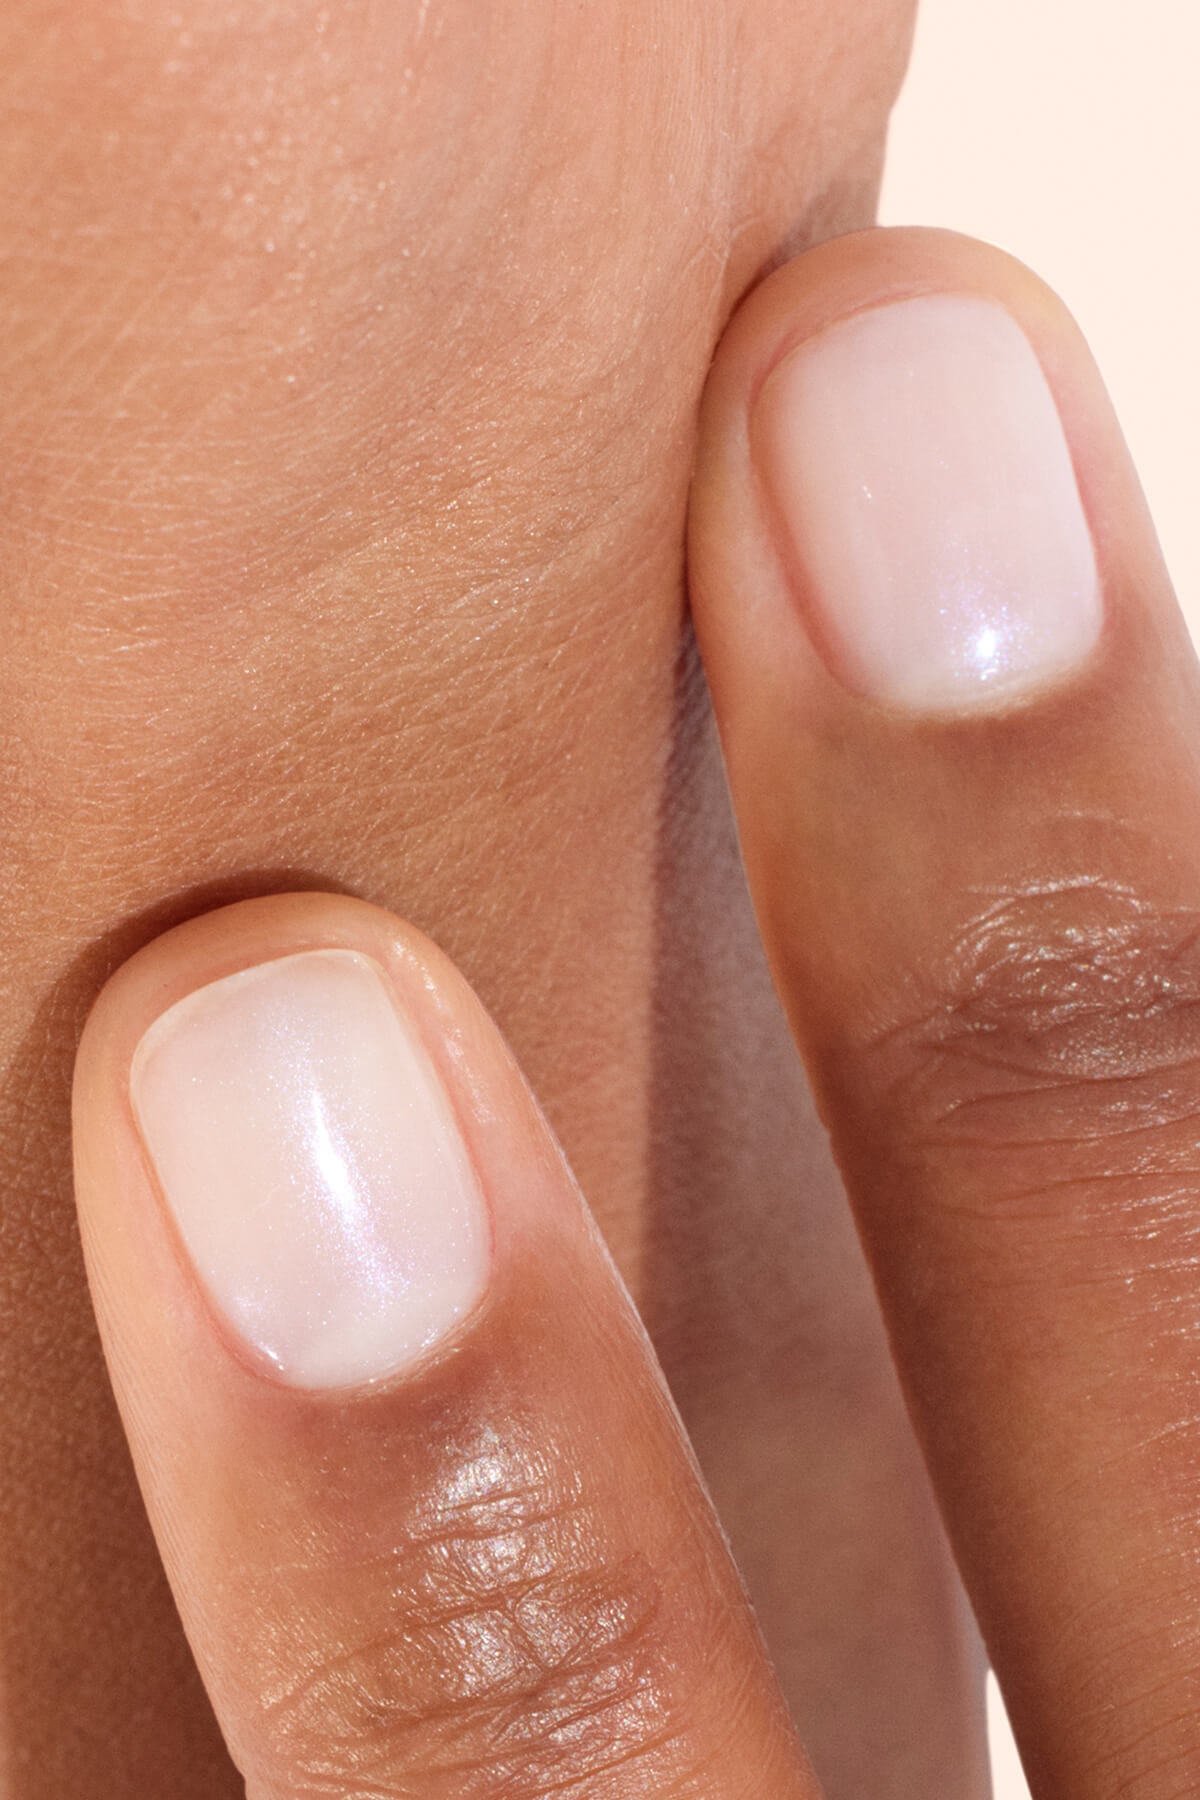
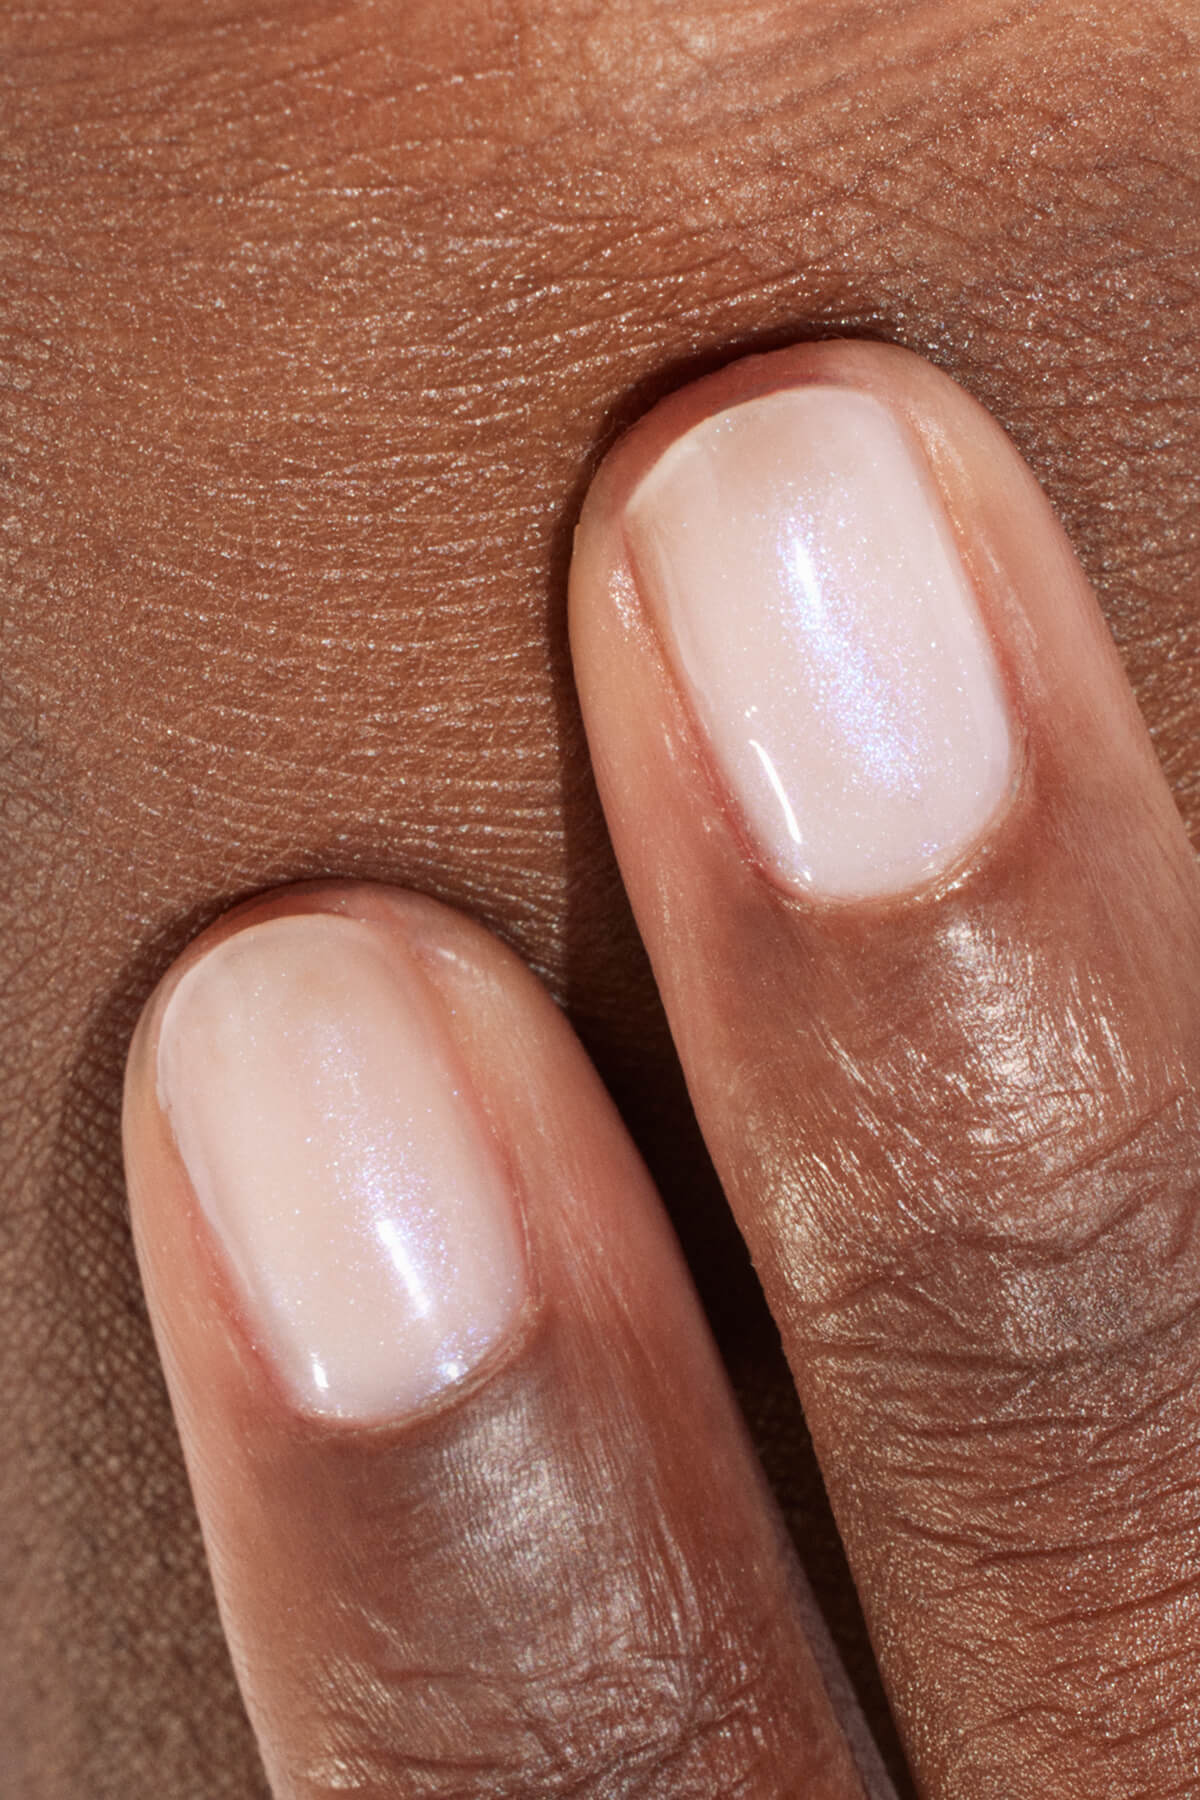
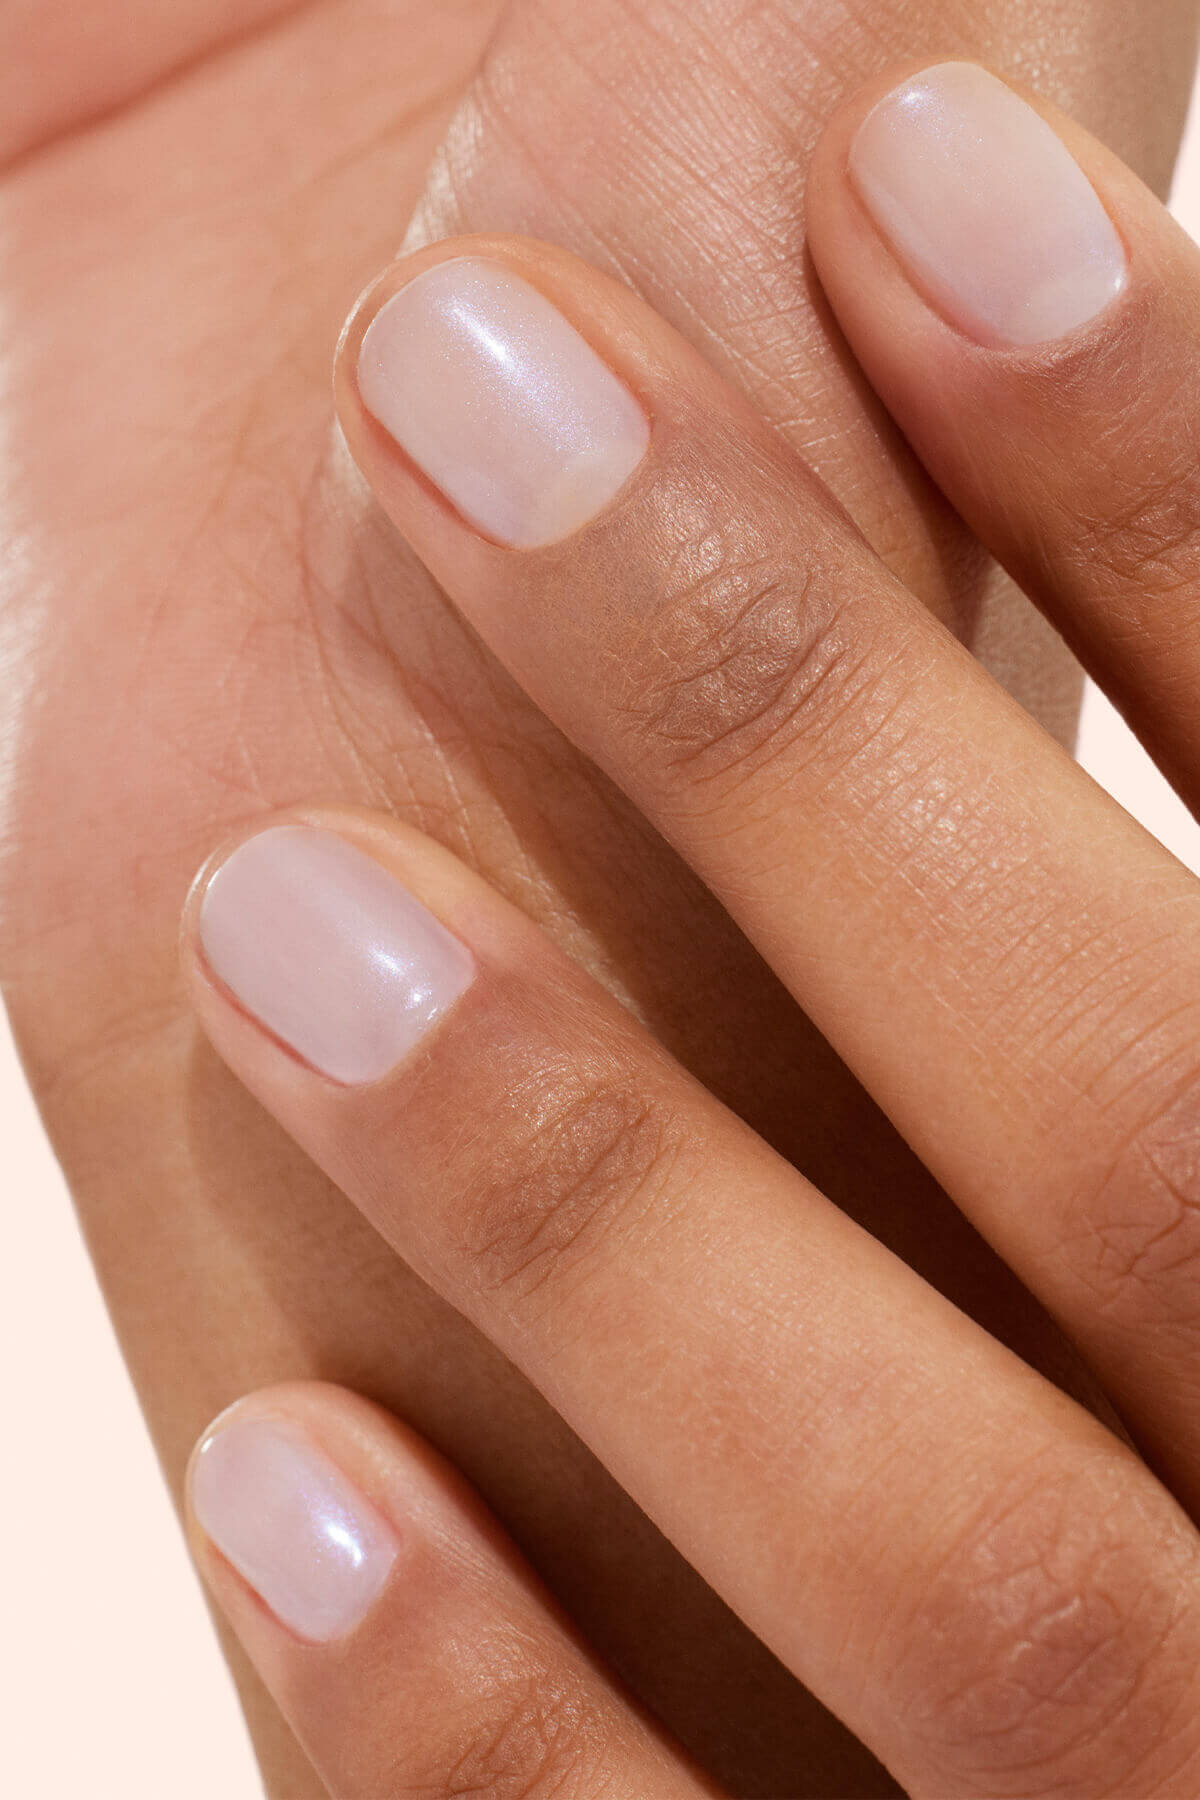
Pearl nails are a subtle and elegant manicure that mimics the natural shimmer of a pearl. This effect is created using pearly polishes or with the addition of powders or shimmer, depending on the finish you're after. Pearl nails stand out for their soft, velvety glow. It’s all about finesse: sheer layers, opalescent highlights, and an airy feel. Think of it as a delicate veil of mother-of-pearl laid gently over the nail for a discreet yet luxurious shine.
A glow-inspired trend
The pearl nail trend takes its cues from a recent beauty obsession: glow. Just like pearl skin—that rosy, luminous makeup look that went viral this spring—pearl nails are all about light. It’s the nail version of a dewy complexion, with that same play of luminous, yet understated, reflections.
Pearl nails are also tied to the mermaidcore aesthetic: think seashells, wave-like textures, pearls... Aquatic vibes are still going strong in the Spring-Summer 2025 couture collections (like this Schiaparelli creation below). The result? Nails that look like shimmering water droplets, catching the light with every move—like a mermaid’s scale kissed by the sun.

(@tagwalk, @typologyparis).
Not to be confused with other glossy looks
While pearl nails share similarities with other glowy manicure trends, their finish is much more muted. Unlike Glazed nails by Hailey Bieber, known for their mirror-like, ultra-glossy effect often achieved with chrome powders, pearl nails offer a softer, more diffused, lacquered, and satin-like glow. It’s closer to a natural glow than a full-on shine.
And what about soap nails? Here again, texture makes the difference: soap nails play with transparency and layering. Pearl nails, in contrast, aim for a more uniform and enveloping effect, with an even pearly veil across the nails for a gentle gleam.

(@matejanova).
Pearl nails in all their forms
There are plenty of ways to achieve a pearly effect on your nails, depending on the products you use and the inspirations you love. Here are the most popular variations:
- Pearly polishes all-over: some classic or Gel Polish formulas already contain pigments that deliver a luminous satin sheen straight from the first coat.
- Effect powders and shimmers: these are sprinkled over a tacky layer of polish to create a more intense finish, somewhere between satin shine and subtly chromatic glow. It’s reminiscent of pearl necklaces catching soft light on the skin.
- 3D pearl nail art: for a tropical twist, you can add tiny decorative pearls to one or two nails—a delicate alternative to rhinestones that perfectly channels seashell vibes.

(@madame_est-vernis, @matejanova).
Which shades to choose for flawless pearl nails?
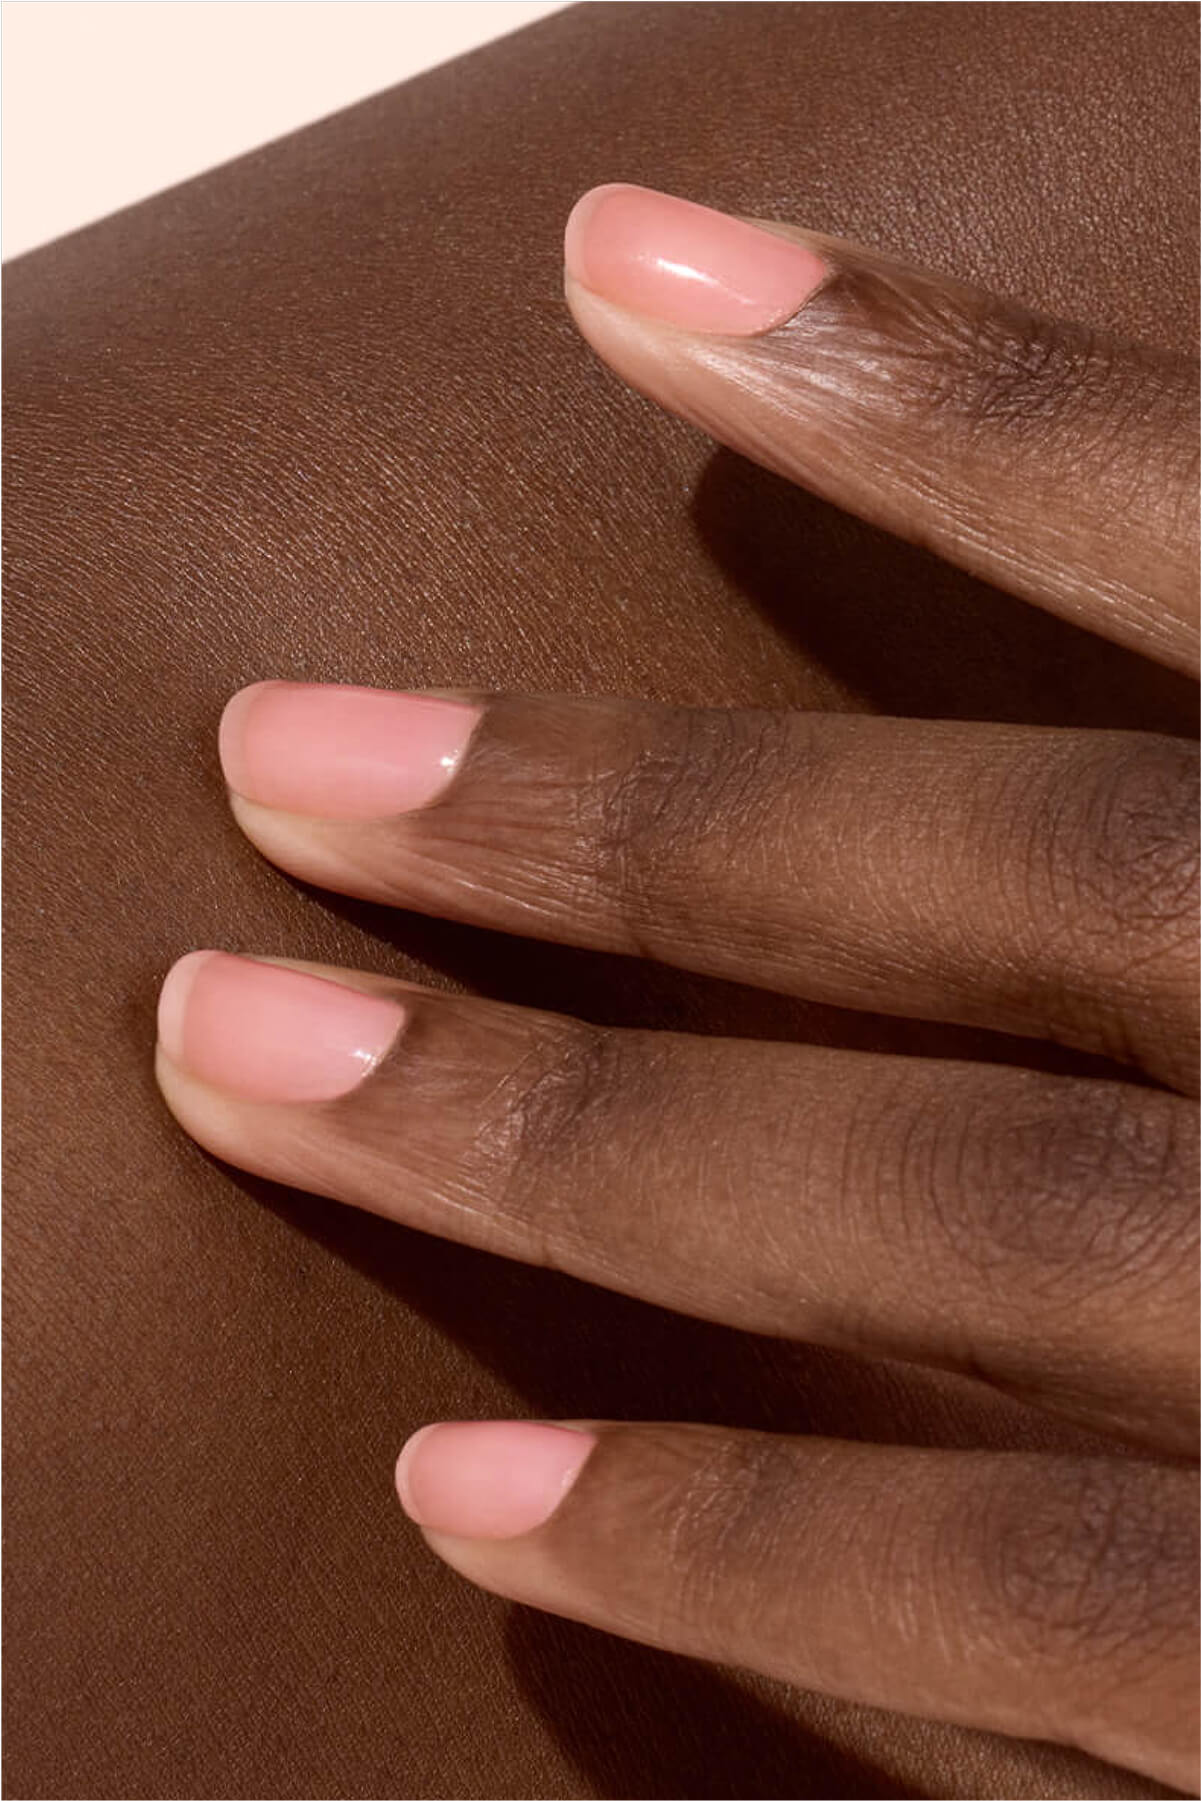
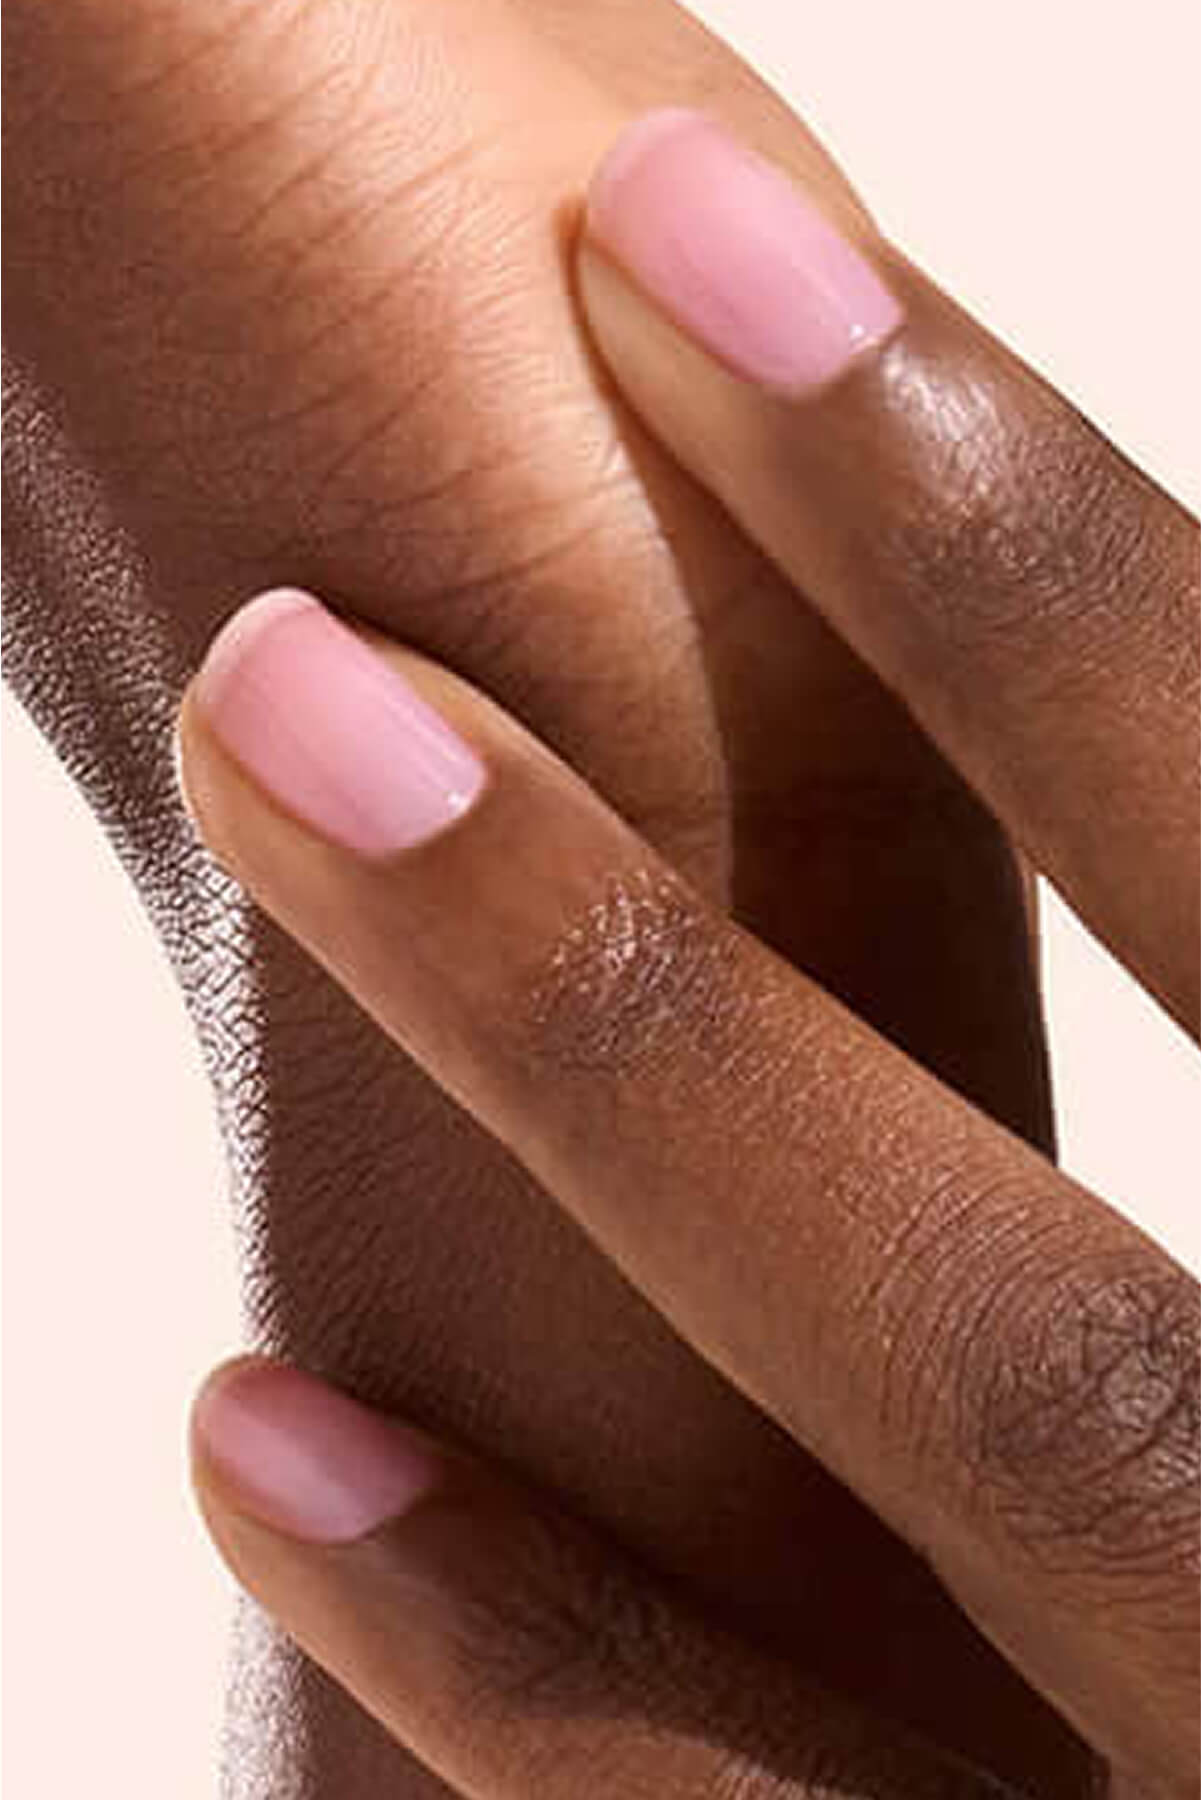
Achieving a delicate pearly finish is all about finding the right blend of soft tones and texture. Here's our selection of shades inspired by the ocean depths—perfect for adding a pearlescent glow to natural nails, whether short or long.
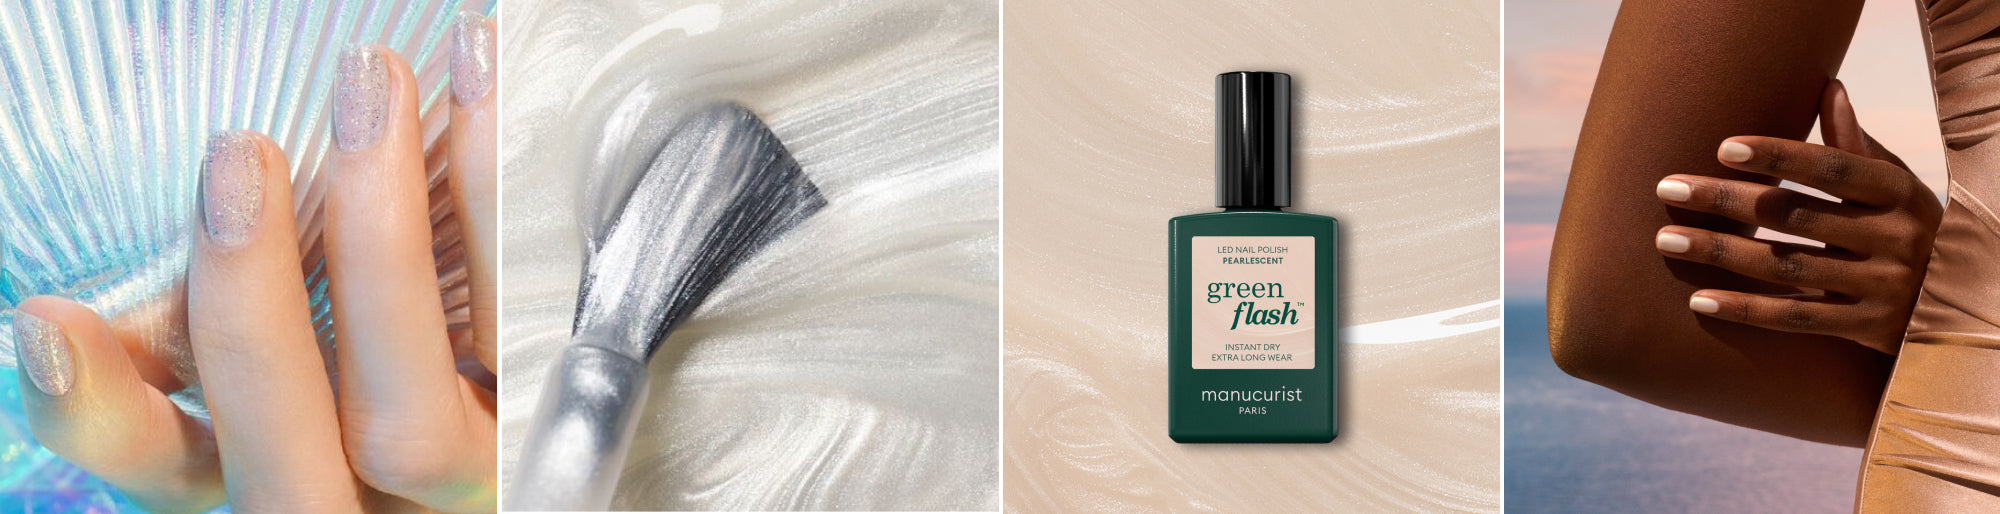
Green™ classic and Green Flash™ gel polishes
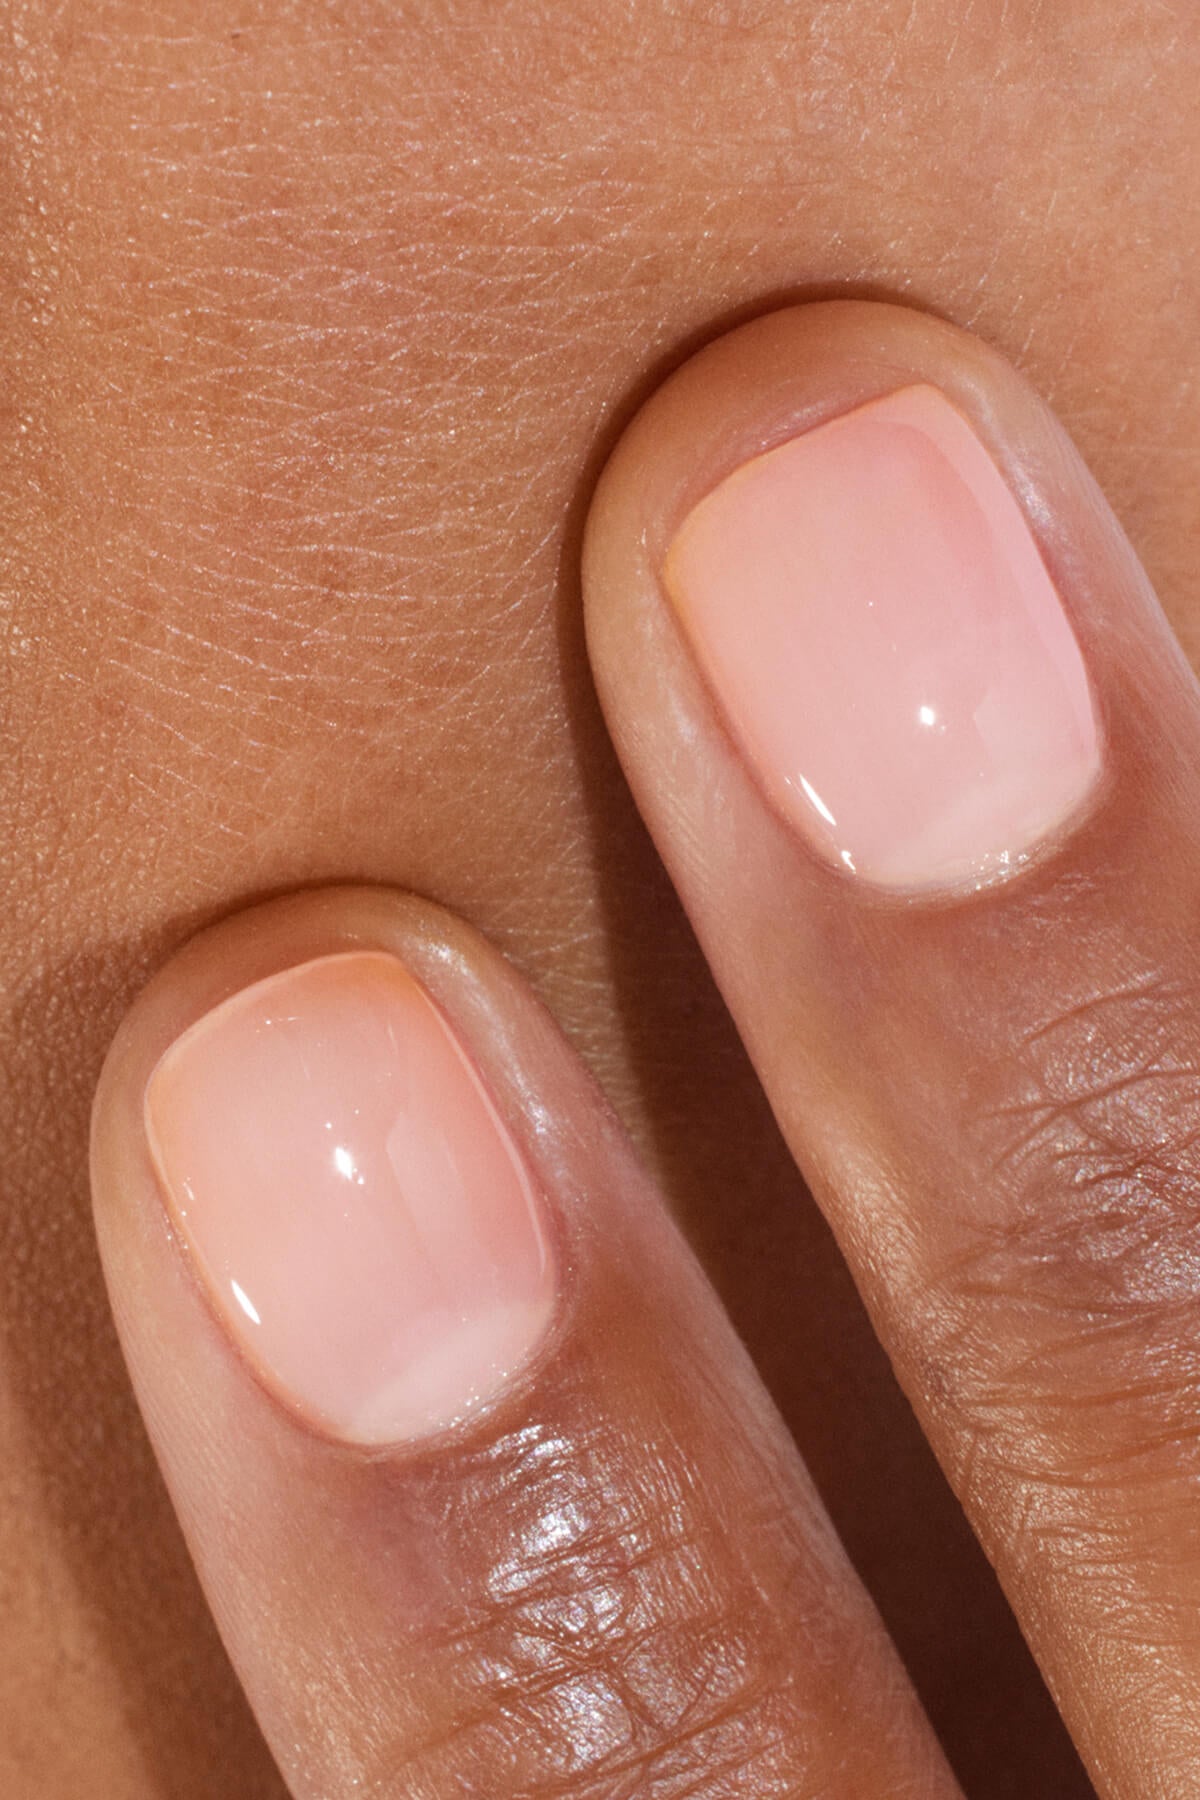
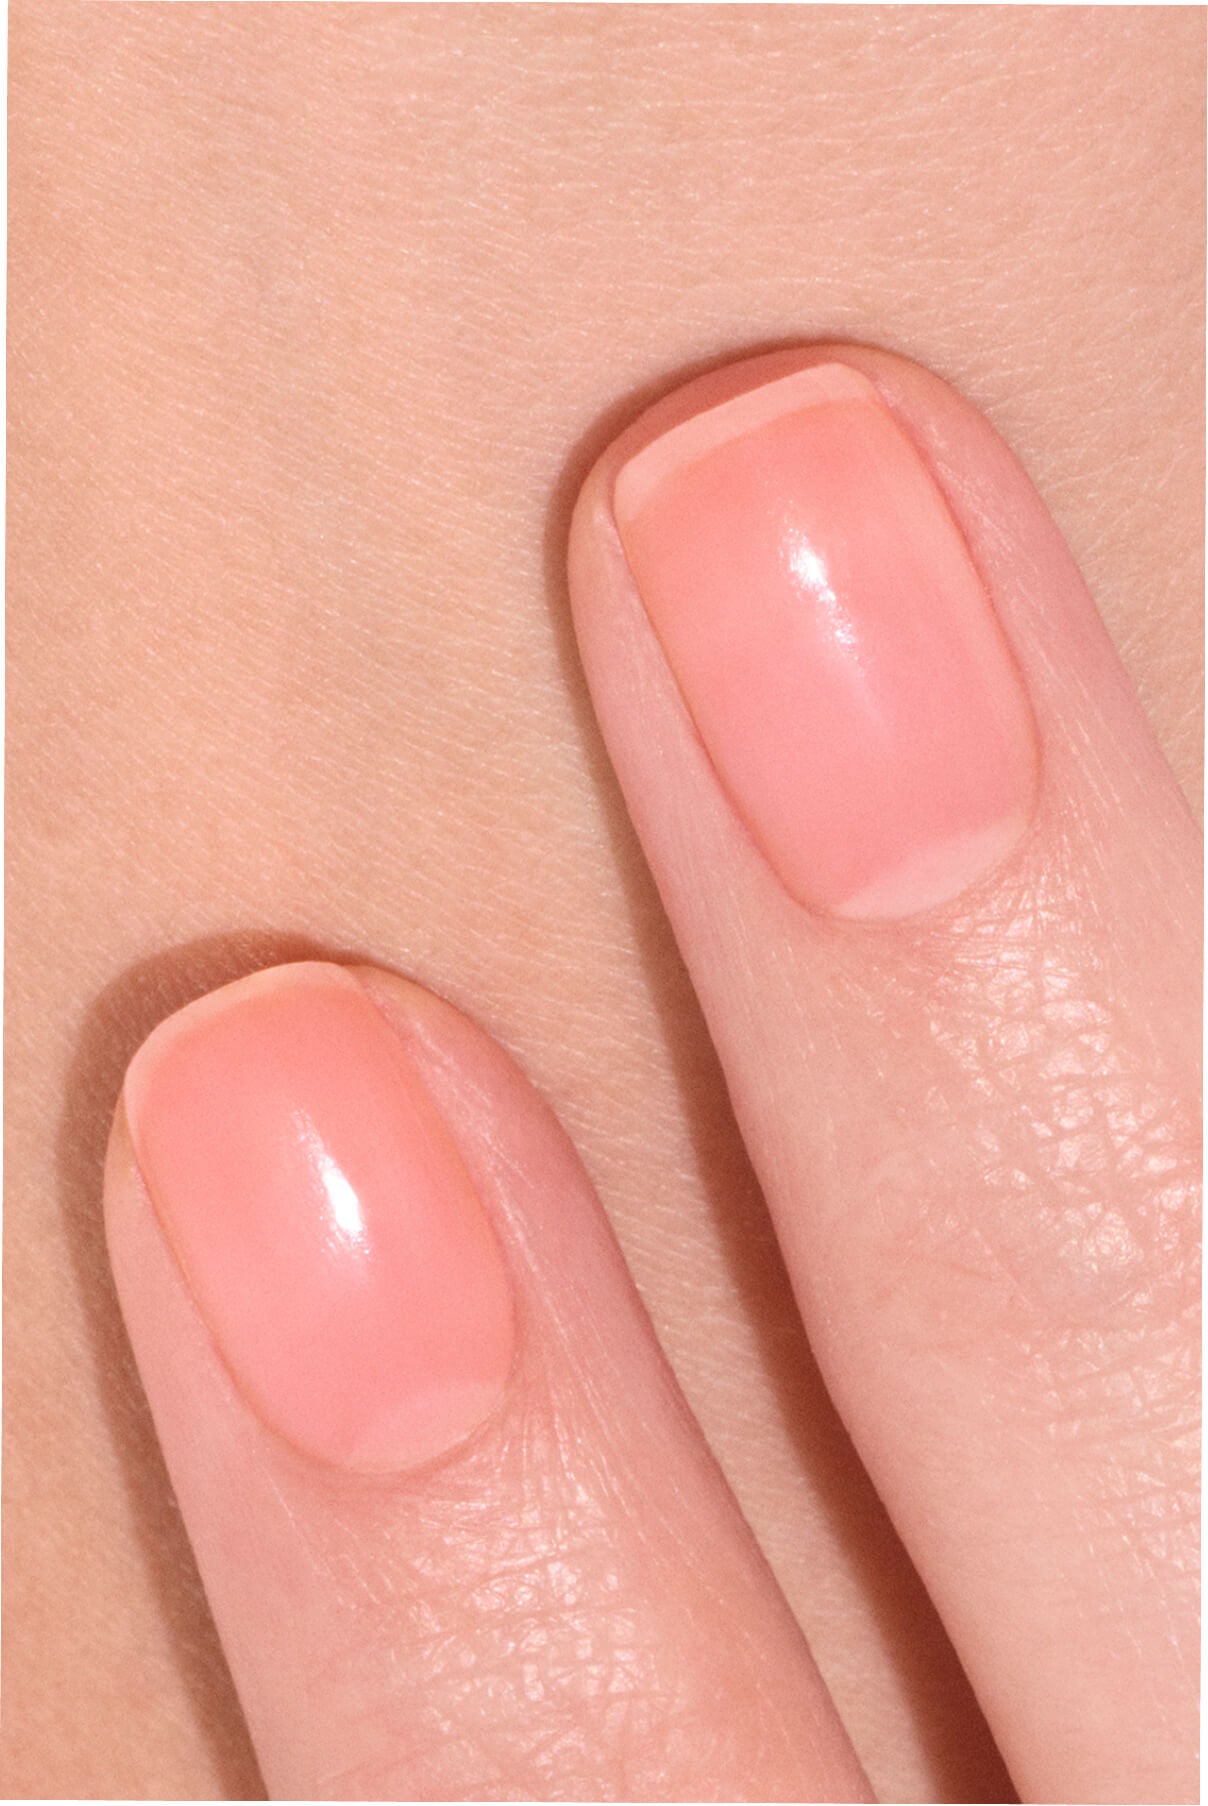
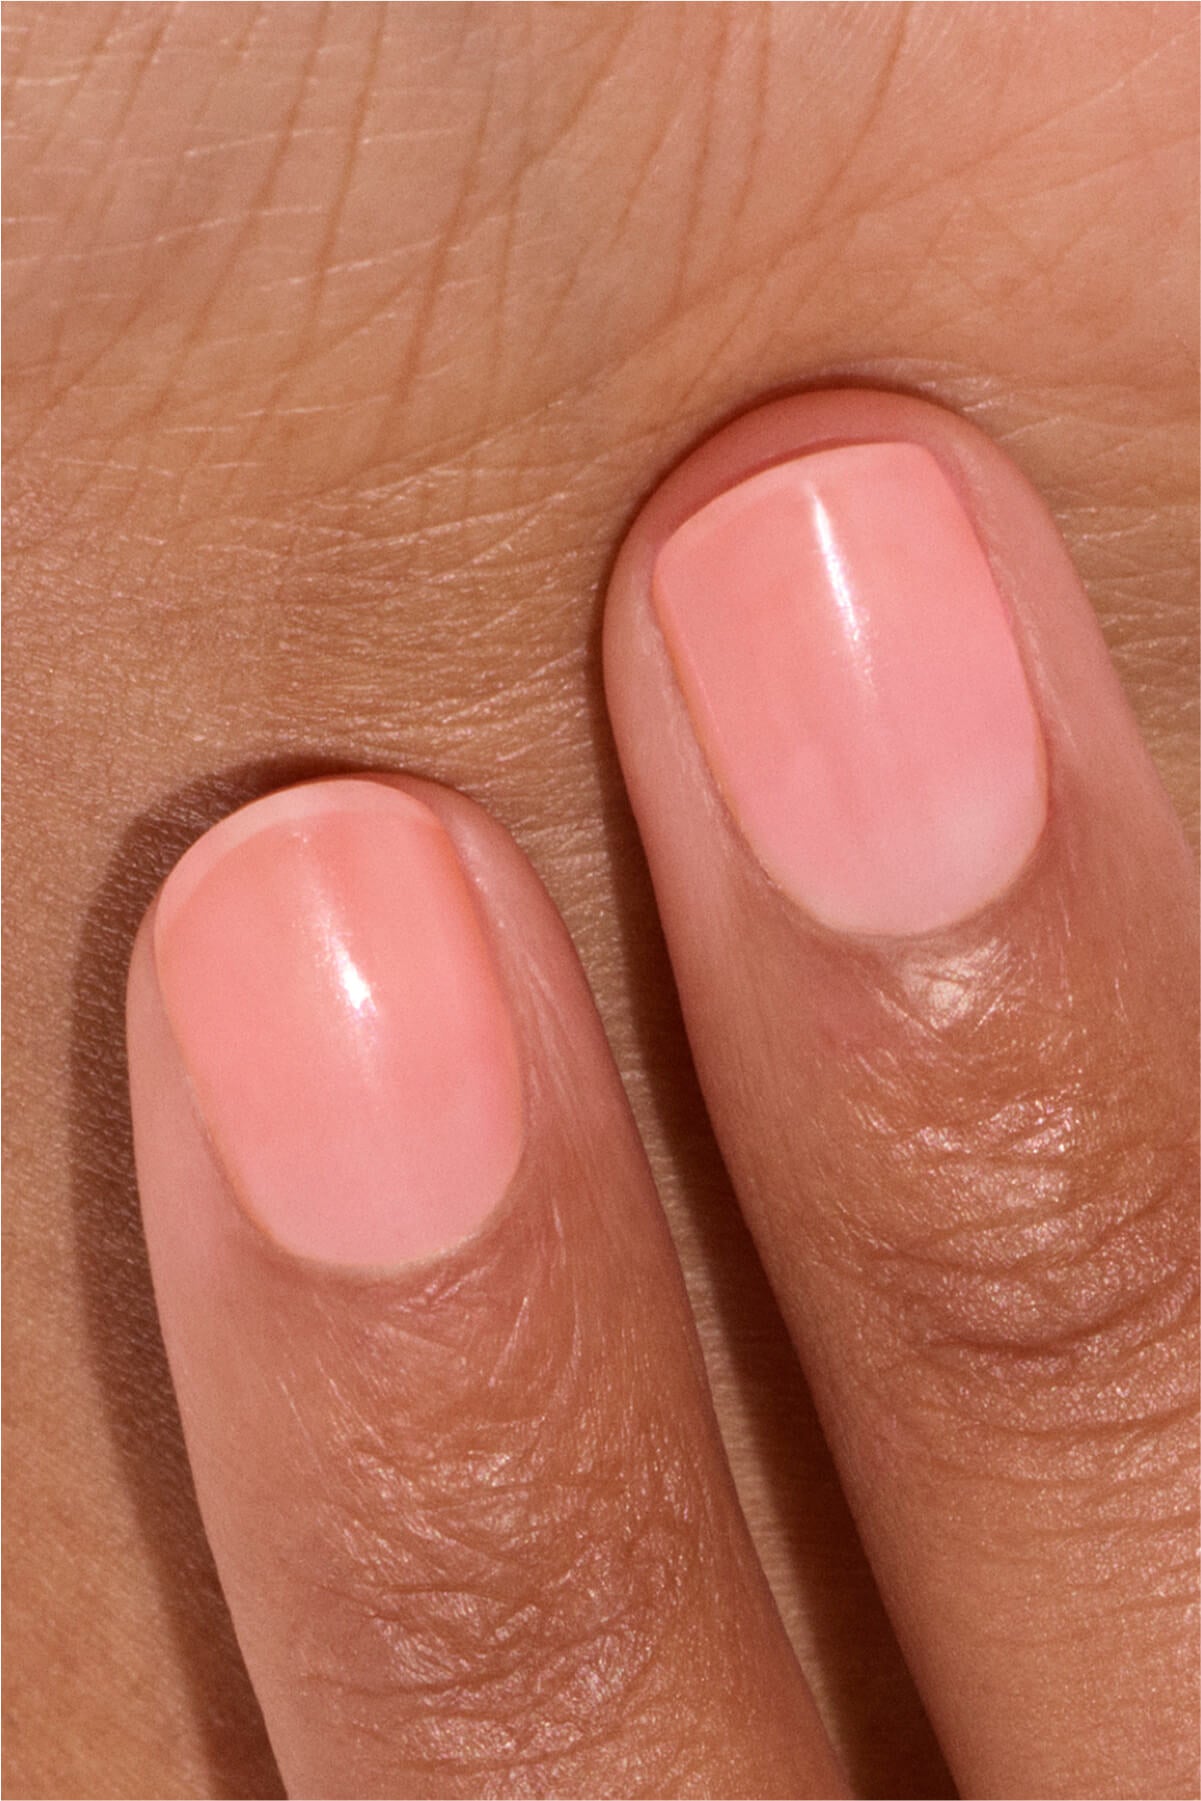
Pearlescent: a nude beige Gel Polish with a soft, luminous glow, this soothing shade flatters every skin tone with ease.
Solar: a translucent white polish with golden shimmer, like sunlight warming and brightening your skin from within.
Moon: a pearly white polish with subtle highlights, this timeless shade gives that pearl-like effect from the very first coat: pure, understated, irresistible.
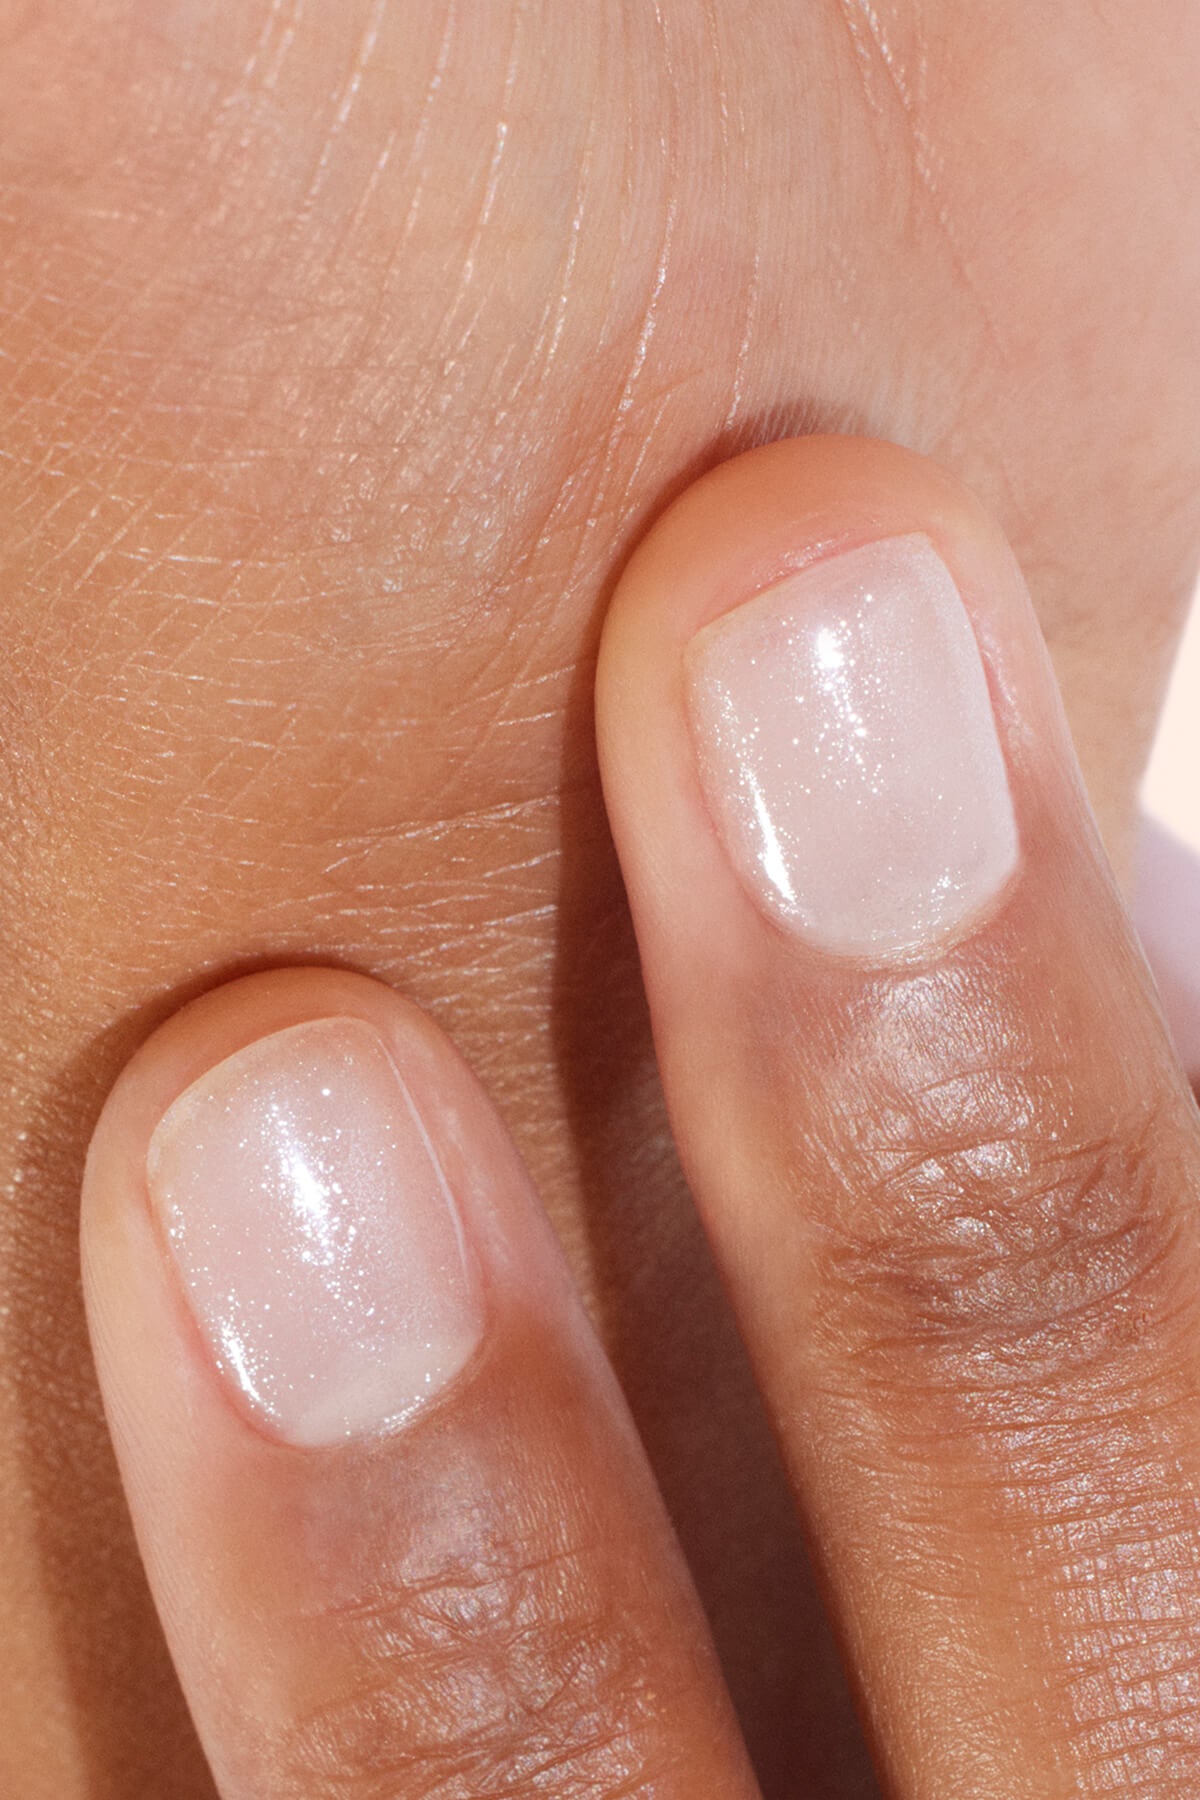
Mermaid: a transparent polish filled with holographic micro-glitter, this on-trend shade cloaks nails in shimmering reflections—like a scale catching the light.
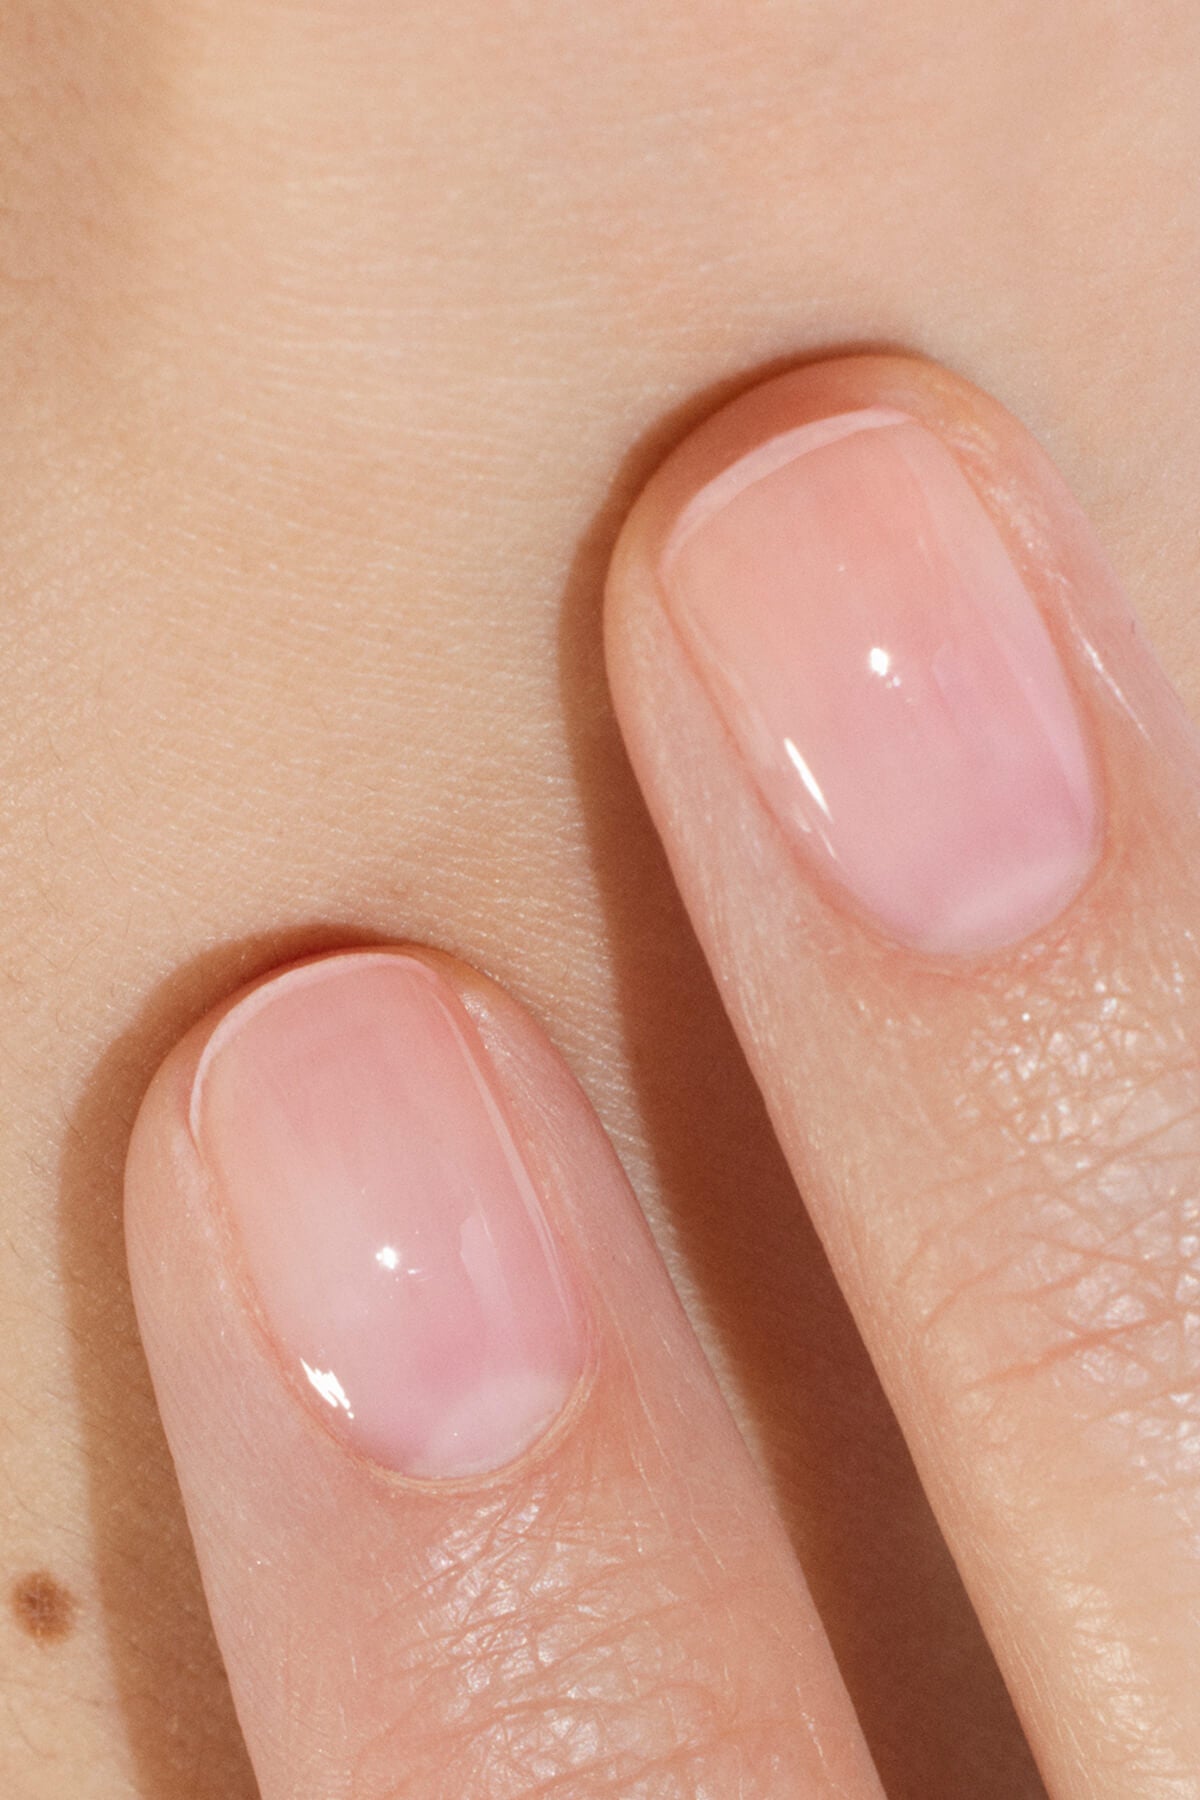
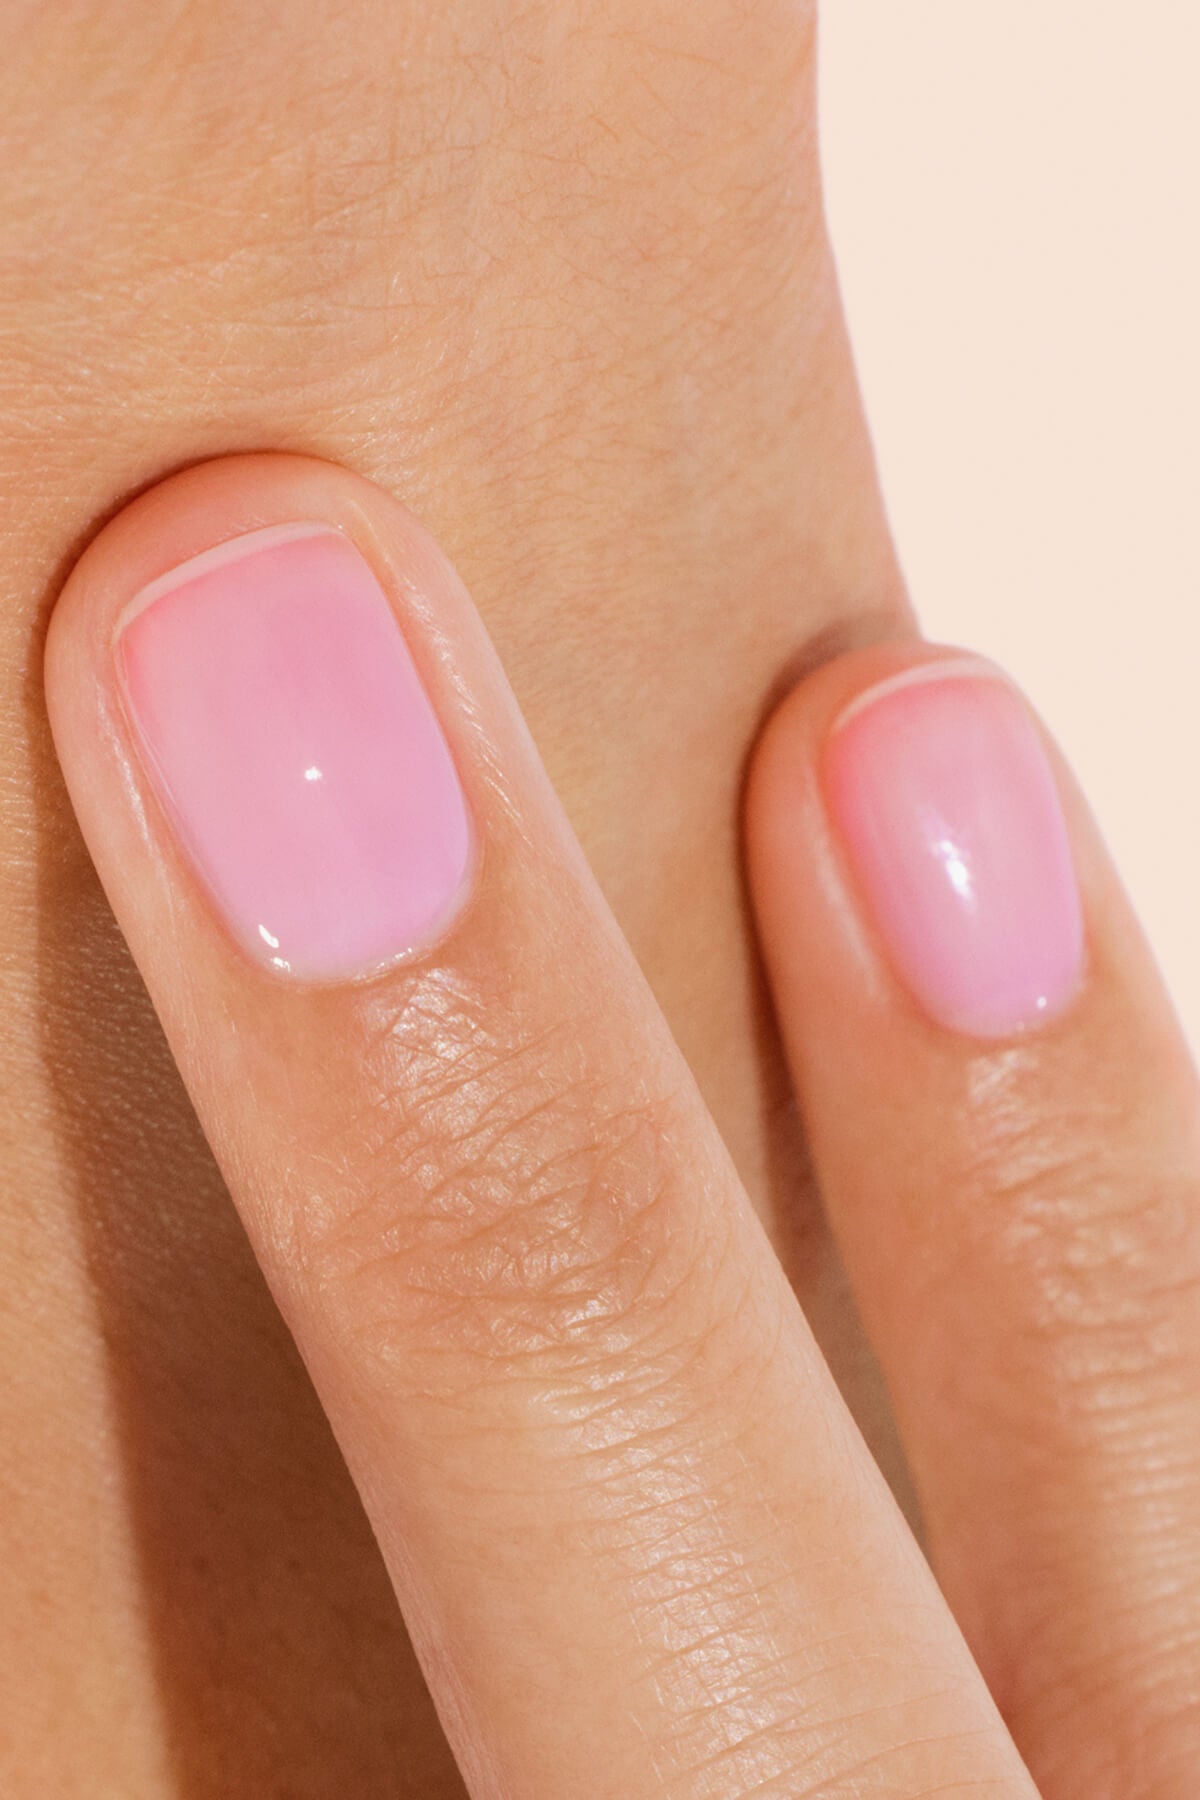
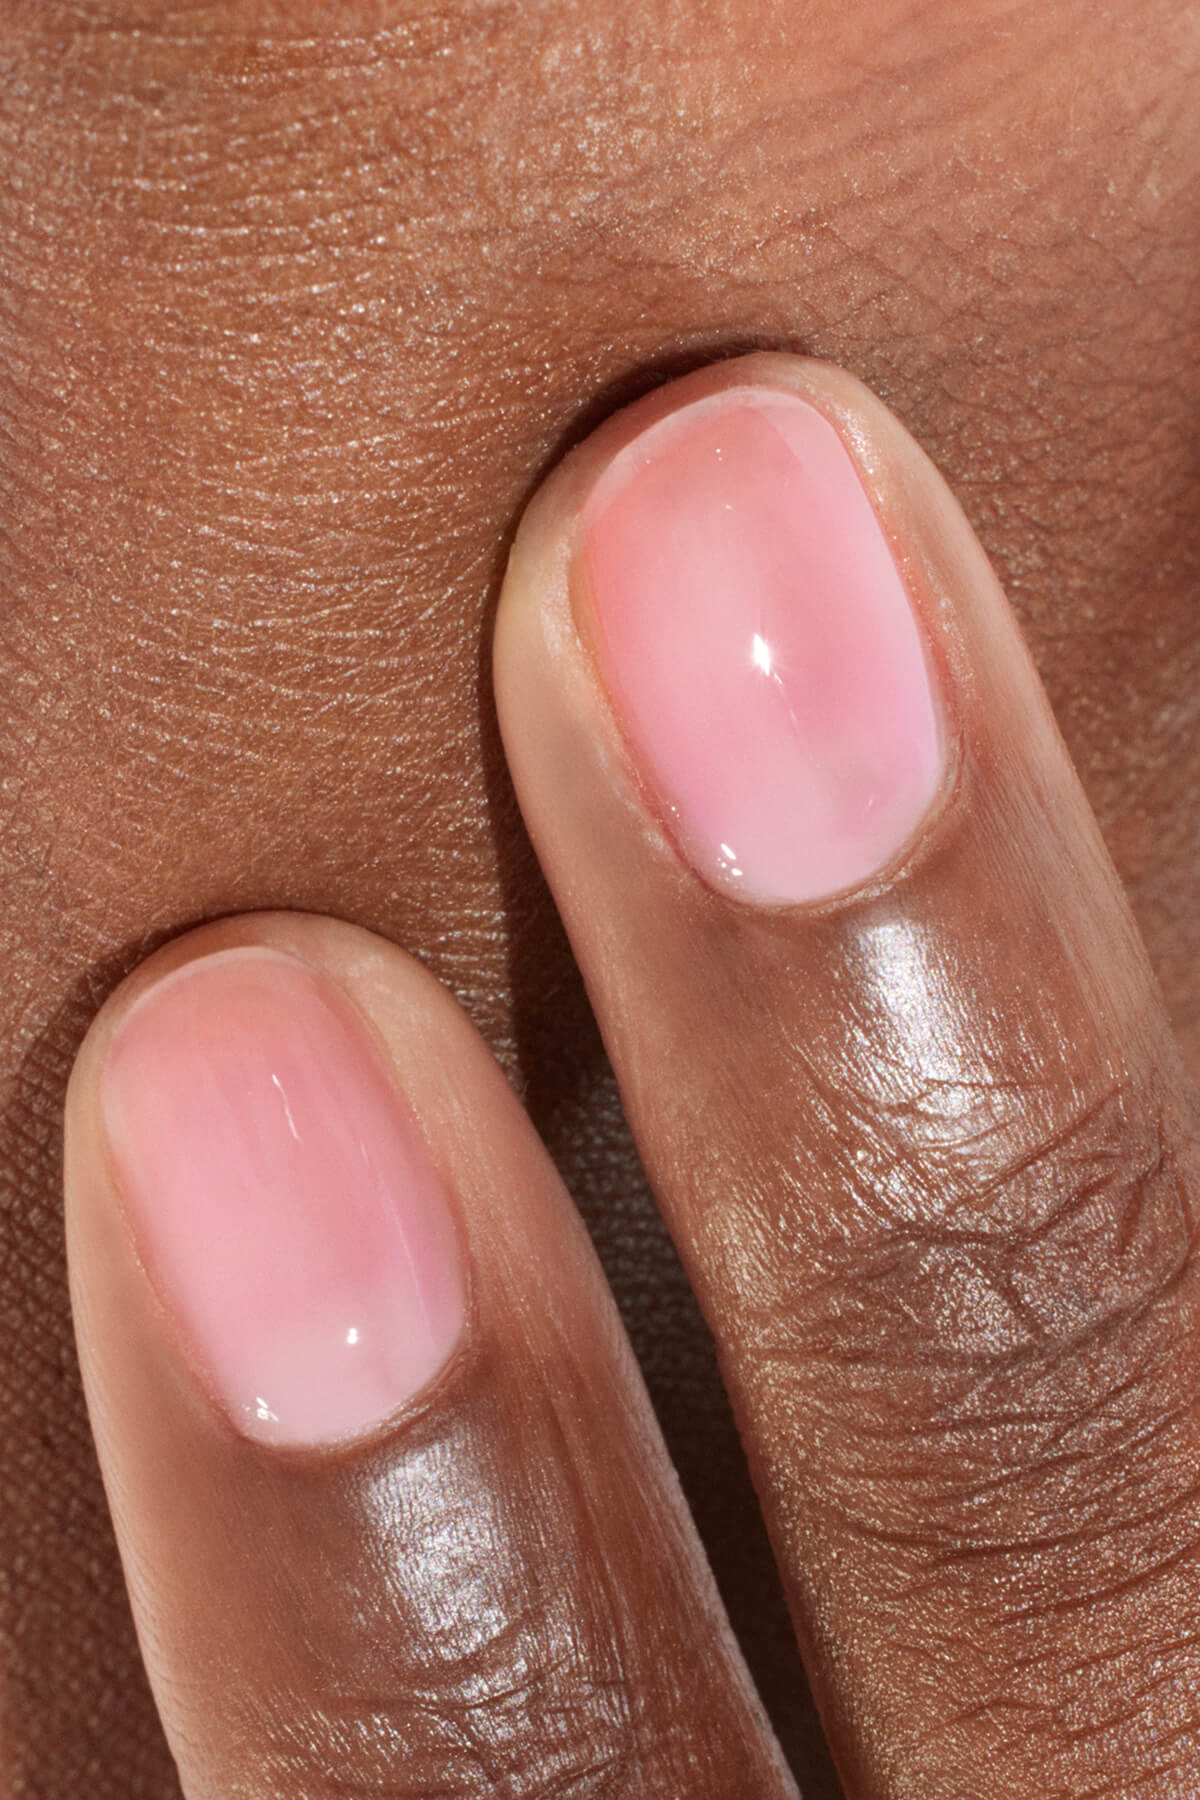
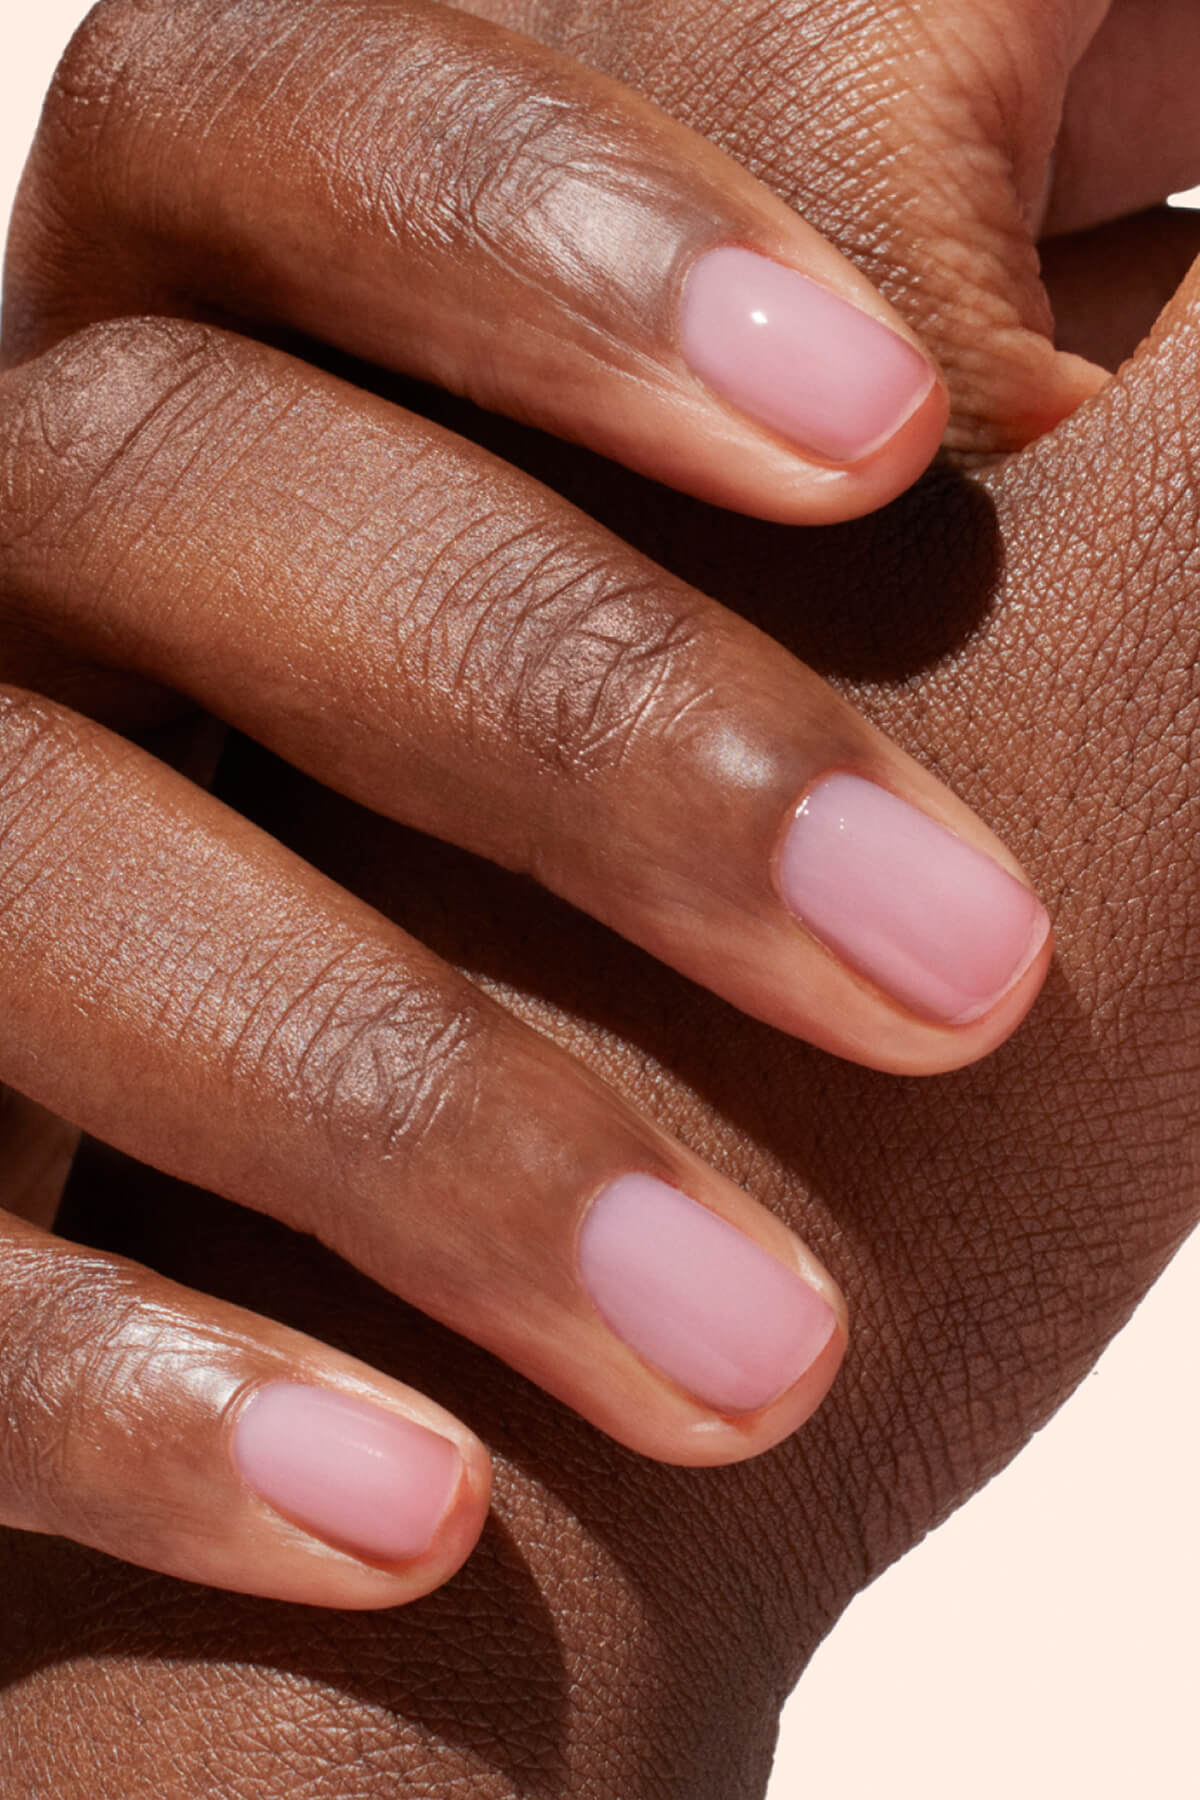
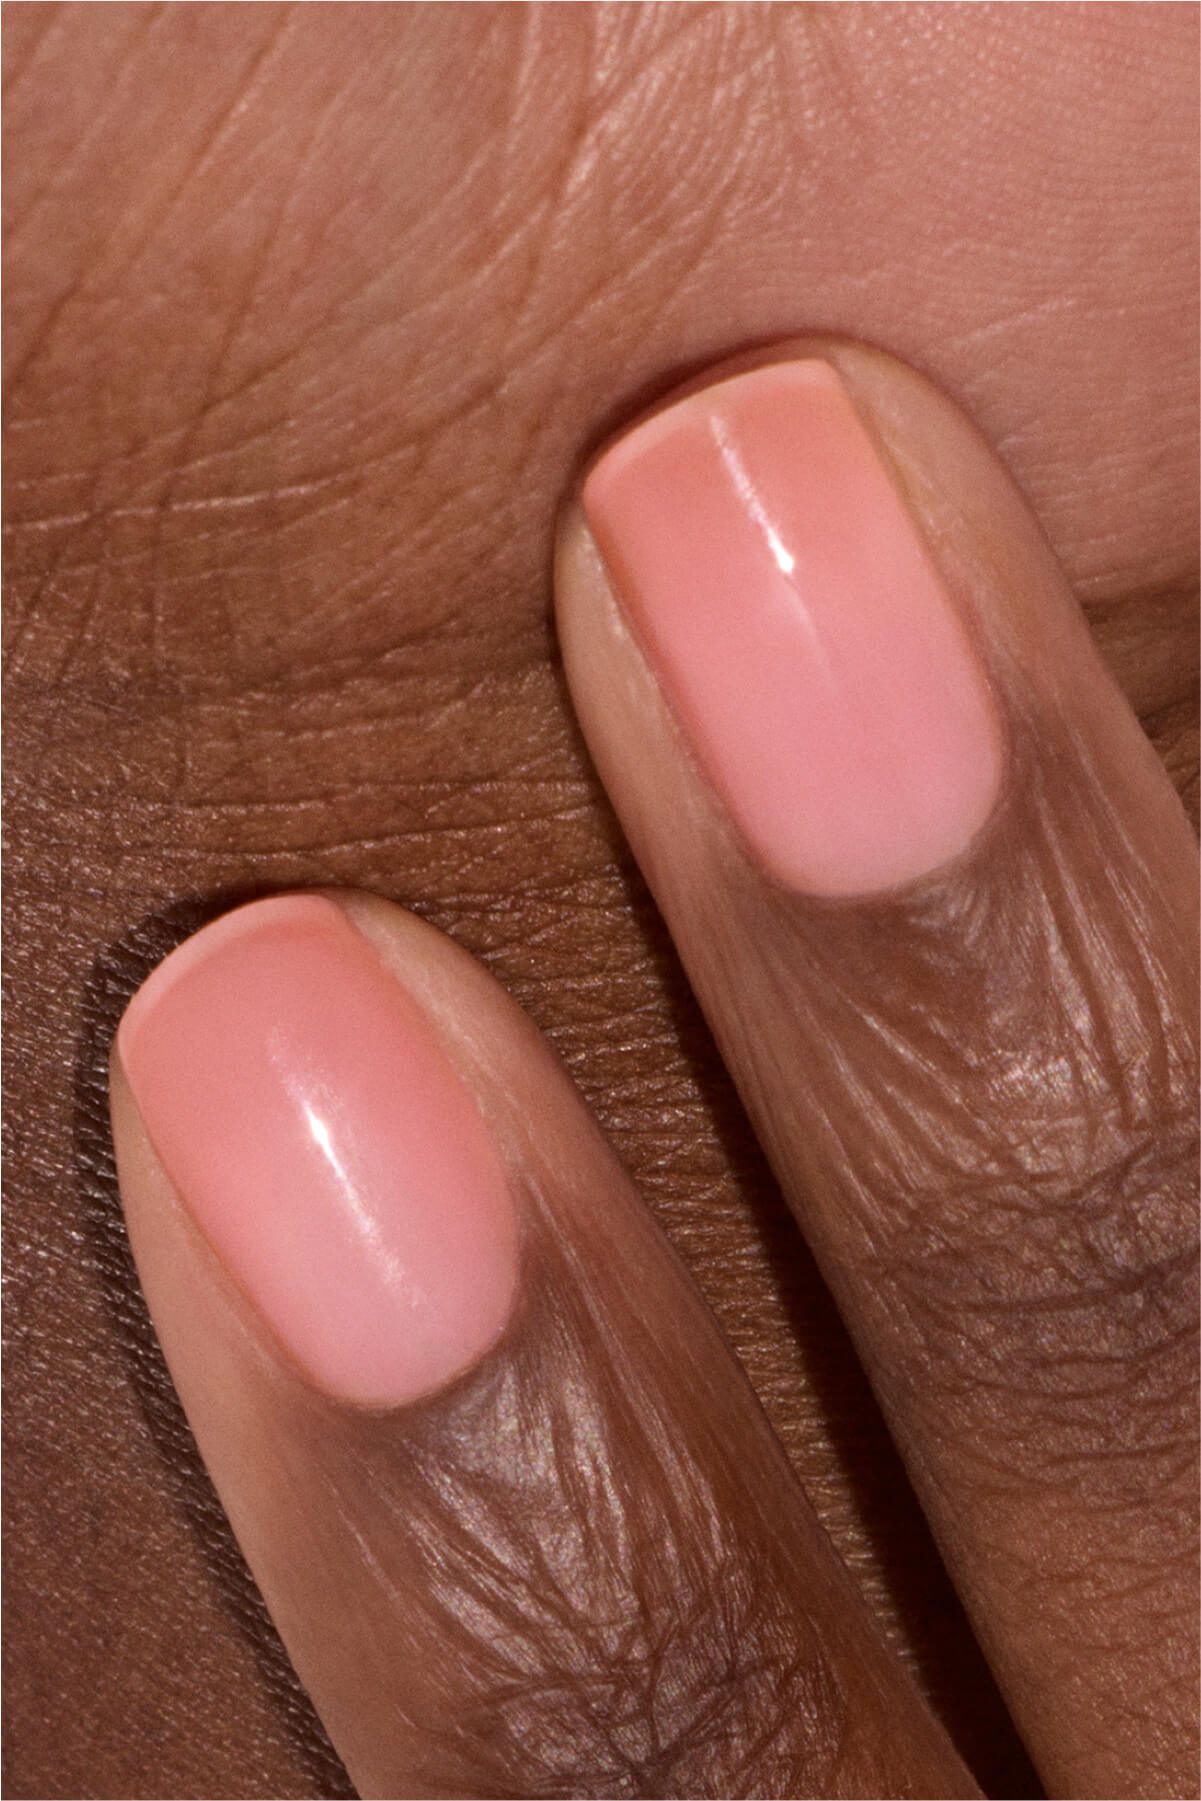
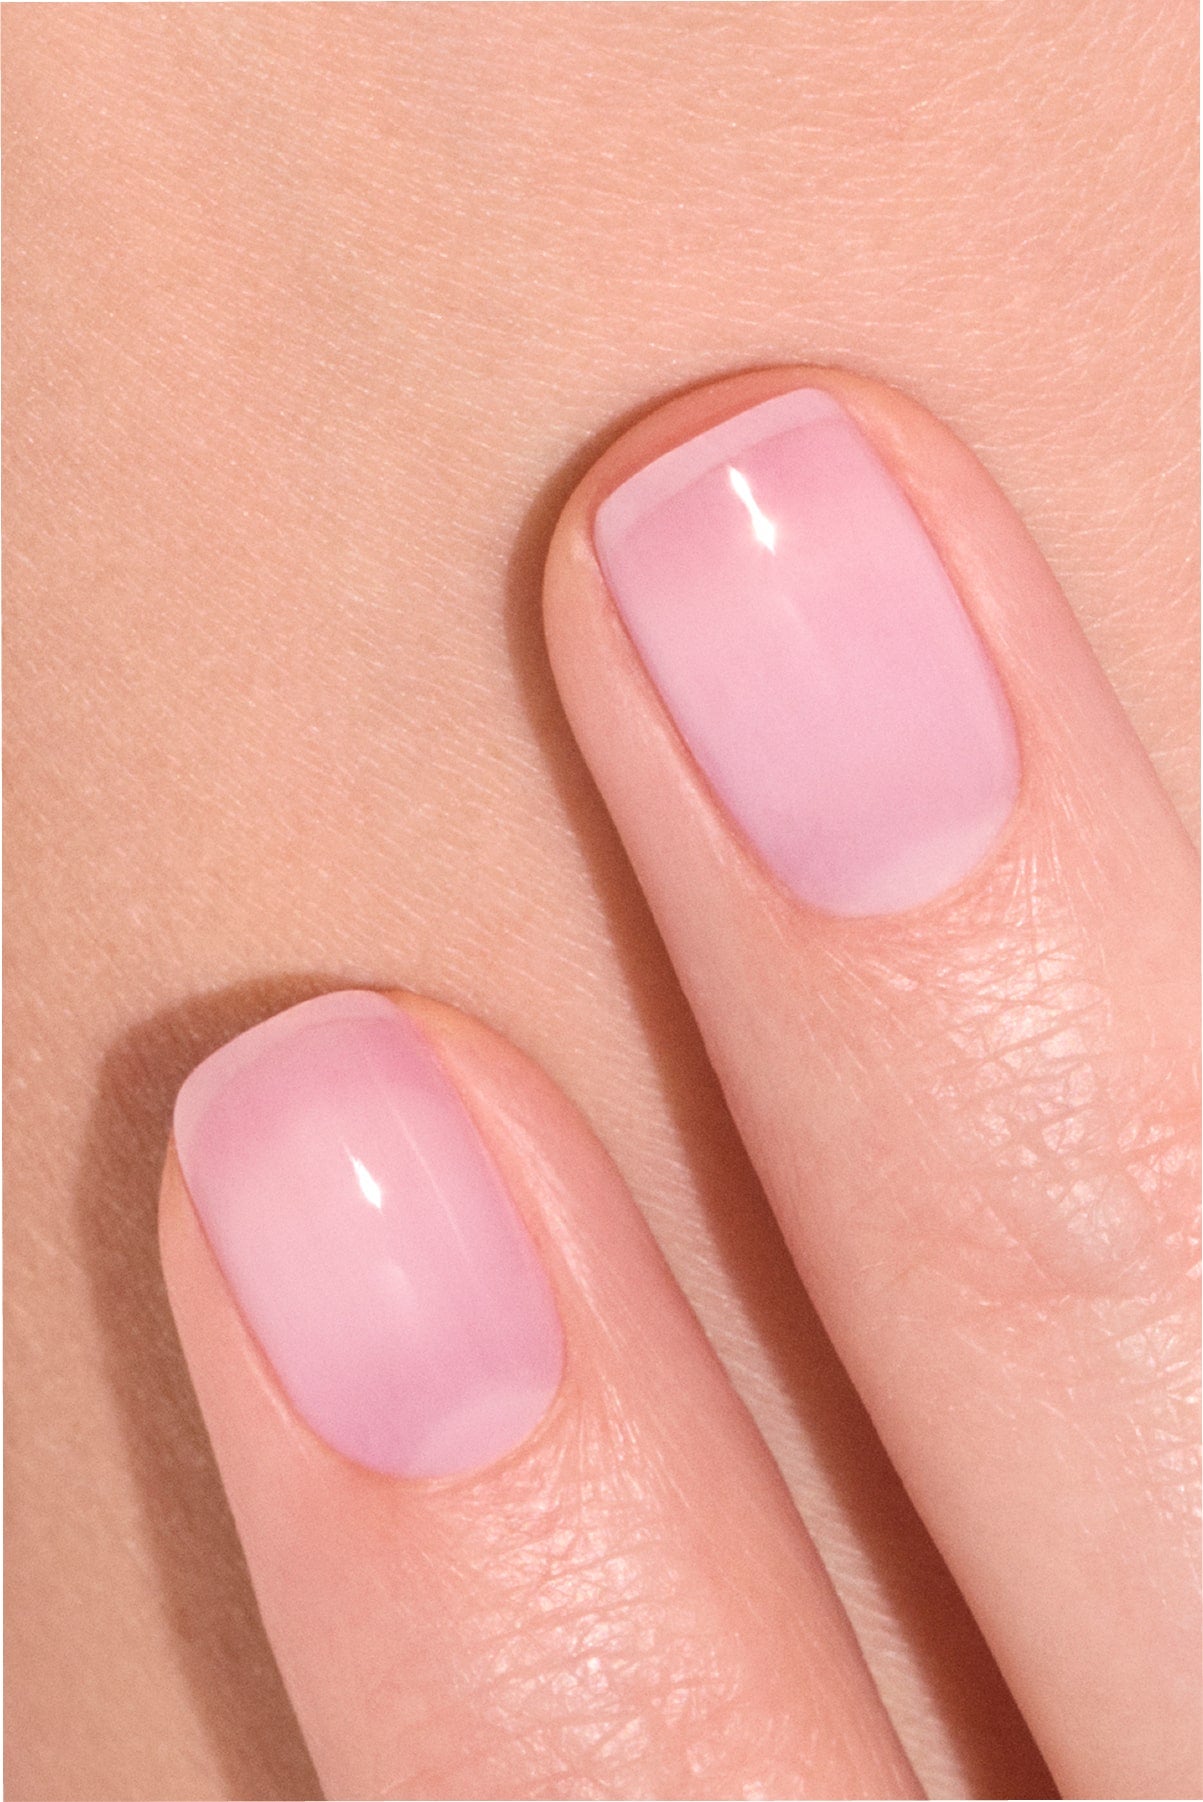
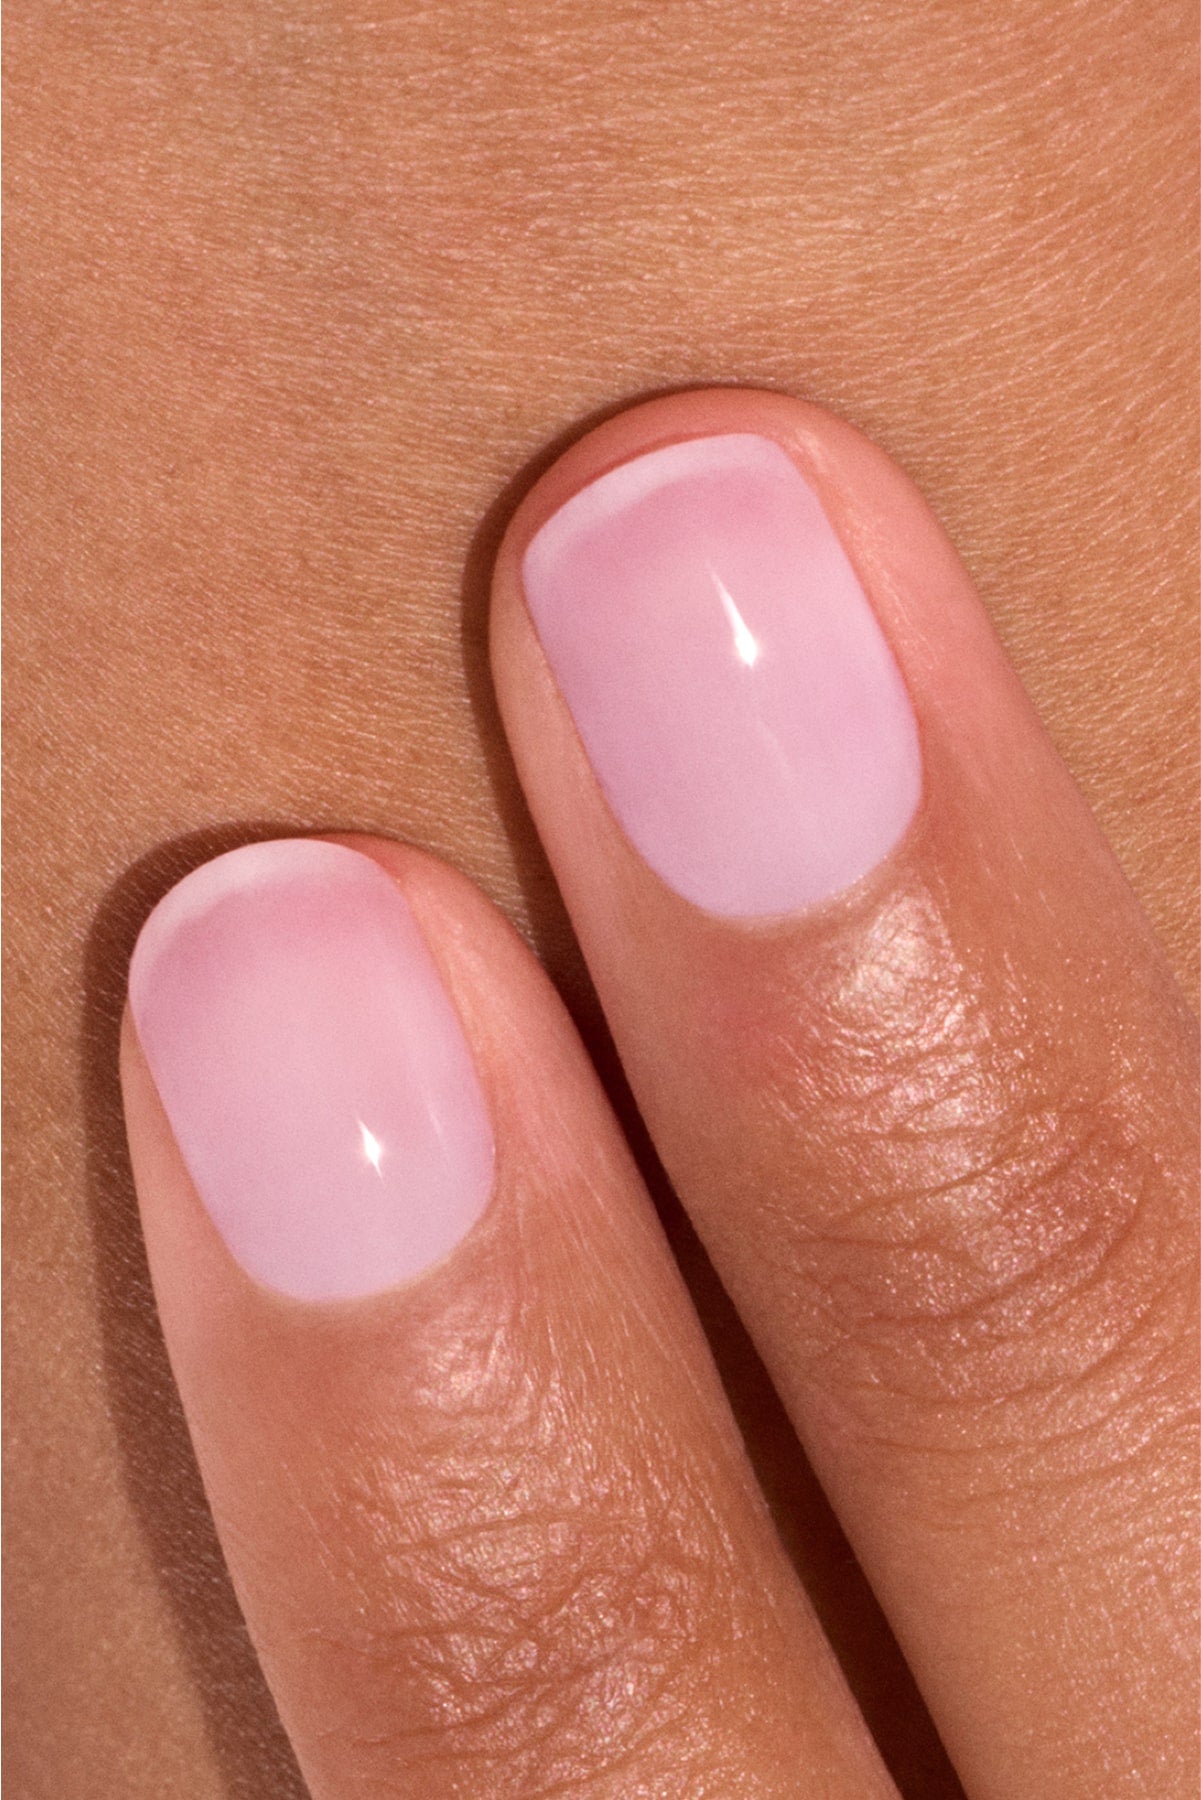
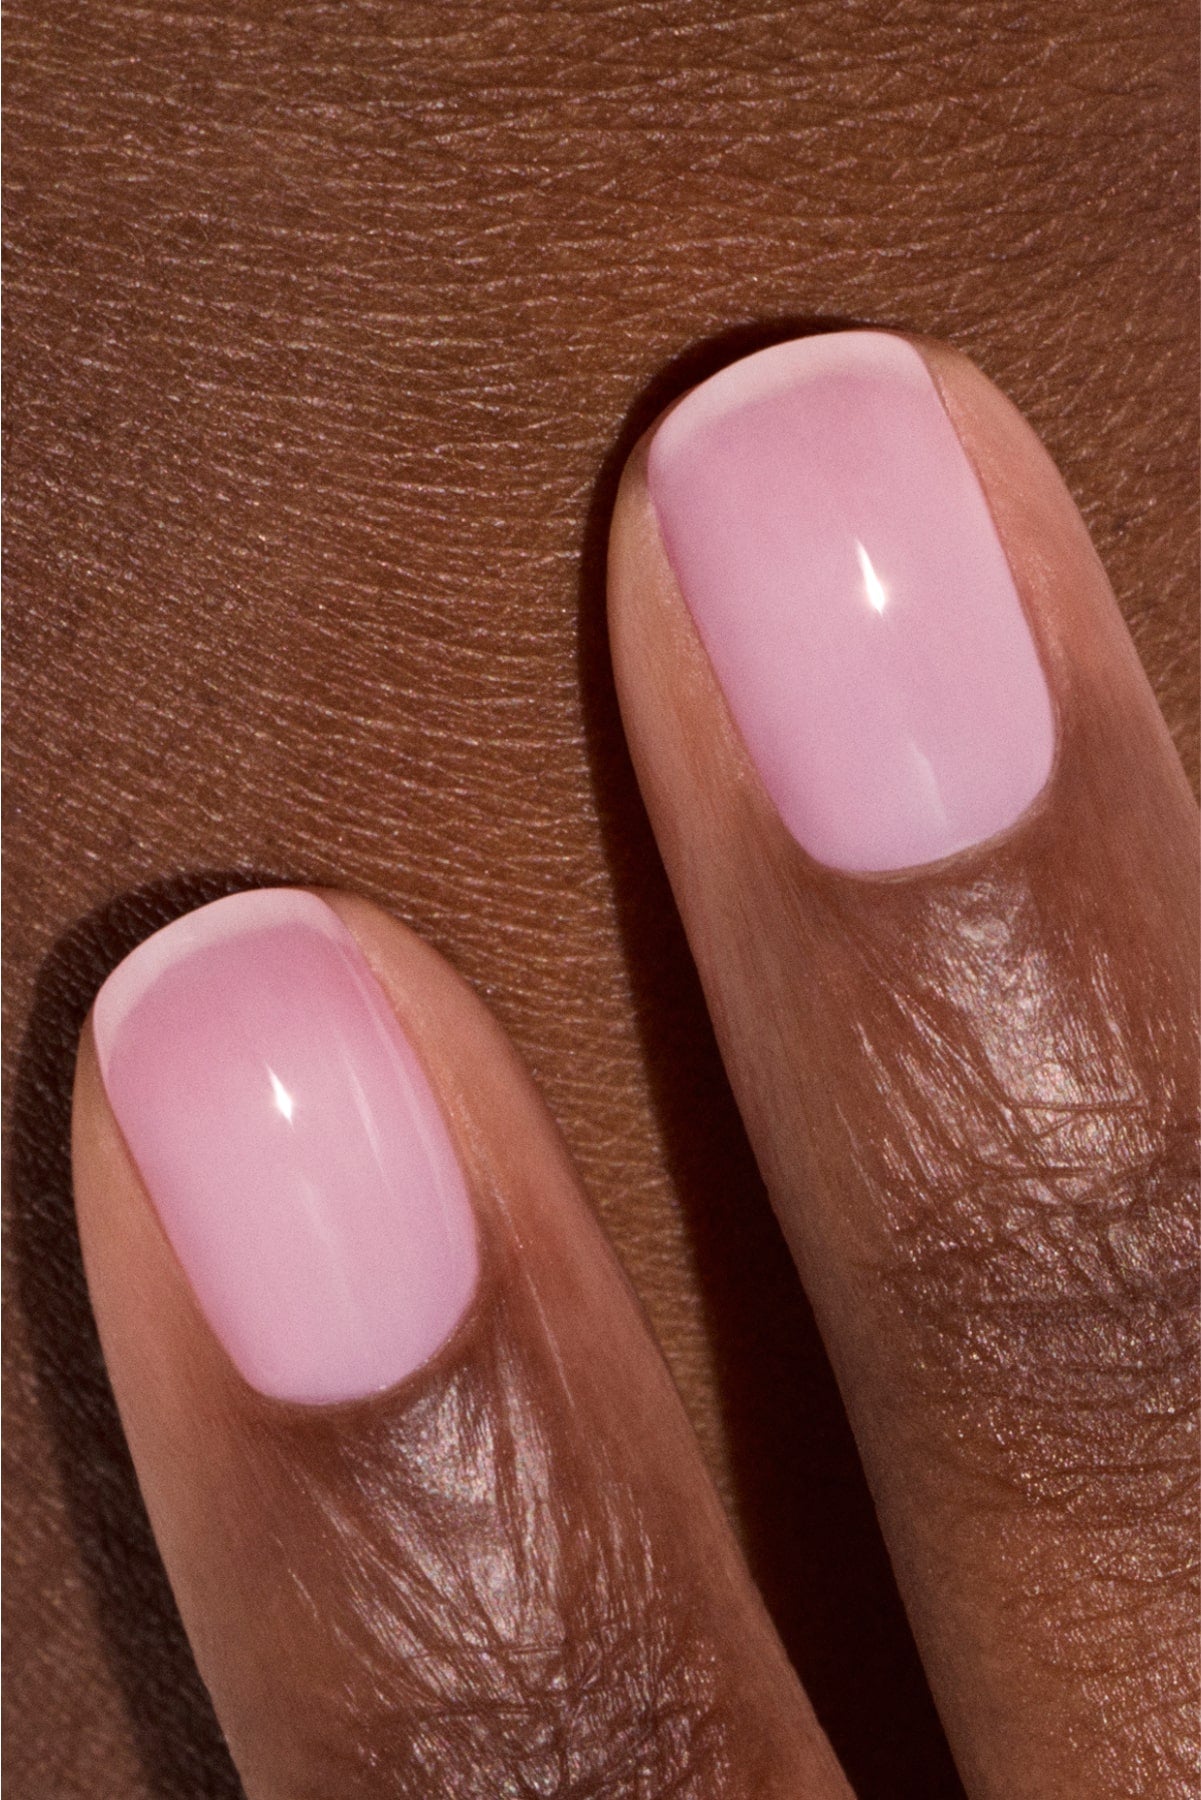
Carnation: a rosy-pink iridescent polish that’s made for romantic mermaids looking for a poetic, soft-focus glow.
Gloss: a glossy white polish with pink iridescence, for a sheer pearlescent finish—like a water droplet resting on the nail.

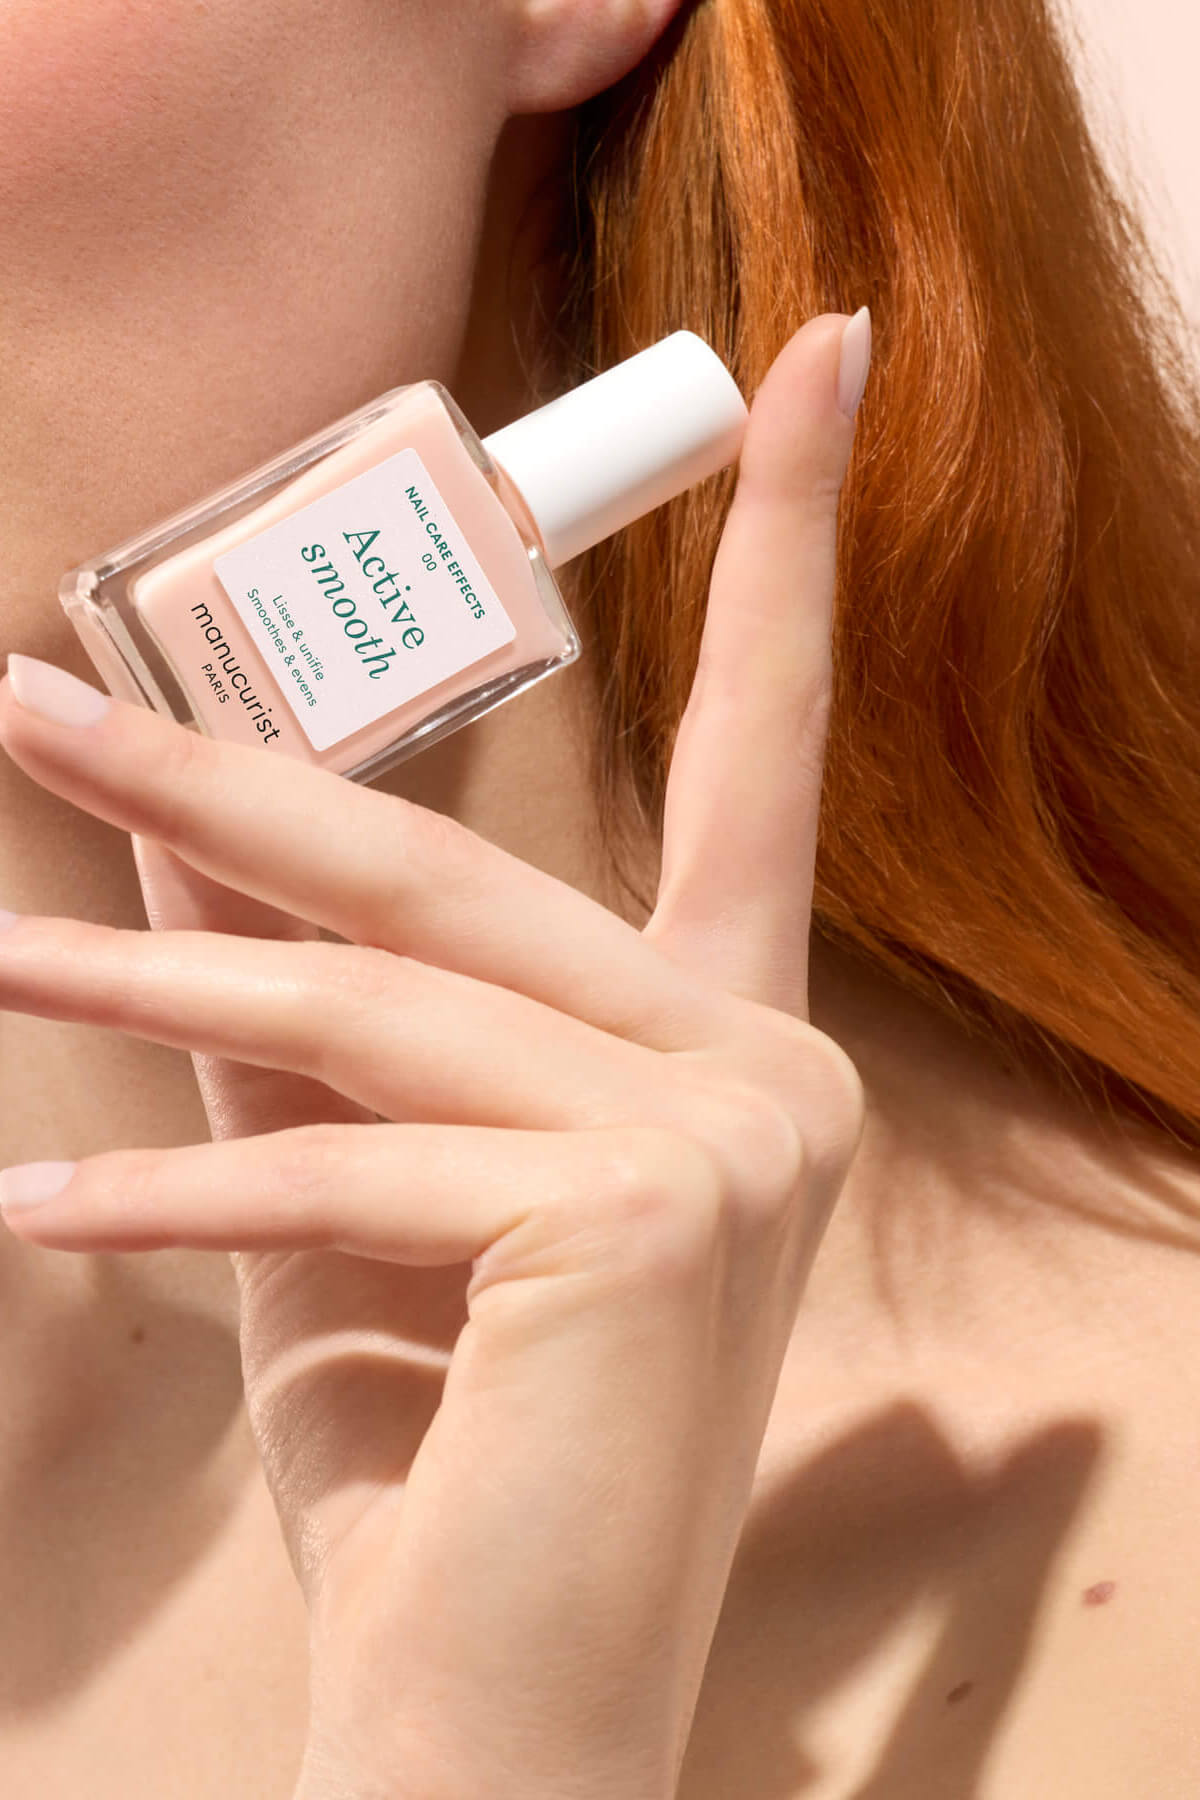
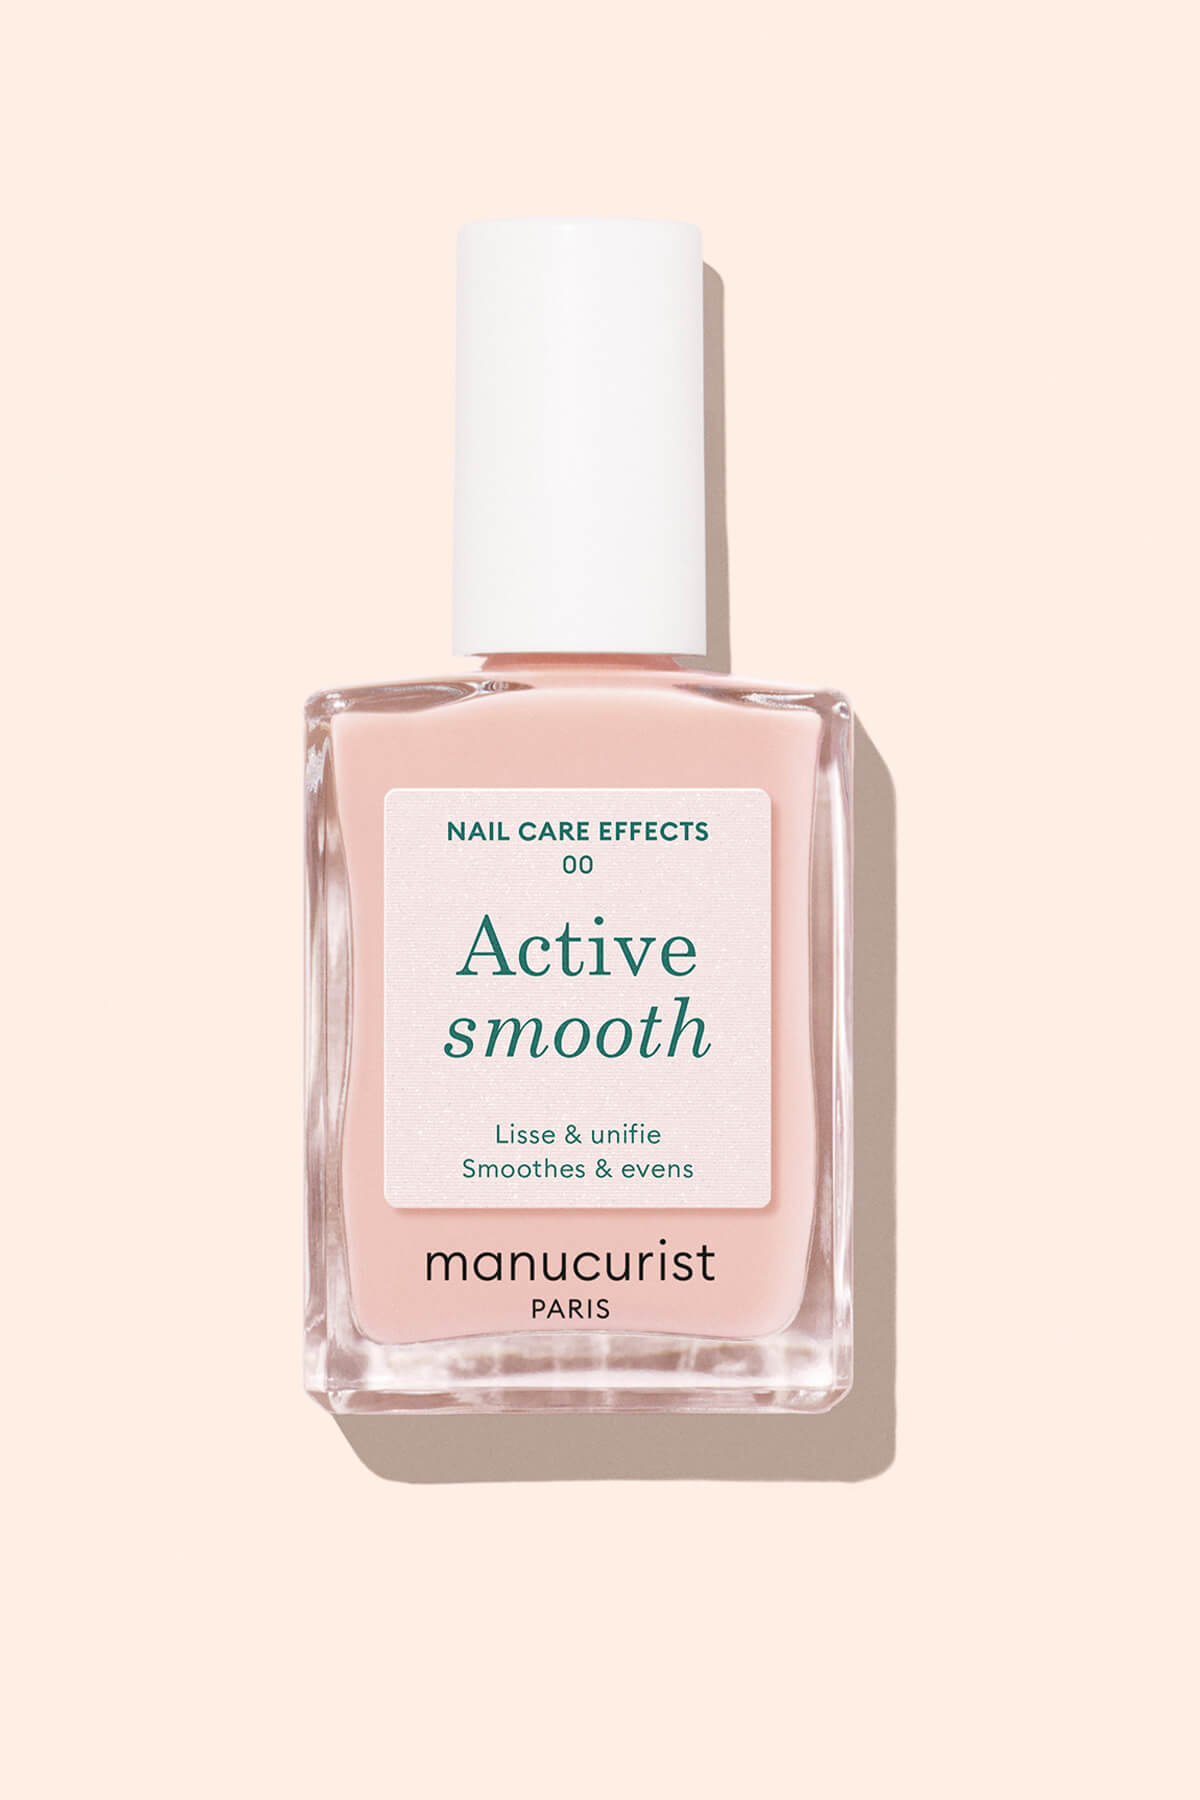
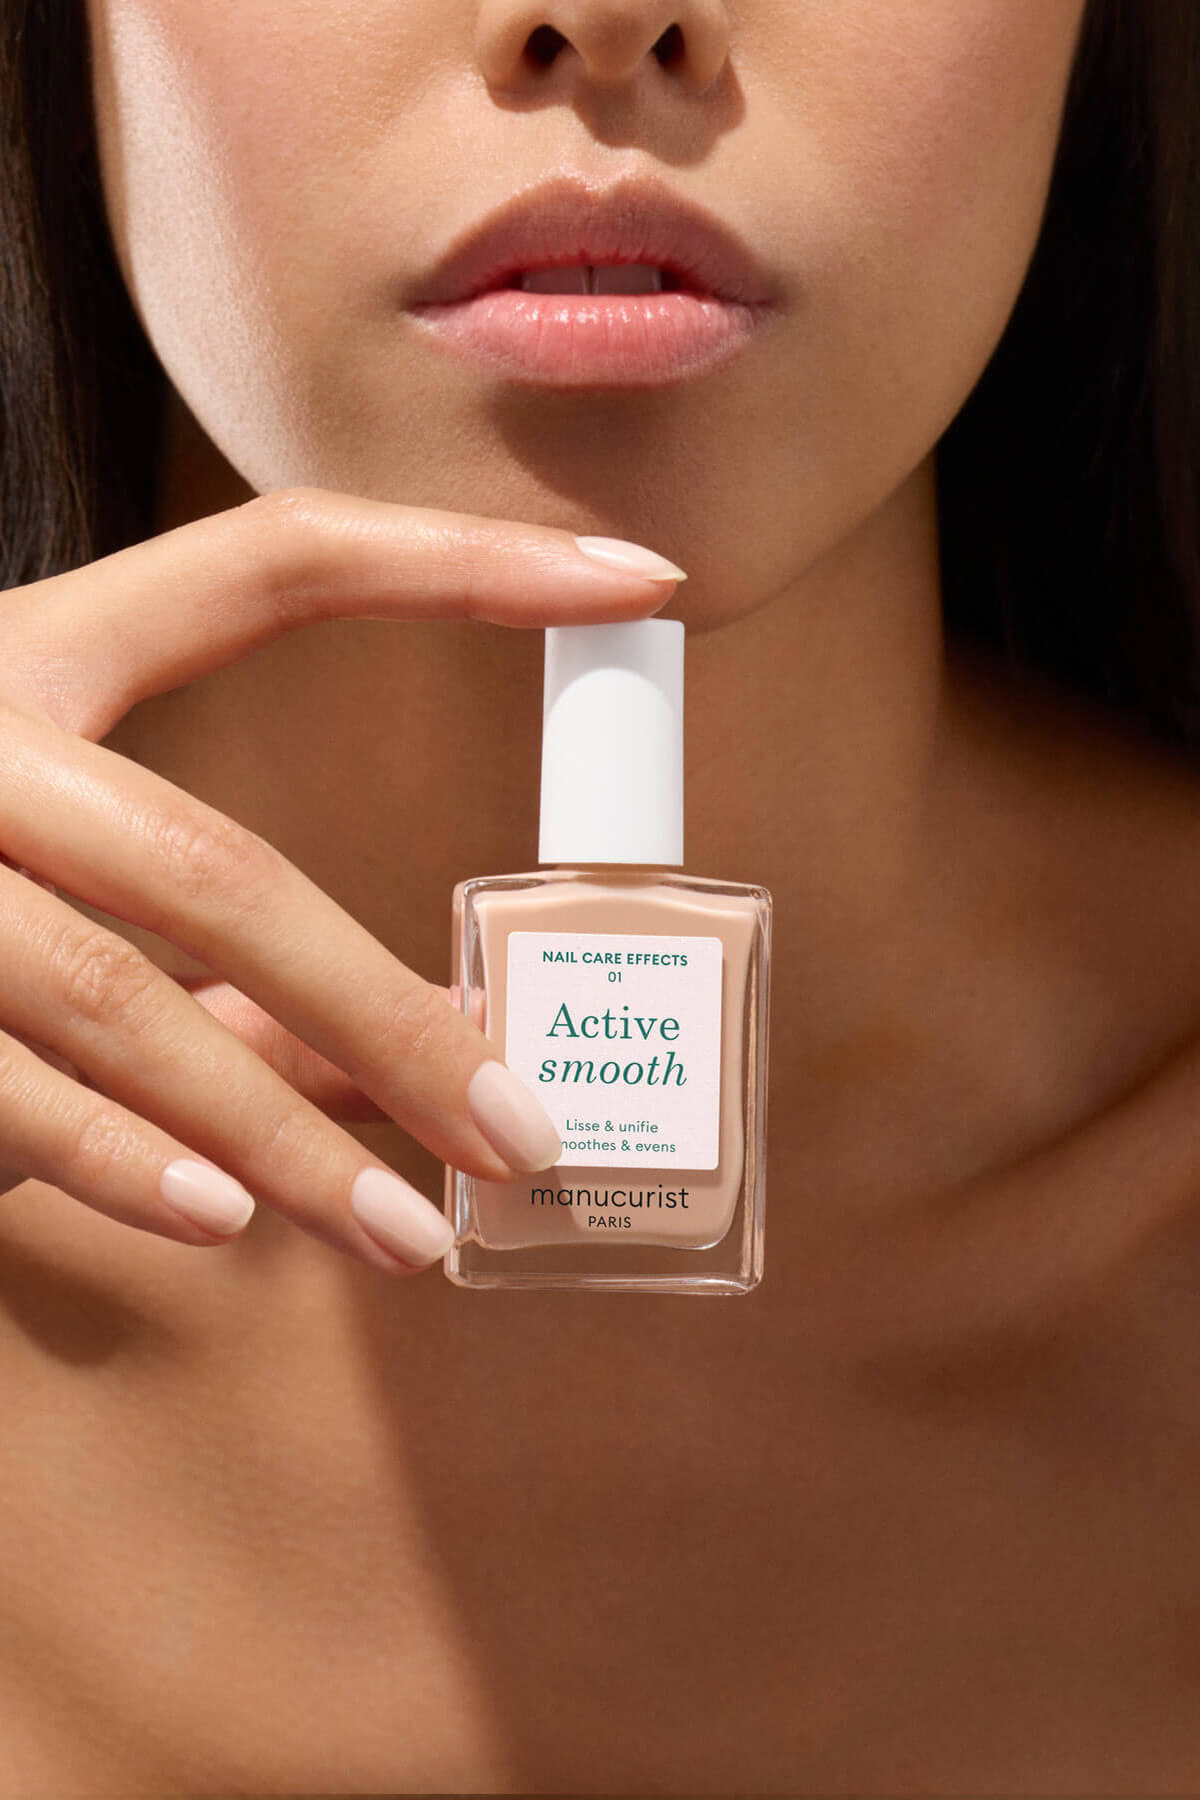
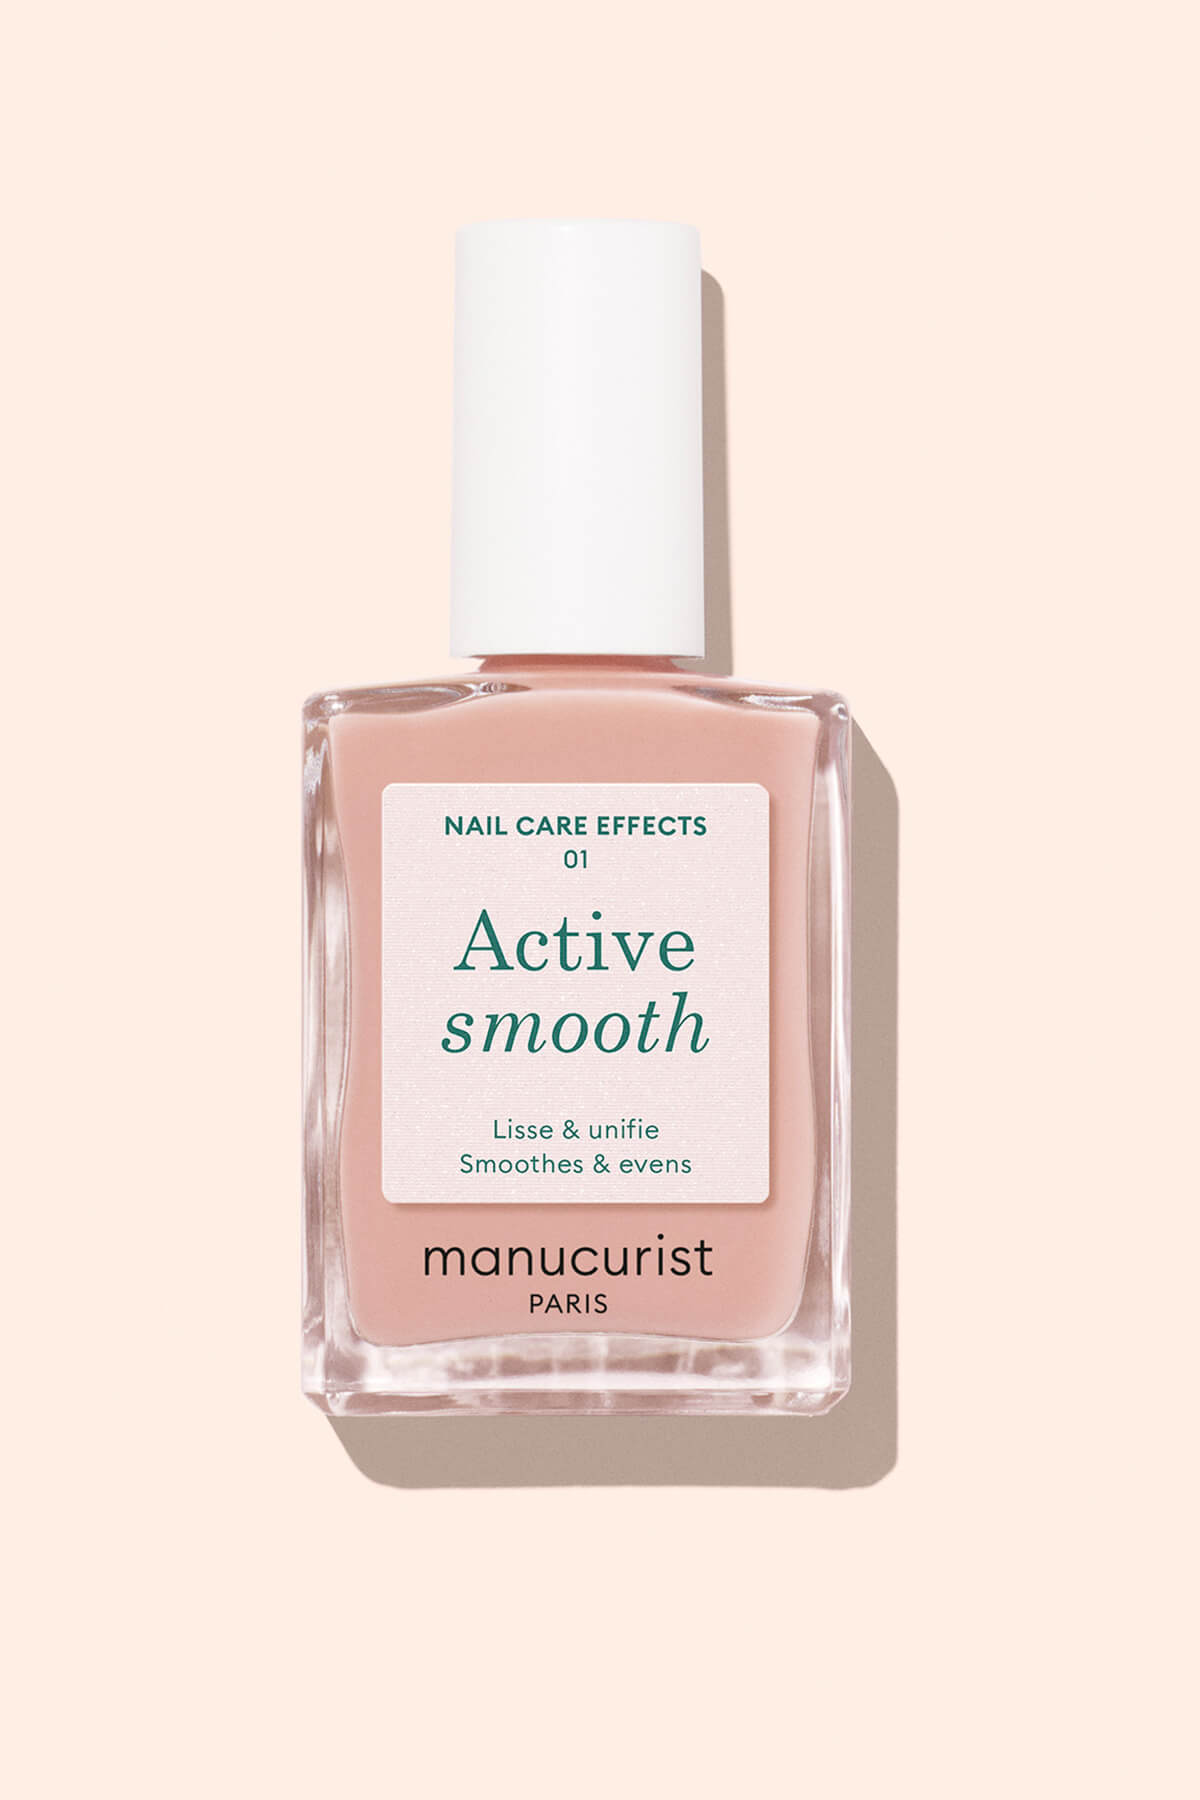
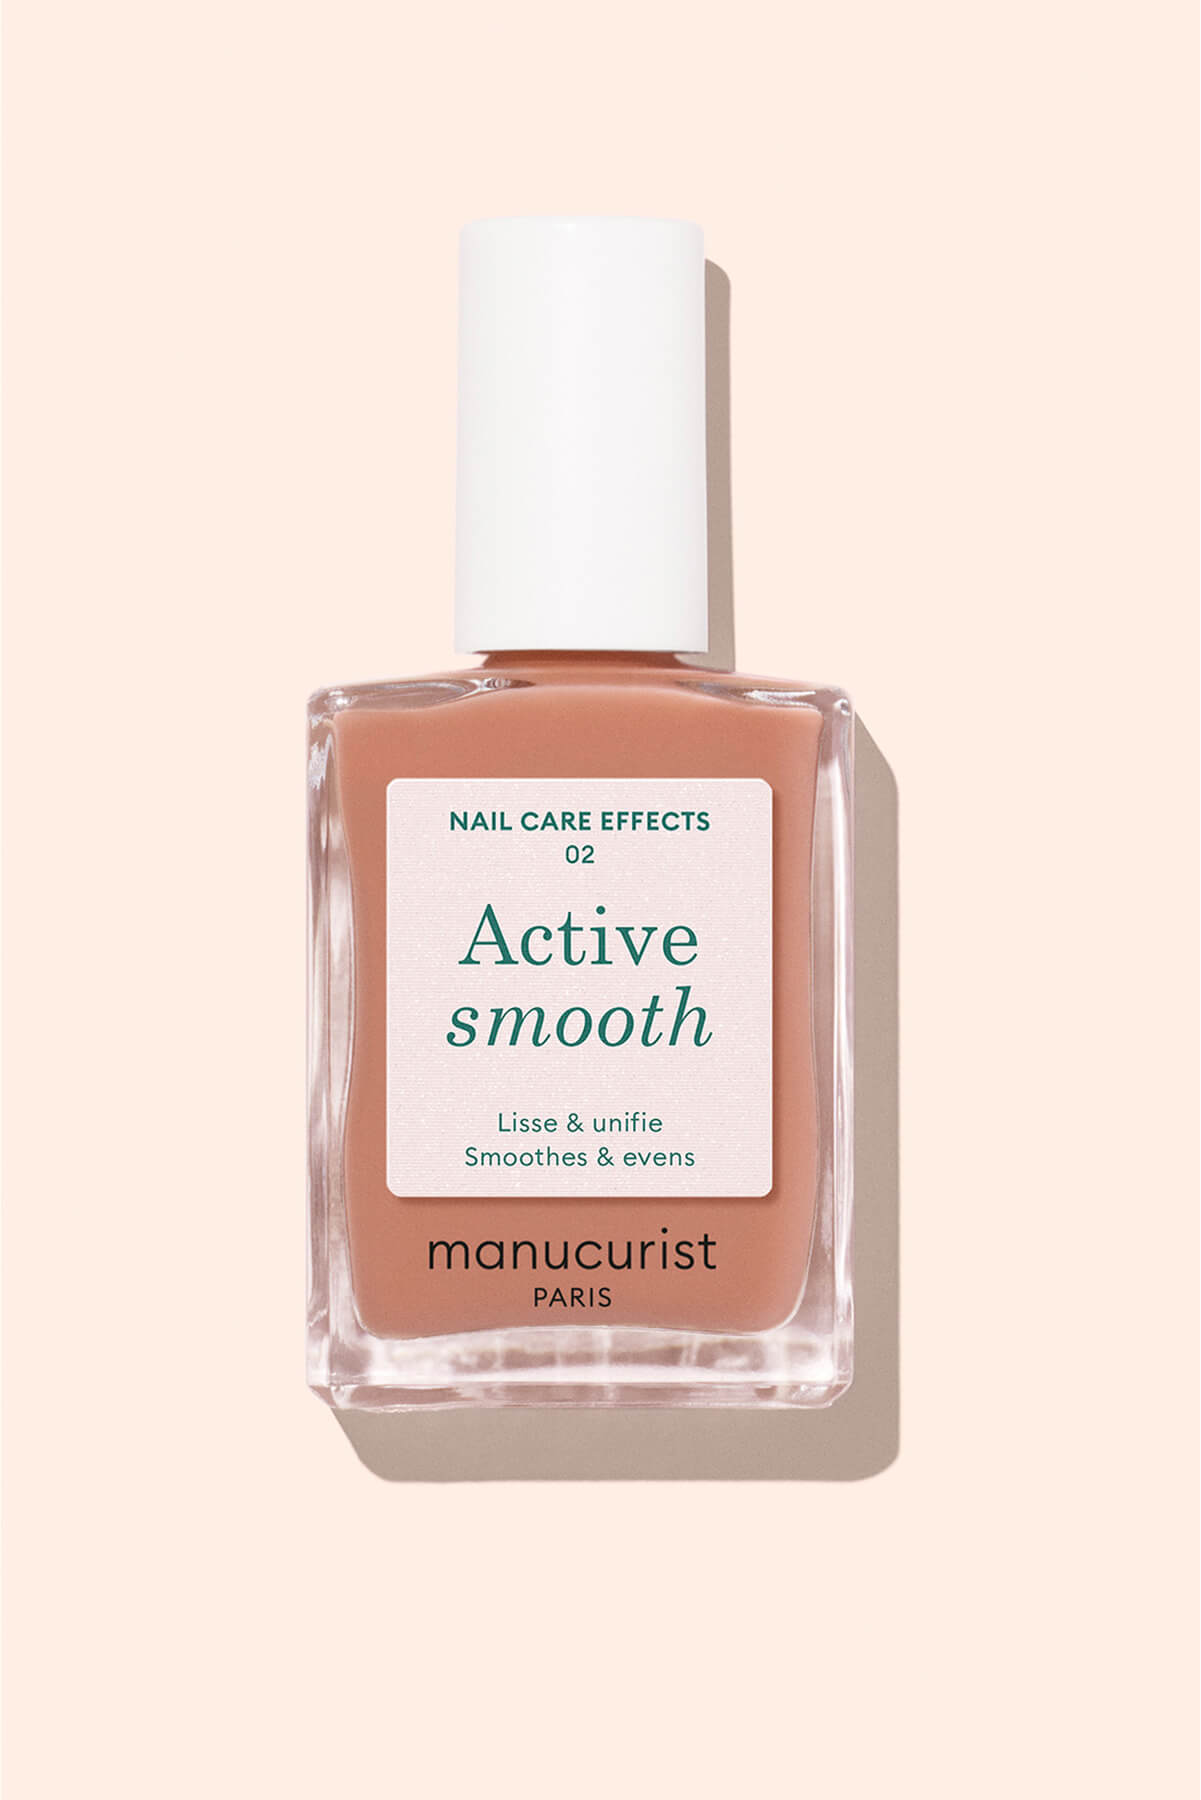
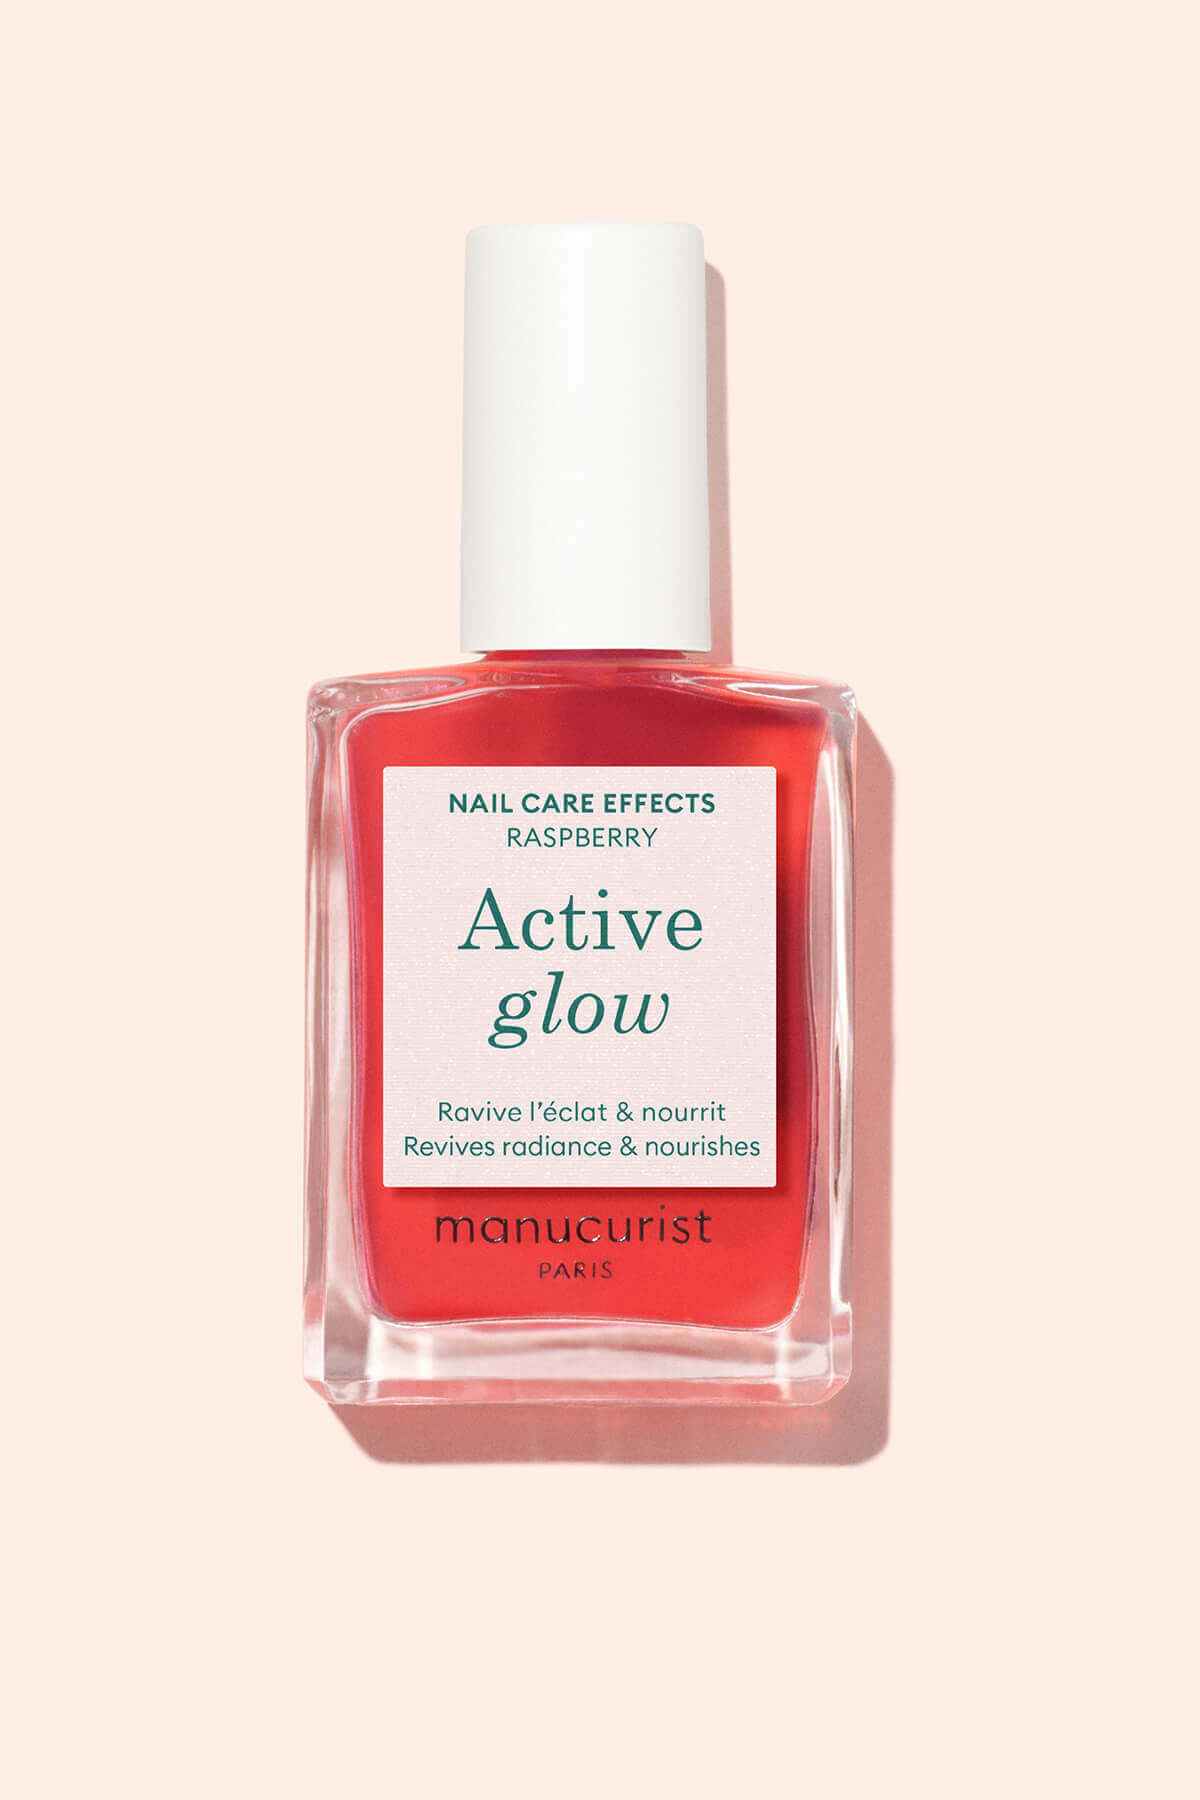
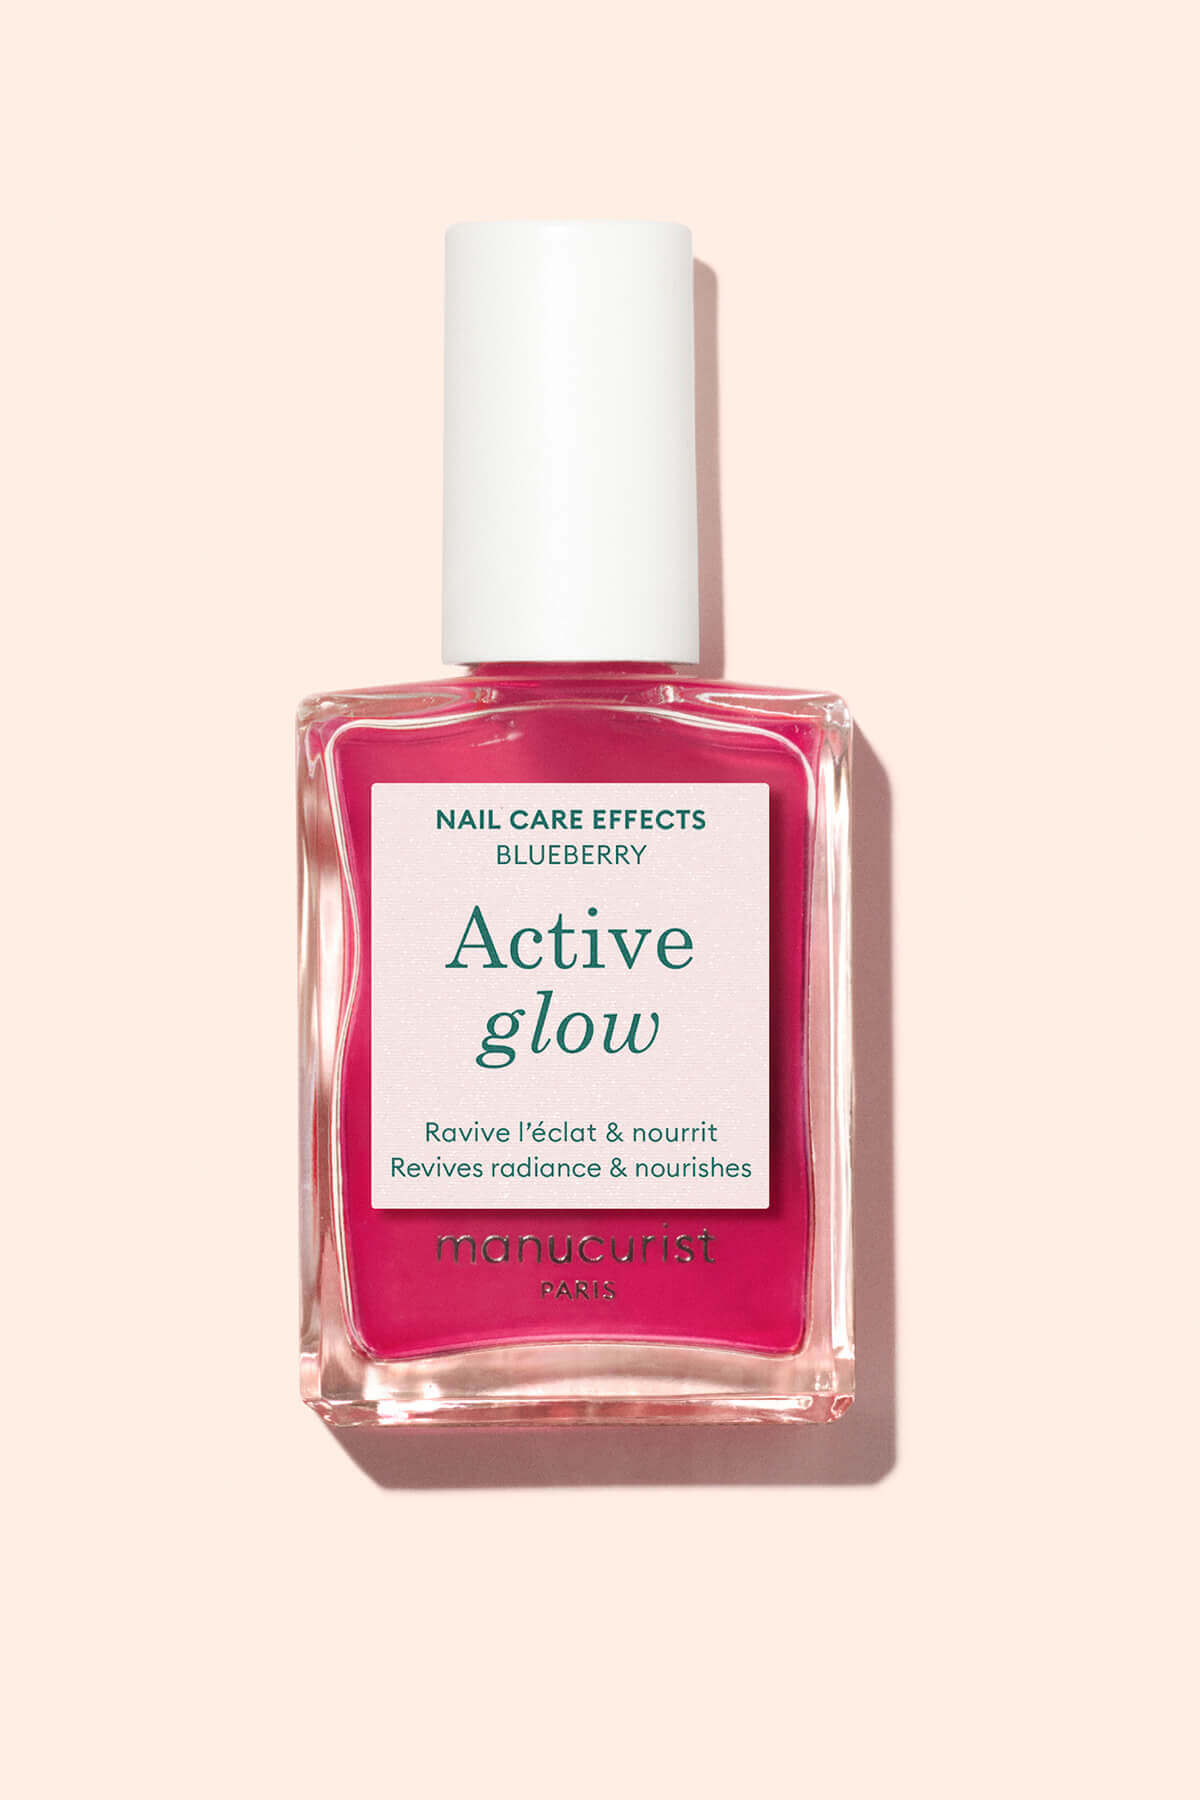
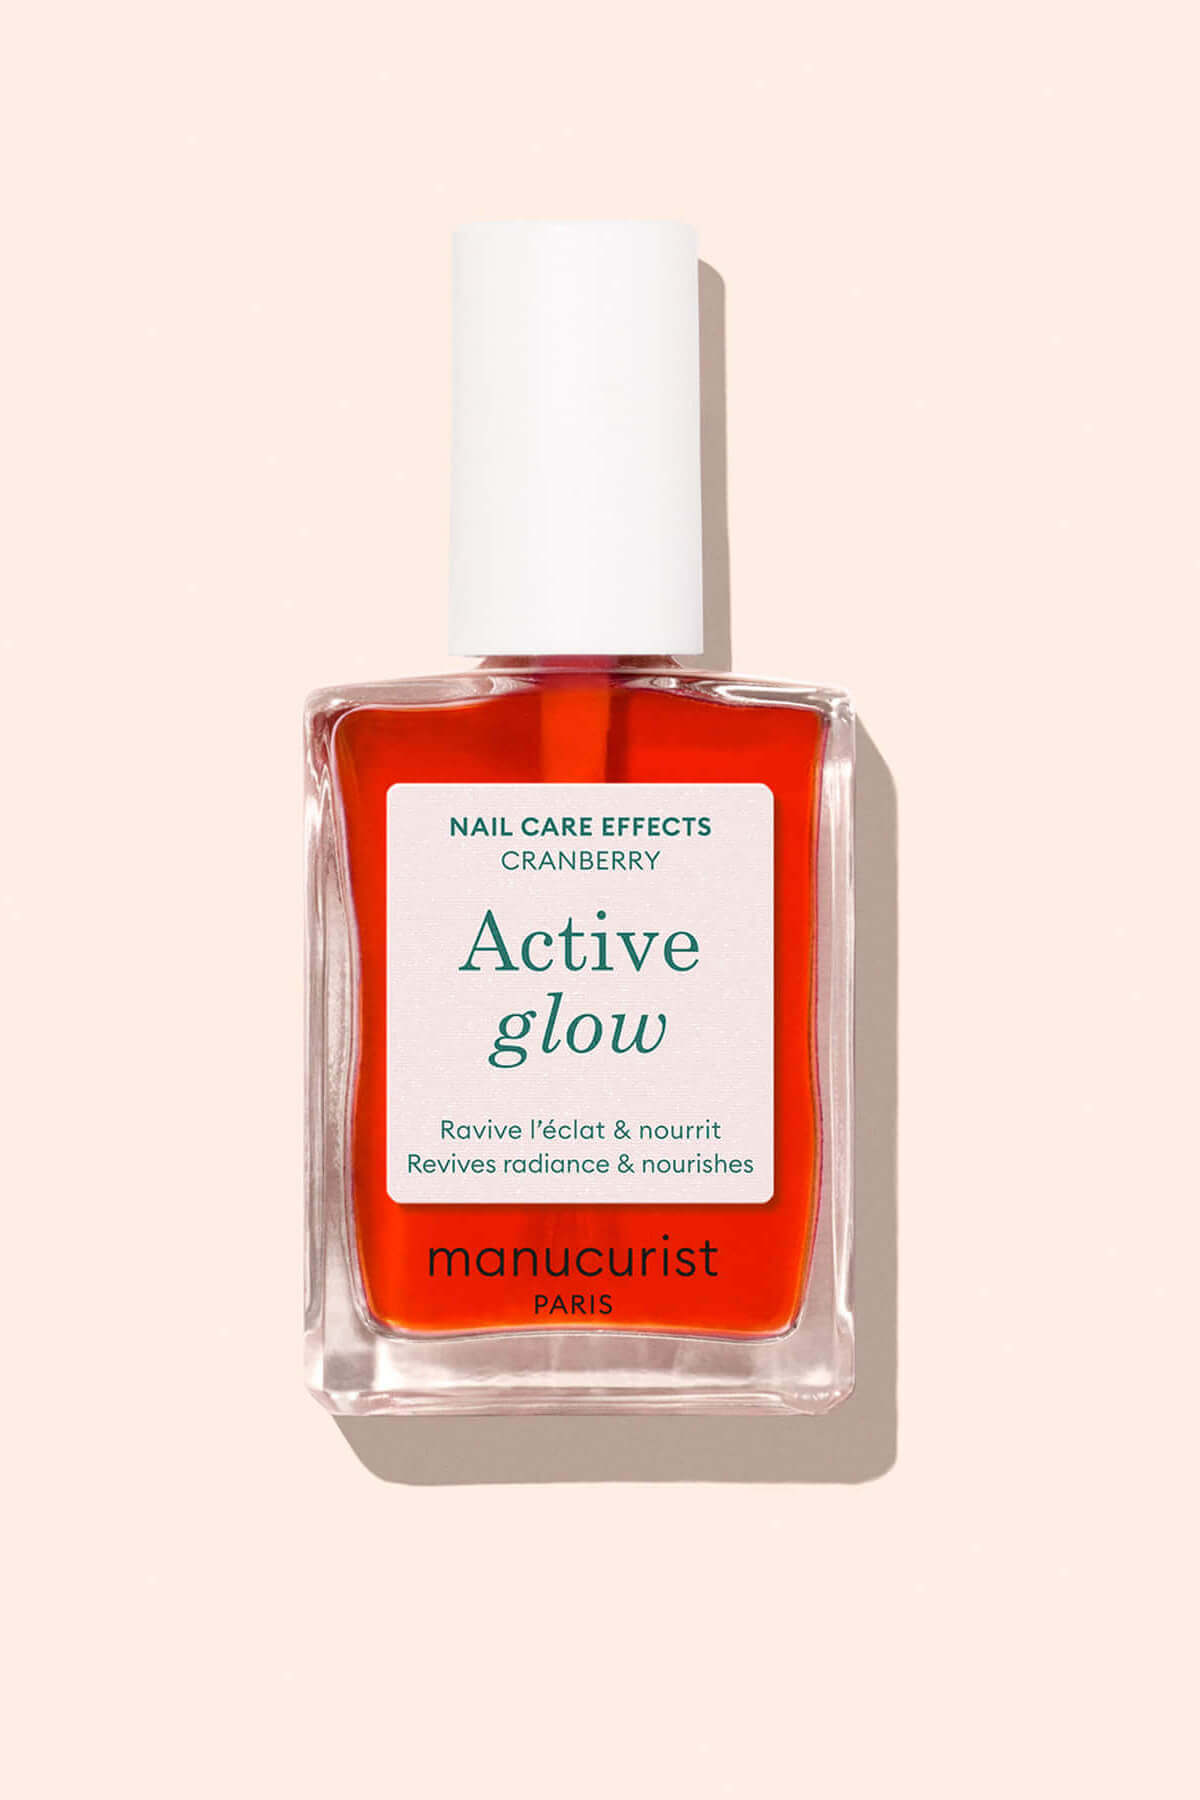
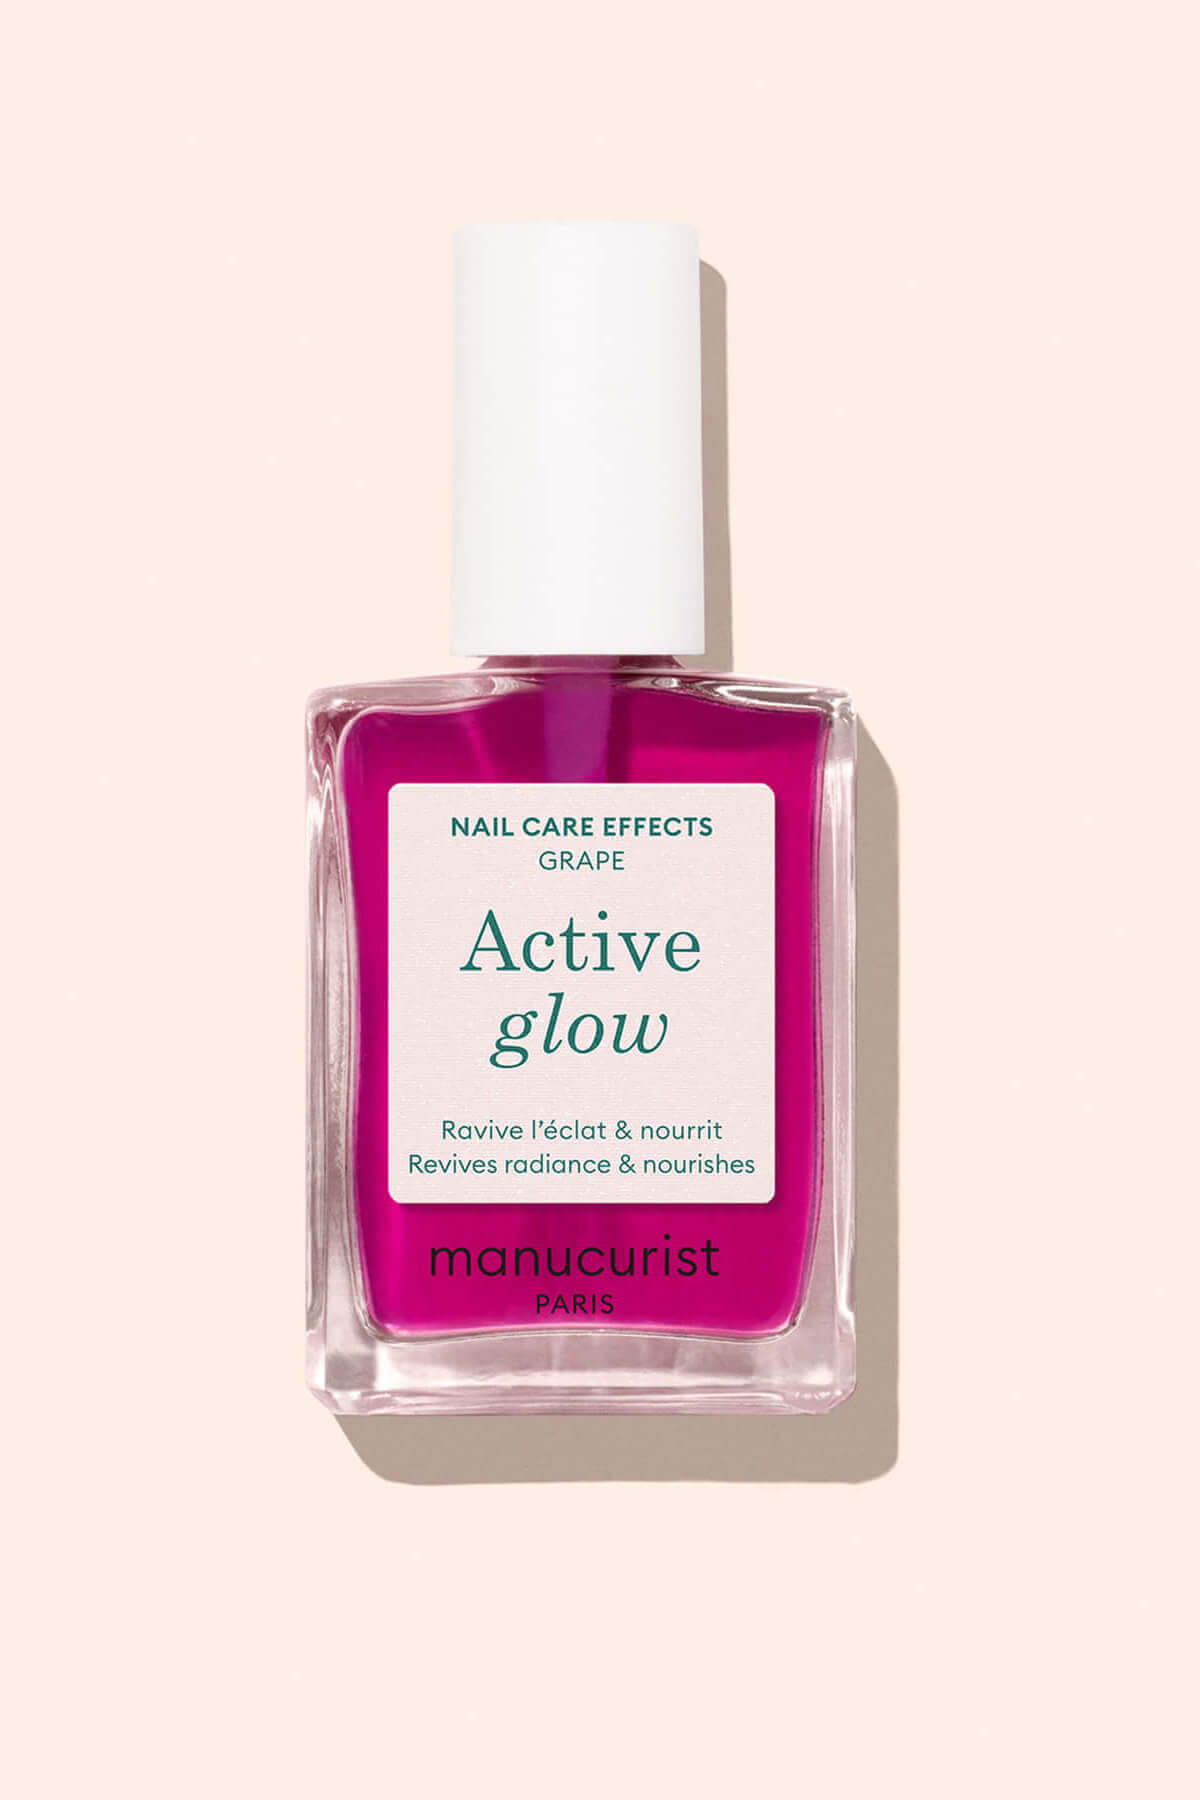
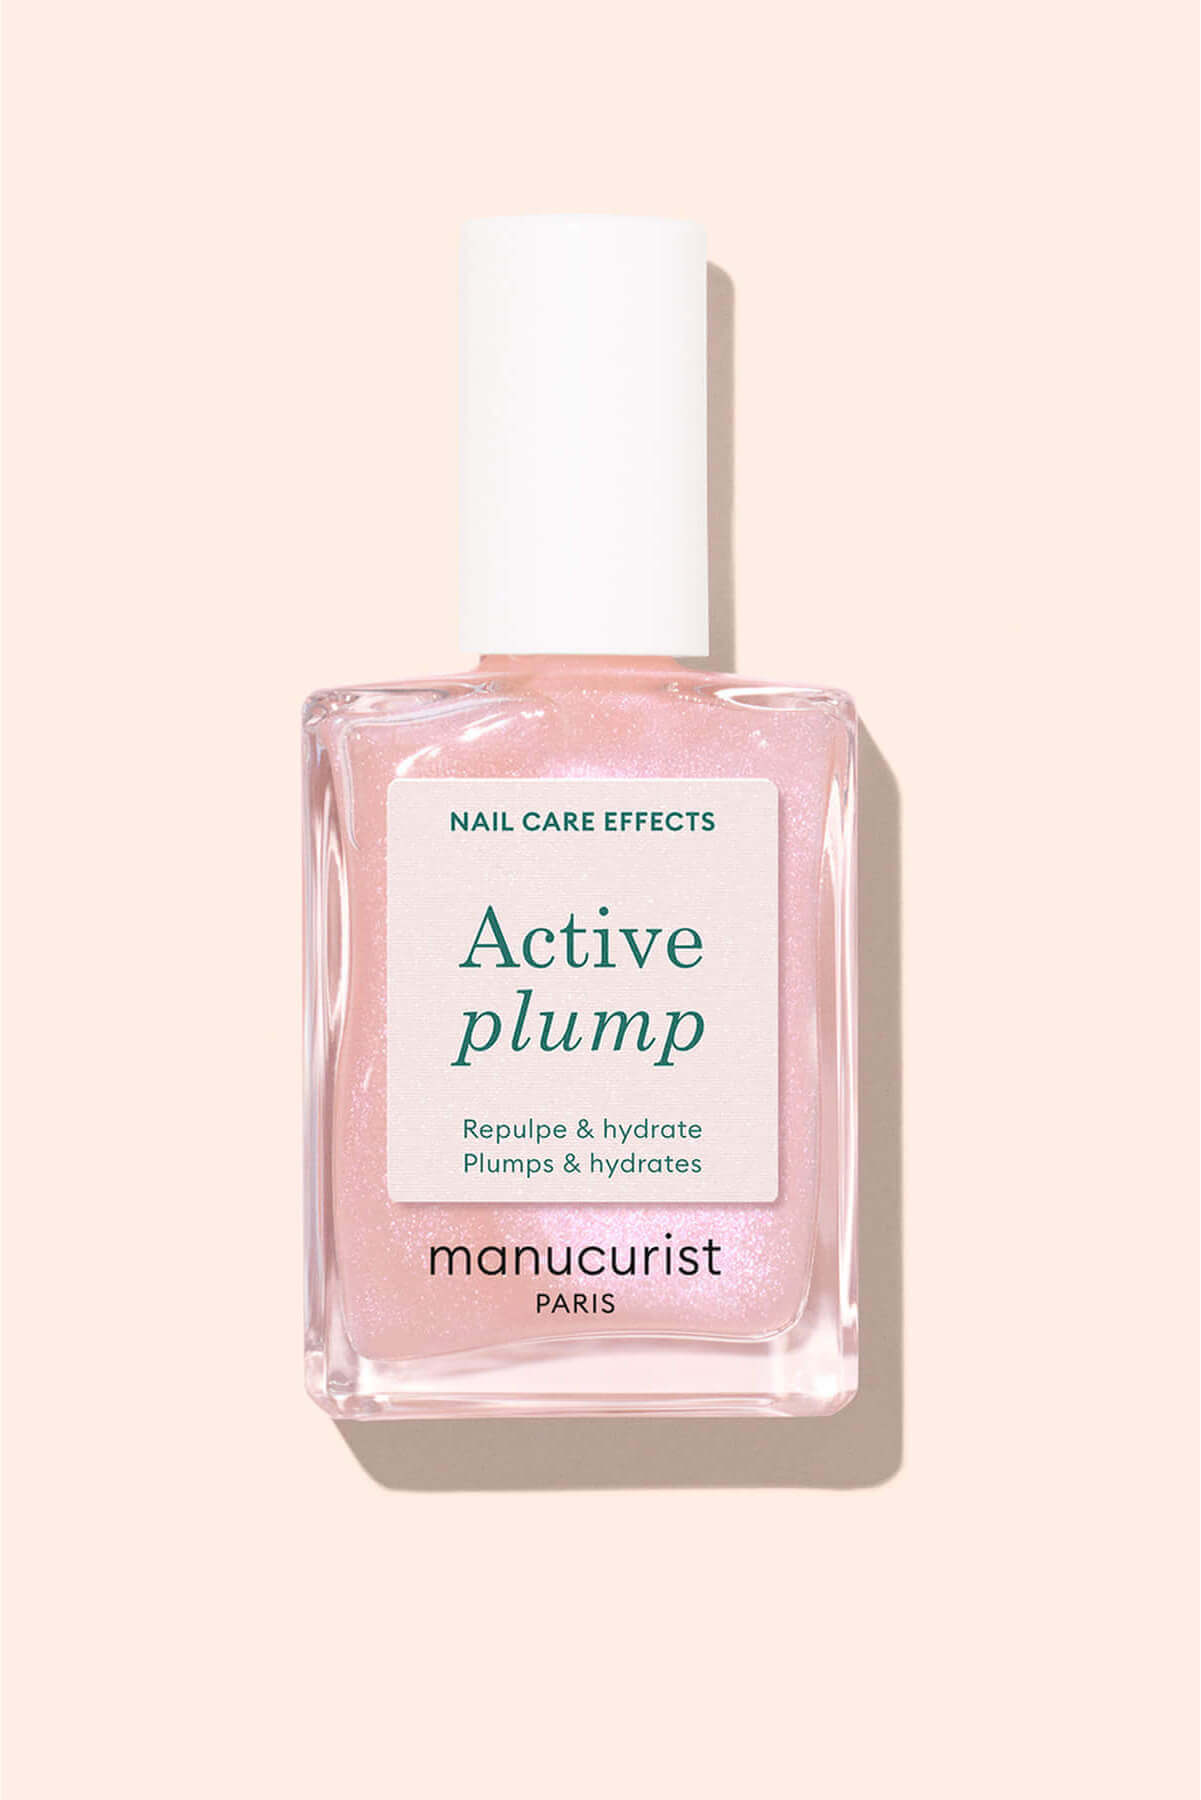
Active™ polishes with illuminating effect
For pearl nails that combine care and glow, the Active™ treatment polishes with highlighting effect are your best allies. These hybrid formulas, enriched with fortifying actives, deliver a radiant finish while caring for the nail plate. Even mermaids know that true beauty starts with health.
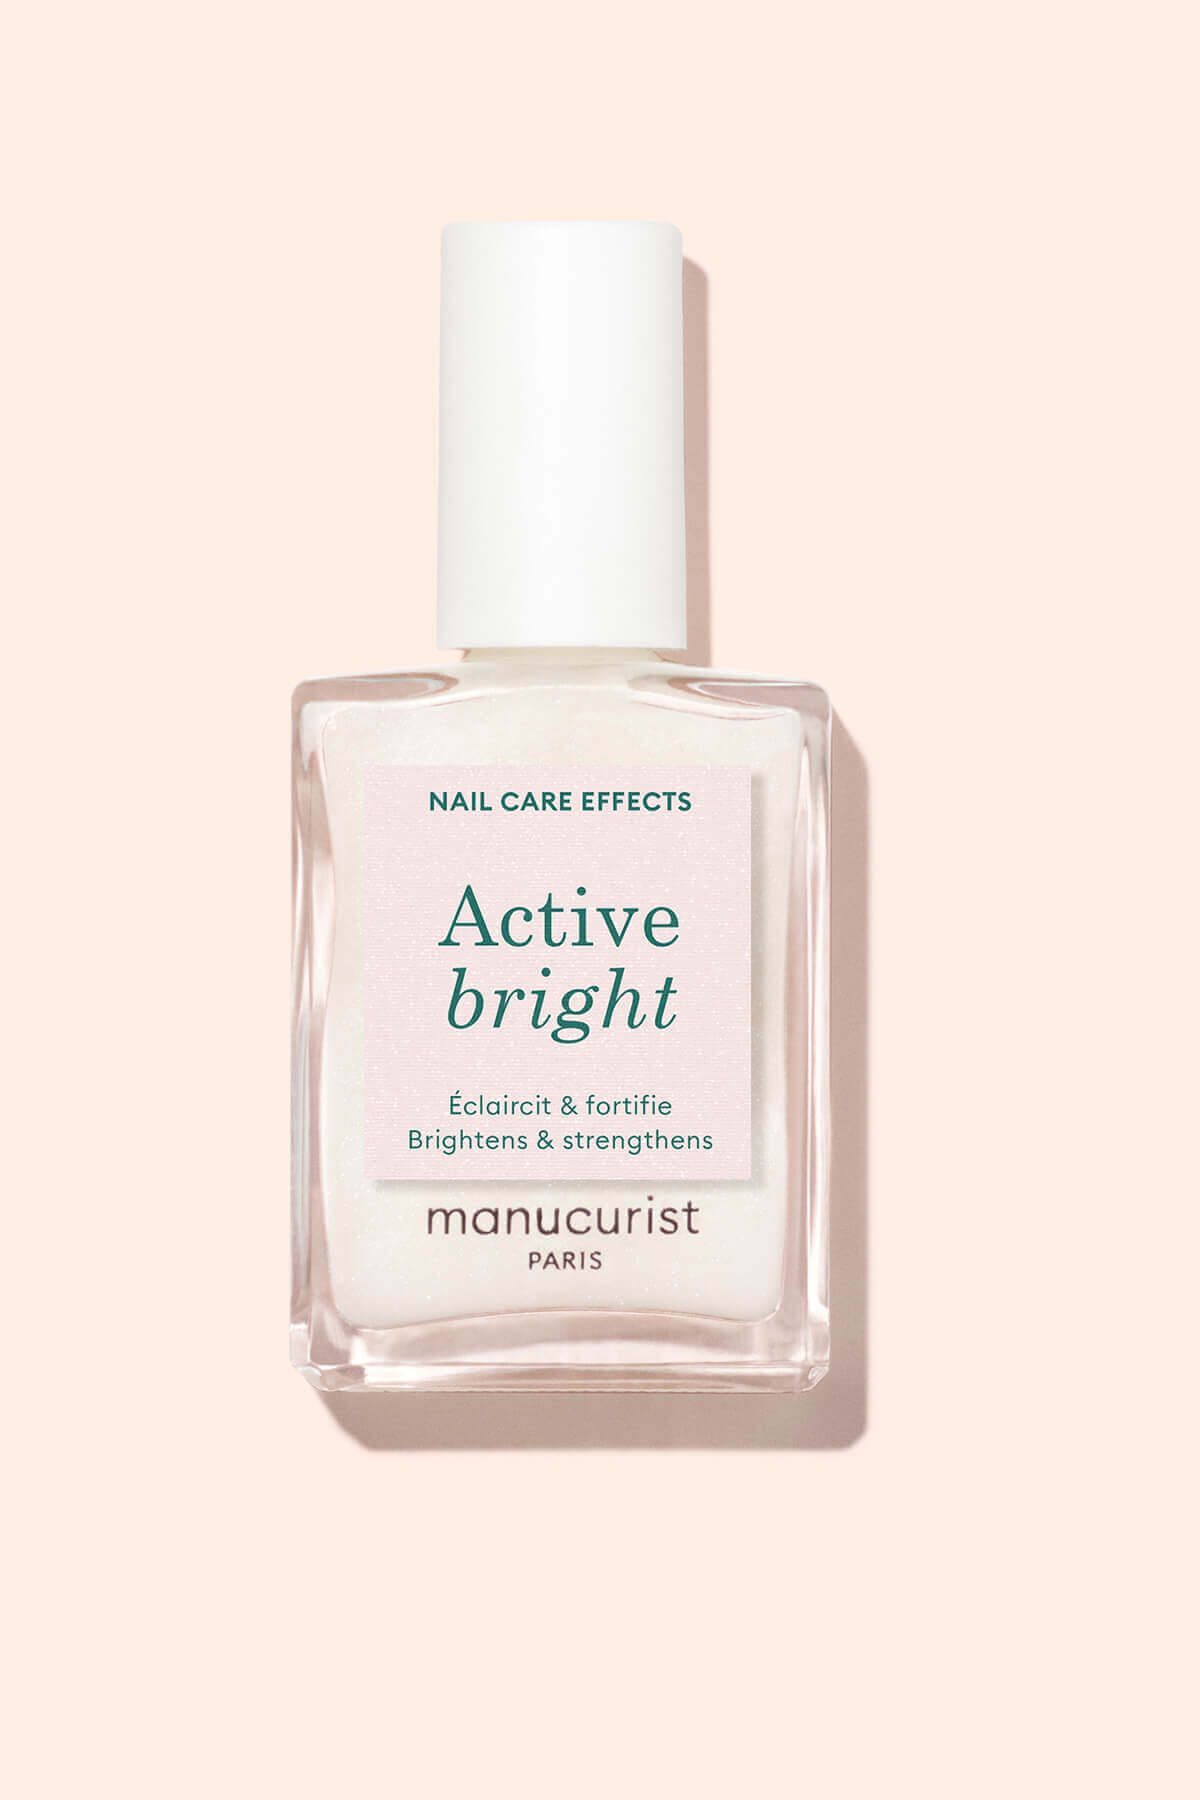
Active Bright: Ideal for reviving dull nails, this treatment leaves a bright white pearly veil while strengthening the nail’s natural structure. The result? A visibly firmer, fresher and more radiant nail.
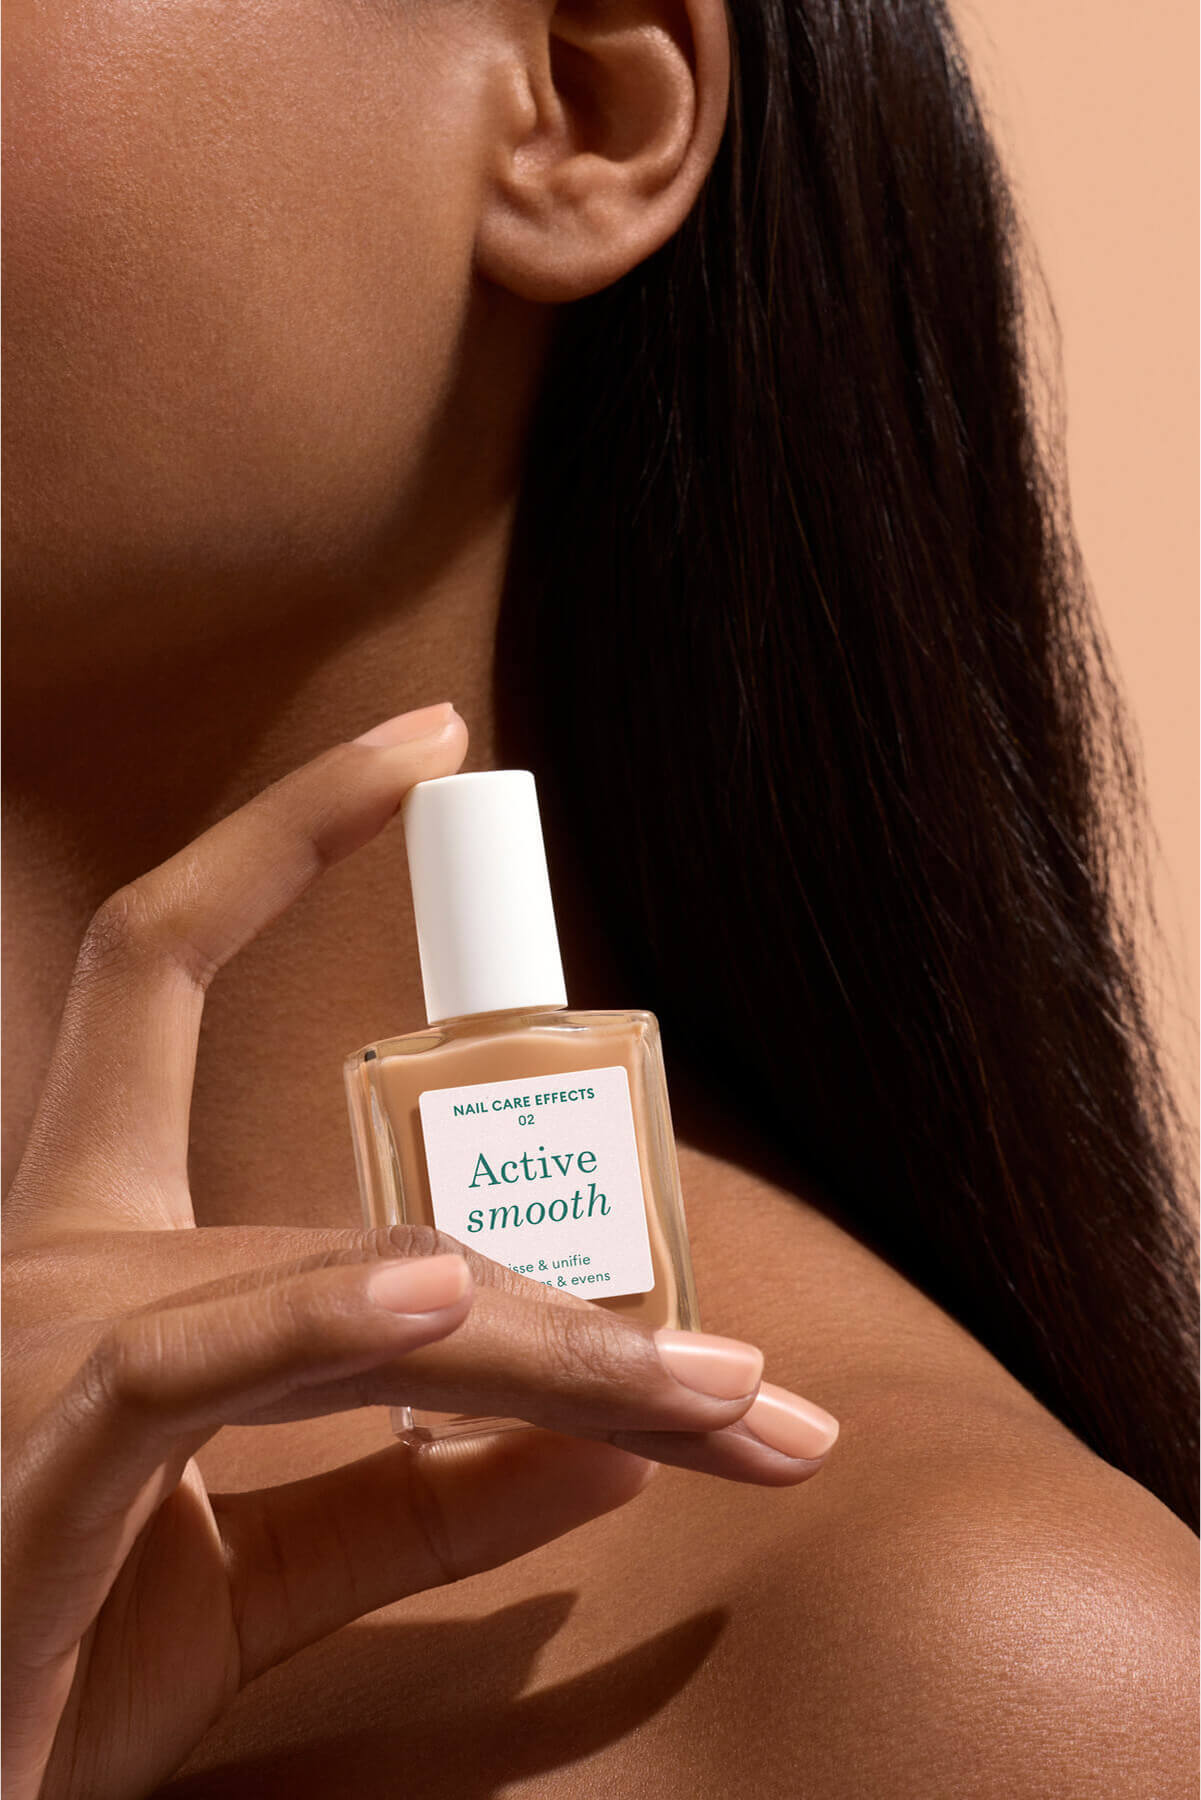
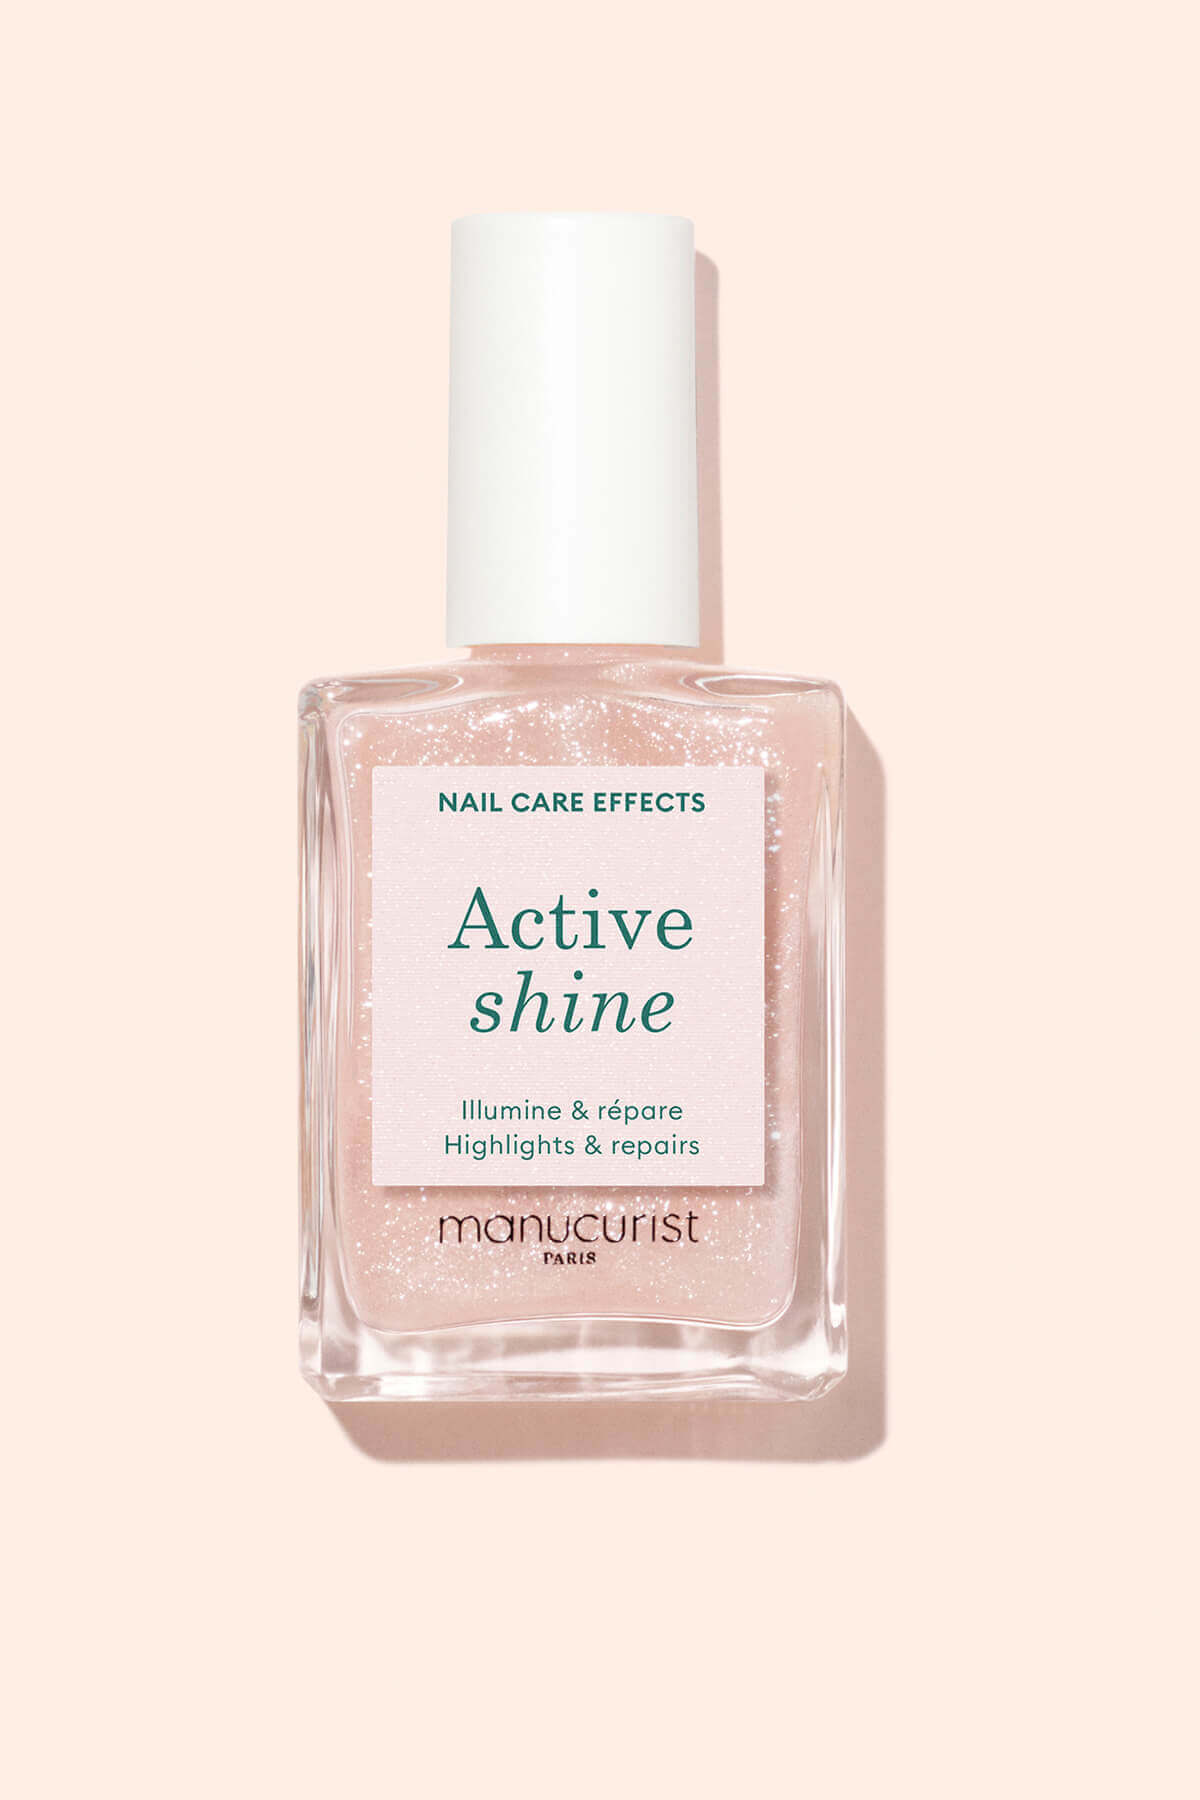
Active Shine: Halfway between a gloss and a highlighter, it enhances nails with a semi-sheer pearly beige glow. A perfecting polish that strengthens and brings life to your nails.
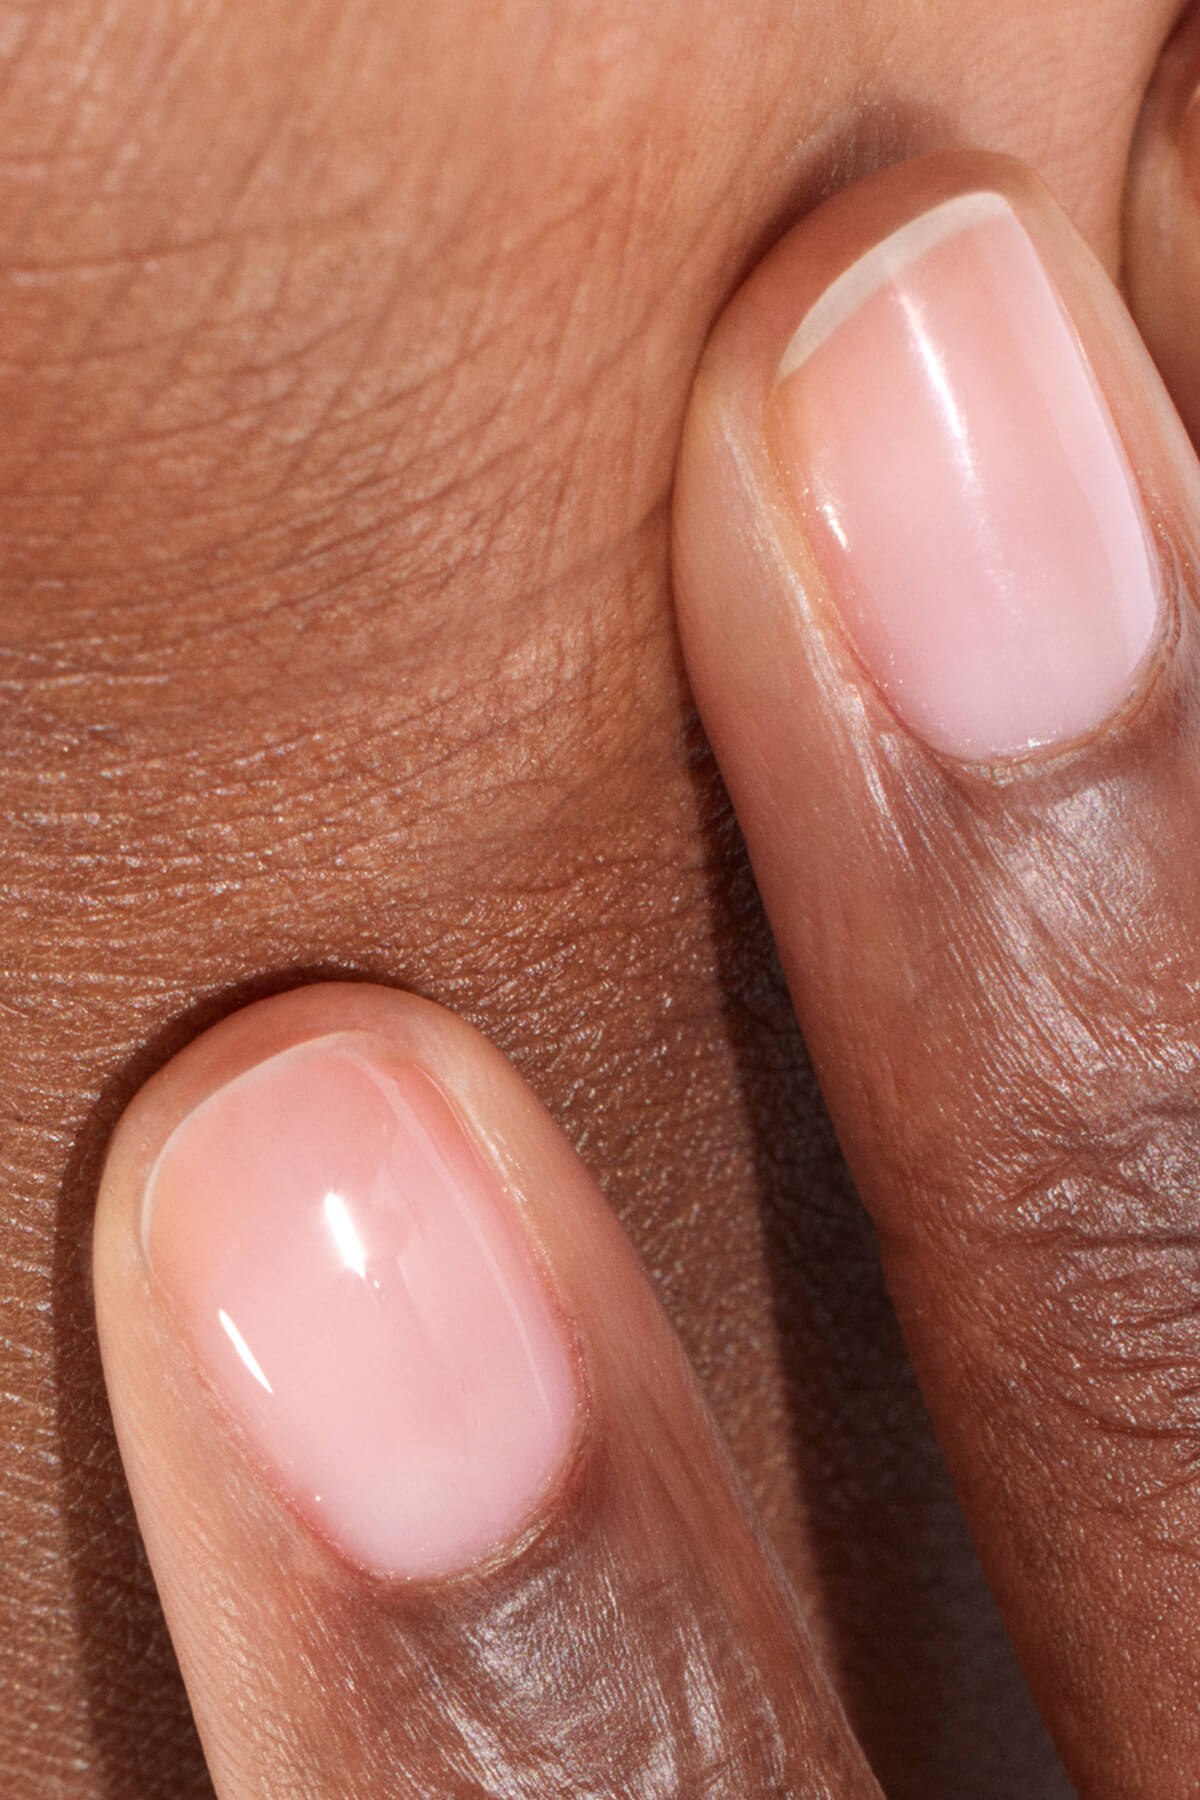
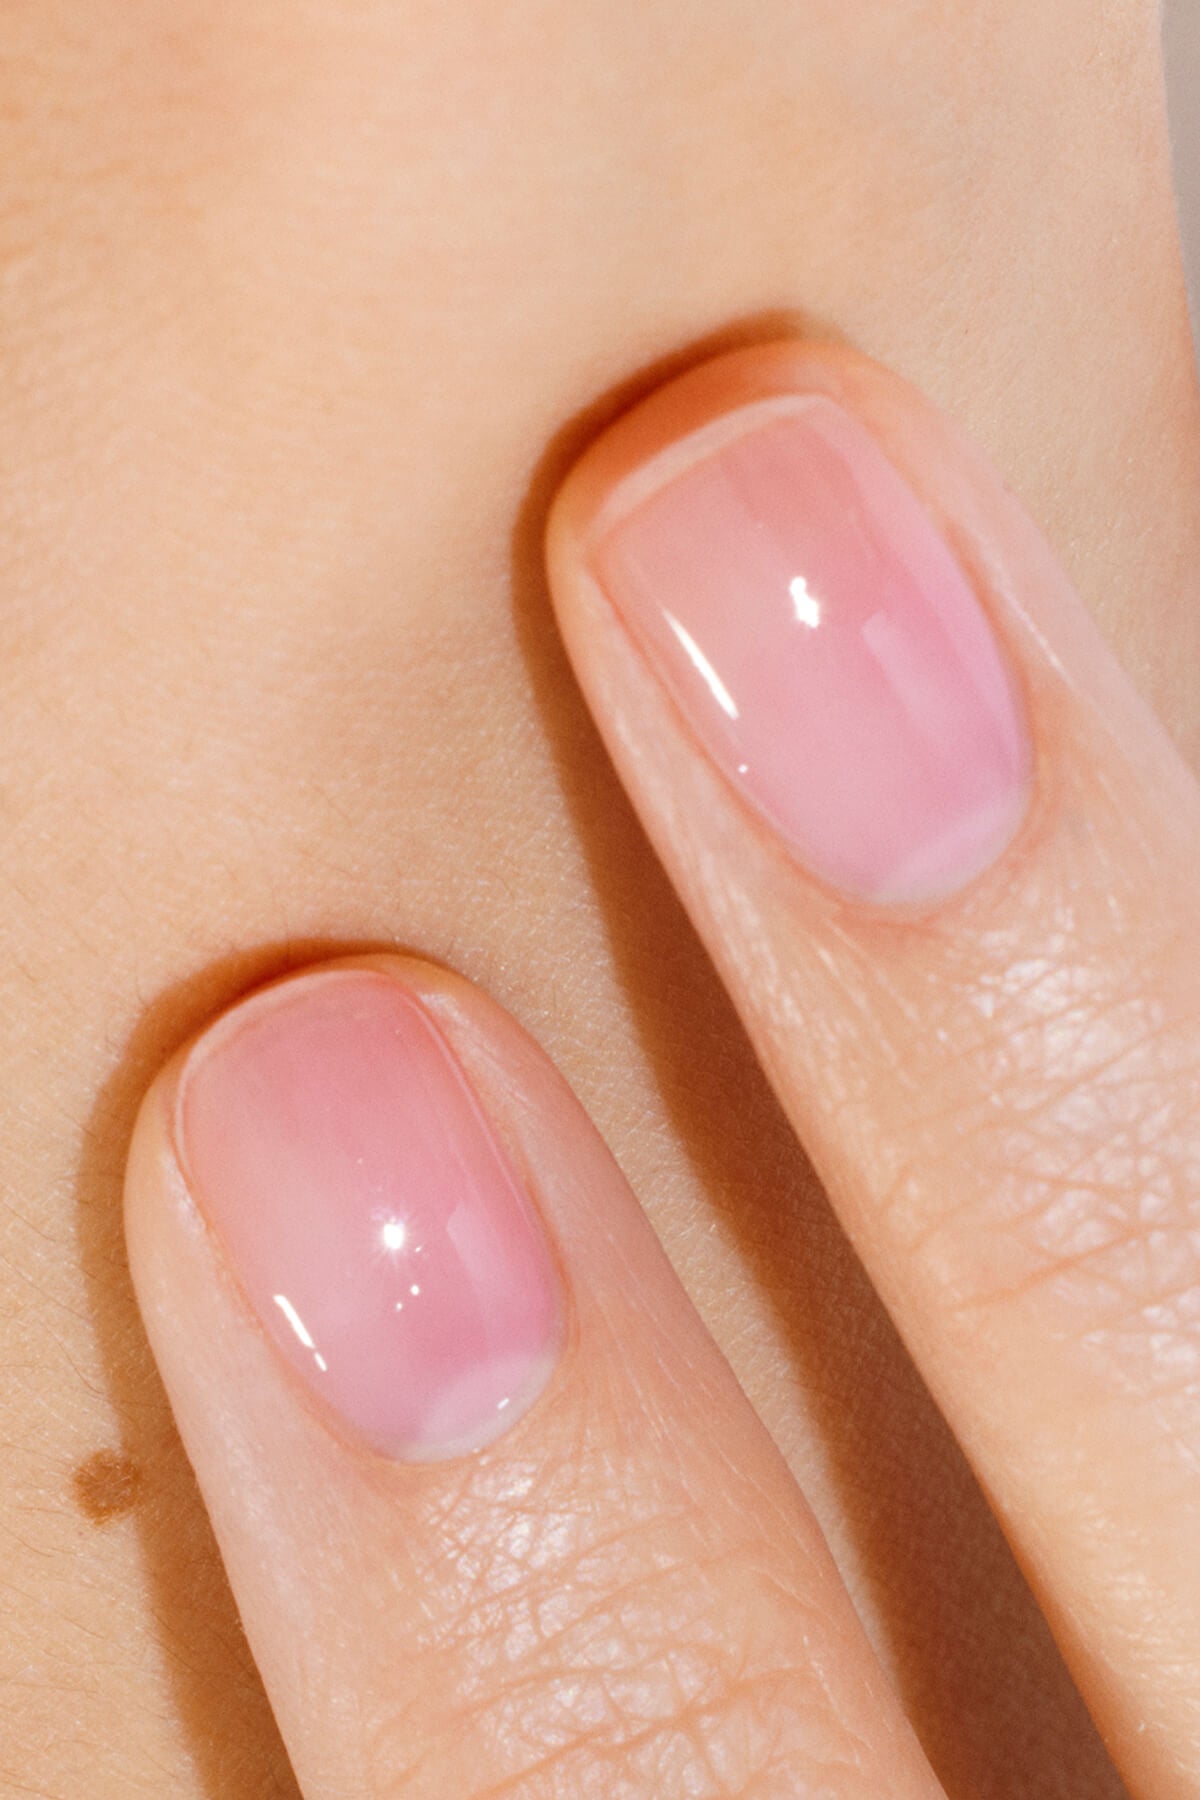
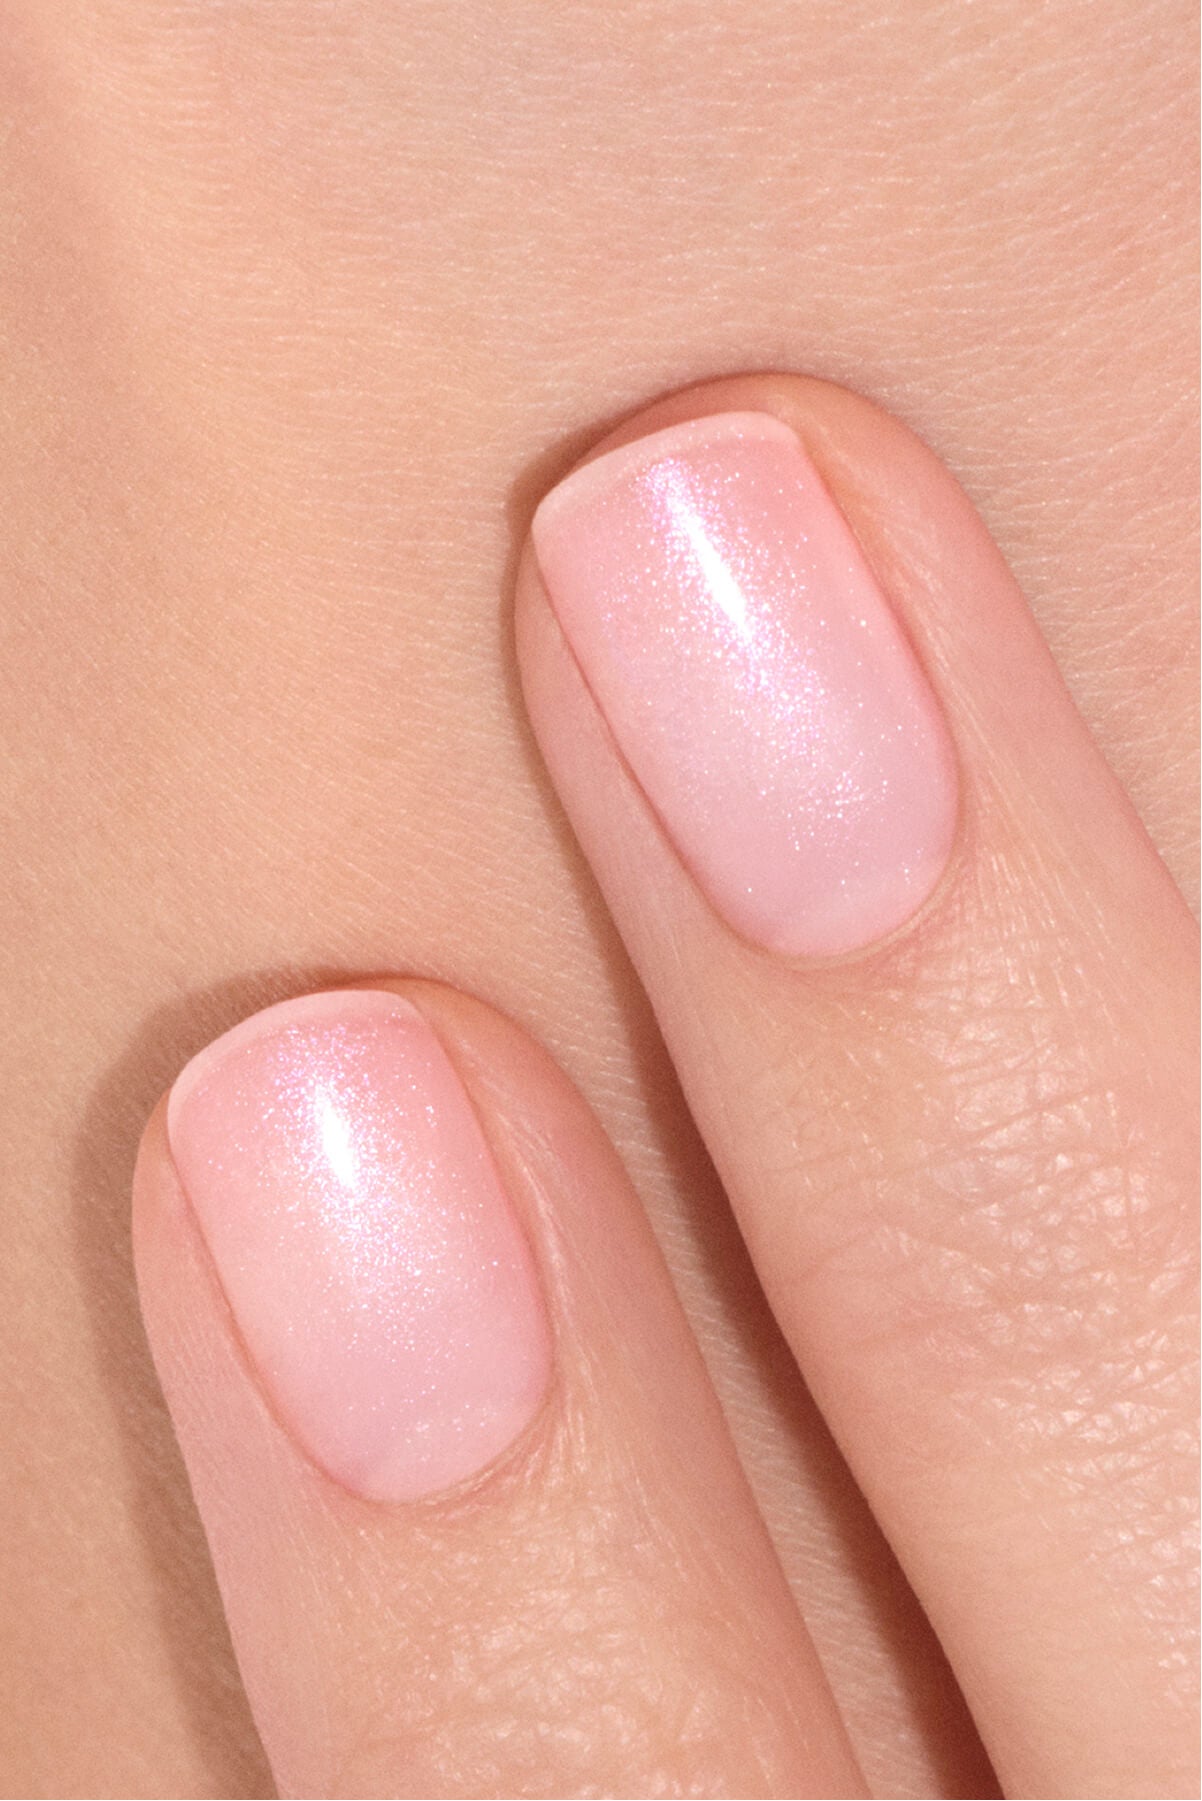
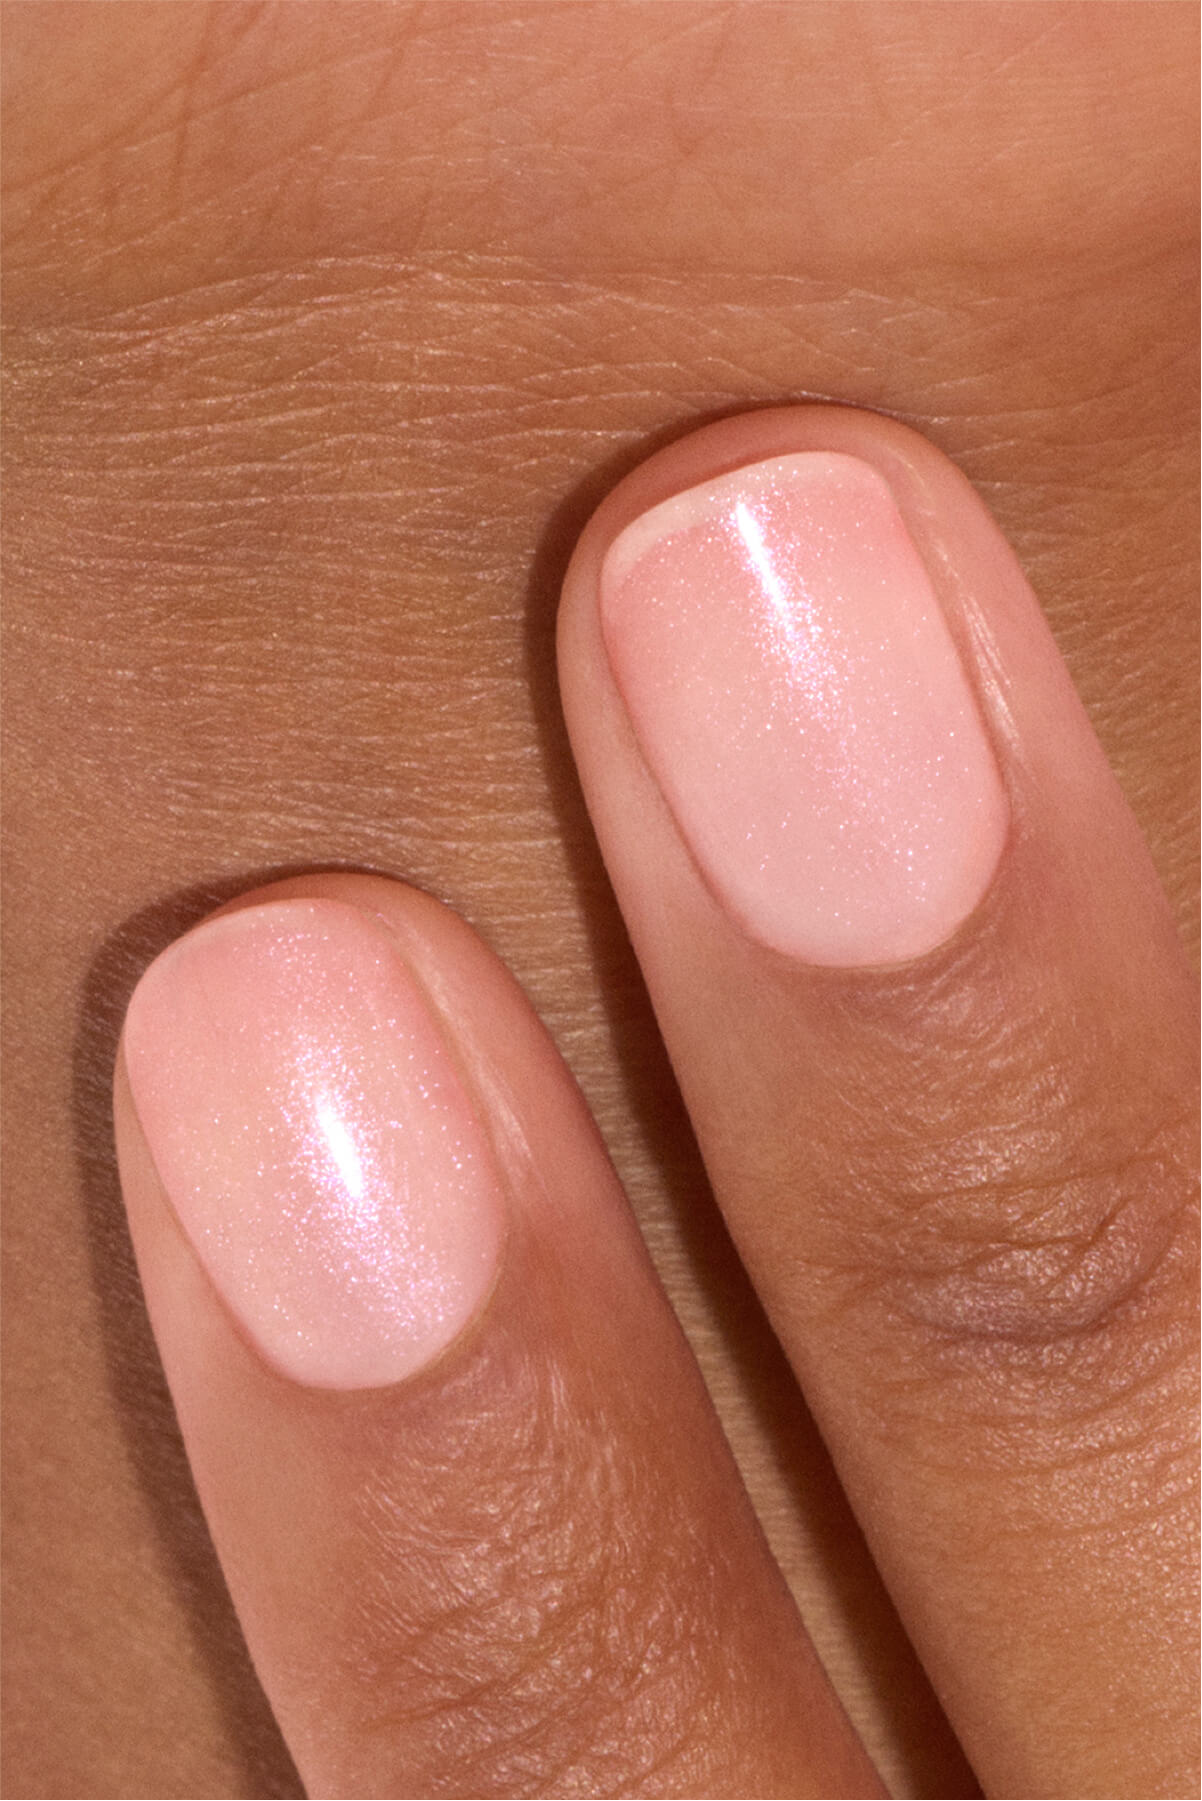
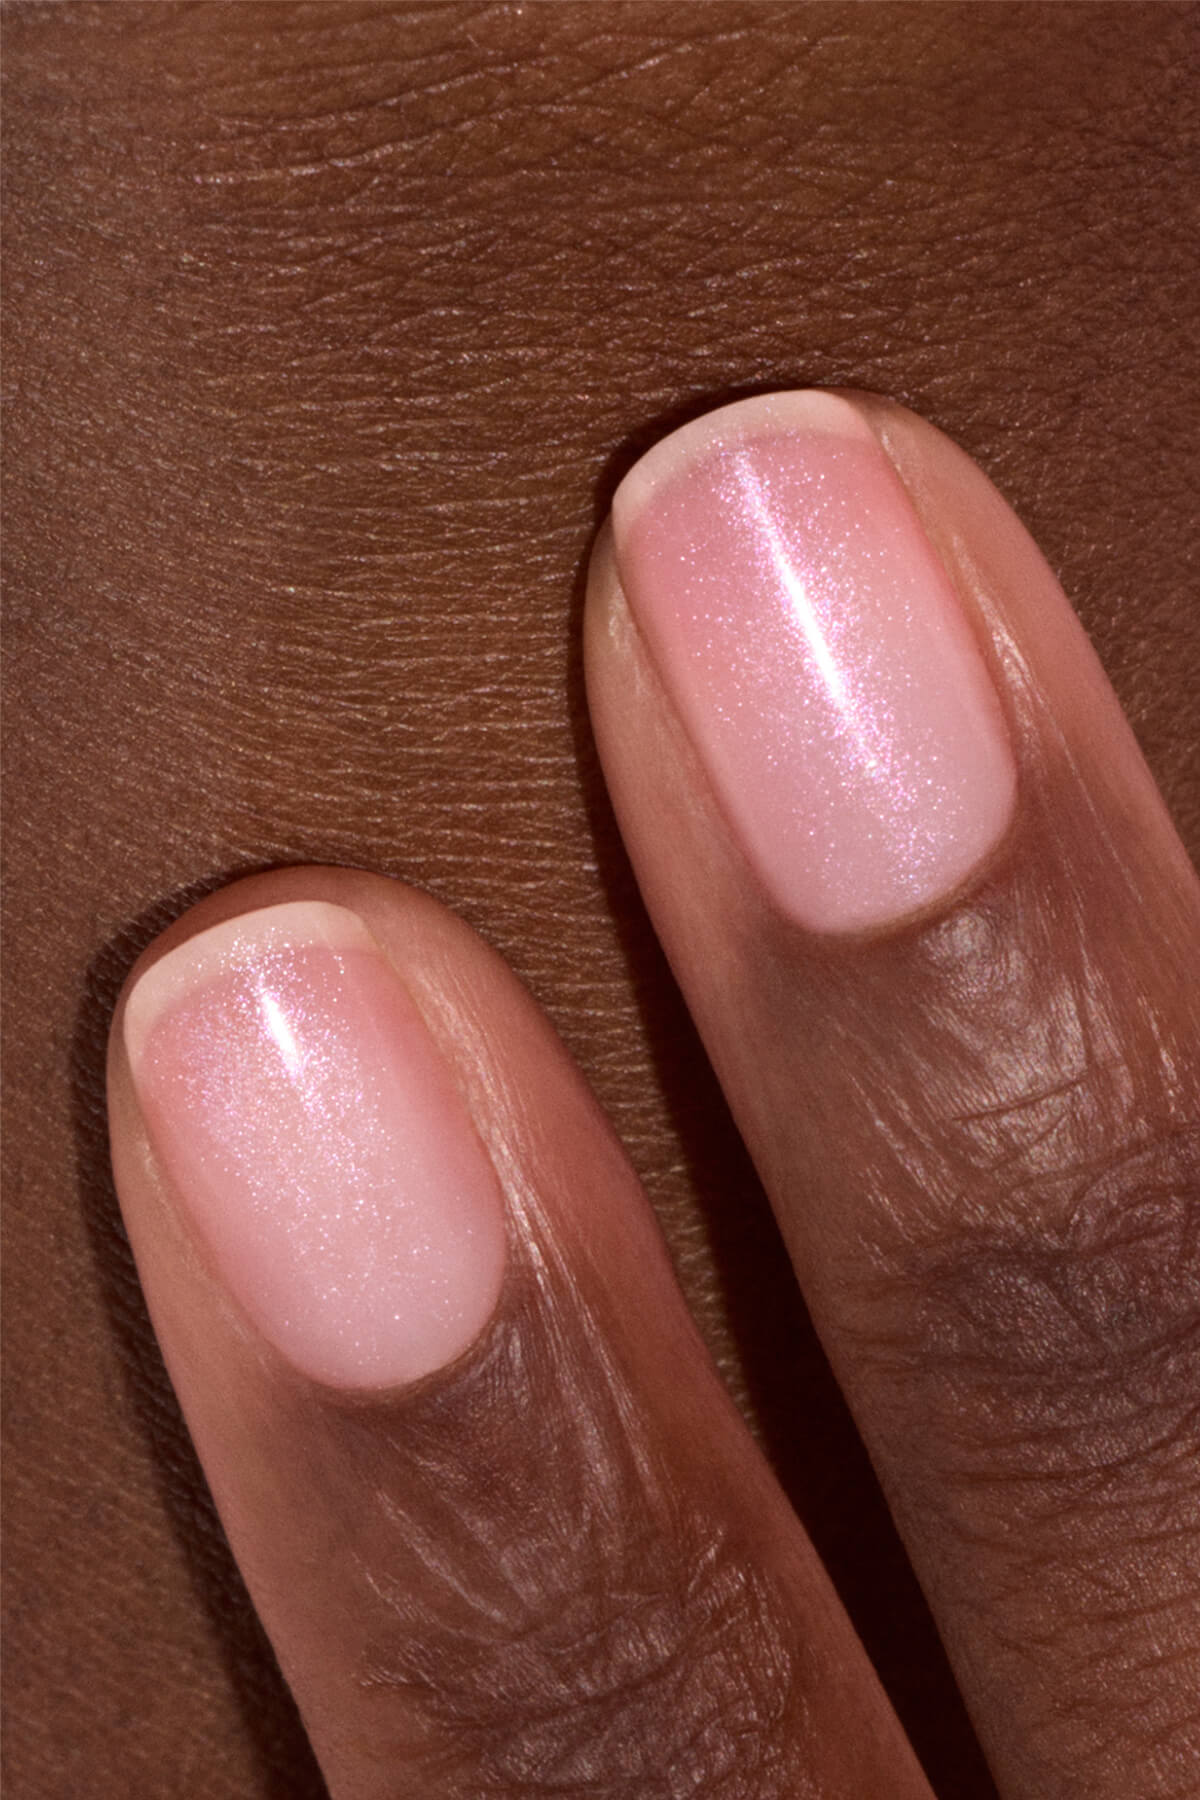
Active Plump: This plumping treatment gives nails a natural, elegant curve. With its baby pink pearly texture, it creates the illusion of hydrated, bouncy, healthy nails.
Try Active layering by combining these different polishes to find your perfect pearl nails look.

Tips for perfecting your pearl nails at home
The pearly effect may seem tricky at first, but with the right technique and tools, it’s easier than you think. Follow our routine to create a flawless pearly manicure at home—soft, luminous, and beautifully done, down to the last detail.
Your “pearl perfect” toolkit
Nacres flakes: Light flakes to apply on a slightly tacky base for an intense, luminous pearly finish. The effect? A soft, refined glow like a veil of light across the nail.
Glitter Brush: Your go-to tool for precise application of pearly powders and biodegradable glitters.
Dotting Tool: Perfect for creating raised patterns, droplet effects, or gentle wave-like lines.
Dust Brush: Helps you remove excess powder or glitter to avoid overloading your nail art, and preps the nail before applying your top coat.

Preparing the perfect canvas
- File your nails with a gentle nail file for natural nails, shaping them into the style that suits you best—oval, square, round... you decide.
- Soften cuticles with a few drops of Effective Emollient, then gently push them back using a Cuticle Pusher for a clean plate and neat edges.
- Lightly buff the surface of the nail with the Prep Sponge File to smooth and help your polish adhere better.
- Clean thoroughly with a cotton pad soaked in Nail Cleanser or a gentle acetone-free remover to remove any dust or oil and ensure lasting wear.

👉 Want to learn more? Check out our top tips for prepping your nails.
Seal and shine
Set your manicure in place with a base coat and top coat before and after applying your pearlescent polish. These layers protect the nail, lock in the look, extend wear, and amplify shine. Whether you’re using classic polish or Gel Polish, choose top-quality base and top coats suited to your routine:
- with Green™ polish: Green™ Base Coat & Sunshine Top Coat
- with Green Flash™ Gel Polish: Green Flash™ Vitamin Base Coat & Green Flash™ Clear Top Coat
In short: a mermaid trend that's easy to embrace
Shimmery like a seashell, radiant like a droplet of water, pearl nails take us on a journey to a marine world that’s both delicate, sophisticated, and totally on trend. Whether you choose ready-to-use pearly or glitter polishes, go for a shimmer powder finish, or try your hand at exotic nail art with tiny pearls as the final touch, this glowing look is endlessly versatile. It’s your turn to craft your very own version of the rare pearl 🧜♀️🐚💅