You can't scroll through Instagram, TikTok or Pinterest without spotting a striped manicure. Once seen as the preserve of a few nail art pros, this trend is making a big comeback. Sleek, graphic and ultra-versatile, striped nails tick all the boxes. We've put together a complete guide to help you decode the trend, choose your colours and get the best tips for a flawless result. Grab your liner brushes, let’s go!
Striped manicure: what exactly is it?
Driven by a 1990s nostalgia and first spotted on Kylie Jenner, who helped kick-start the trend, this look sums up everything we love right now: easy-to-do nail art with instant creative impact, much like the polka dot nails.
What makes the striped manicure stand out? Its complete versatility. It works in sleek black and white, soft pastel gradients or bold neon brights, festive glitter finishes or even in a futuristic Twisted French manicure. All you need is a well-prepped nail, a smooth base colour and a few well-placed lines, and voilà: a nail art look that works in every season, with every style and for all nail shapes.

Striped nails went viral in 2025, whether as a French manicure on Kylie Jenner or in a neon version
(@nailsbyzola, @tombachik)
How do you create a striped manicure?
Part of the charm of striped nails is how accessible they are. You don’t need to be a seasoned nail artist. With the right tools and a few simple techniques, it’s easy to achieve a modern manicure with standout design. Here’s our step-by-step guide.
1. Nail prep: the game-changing step
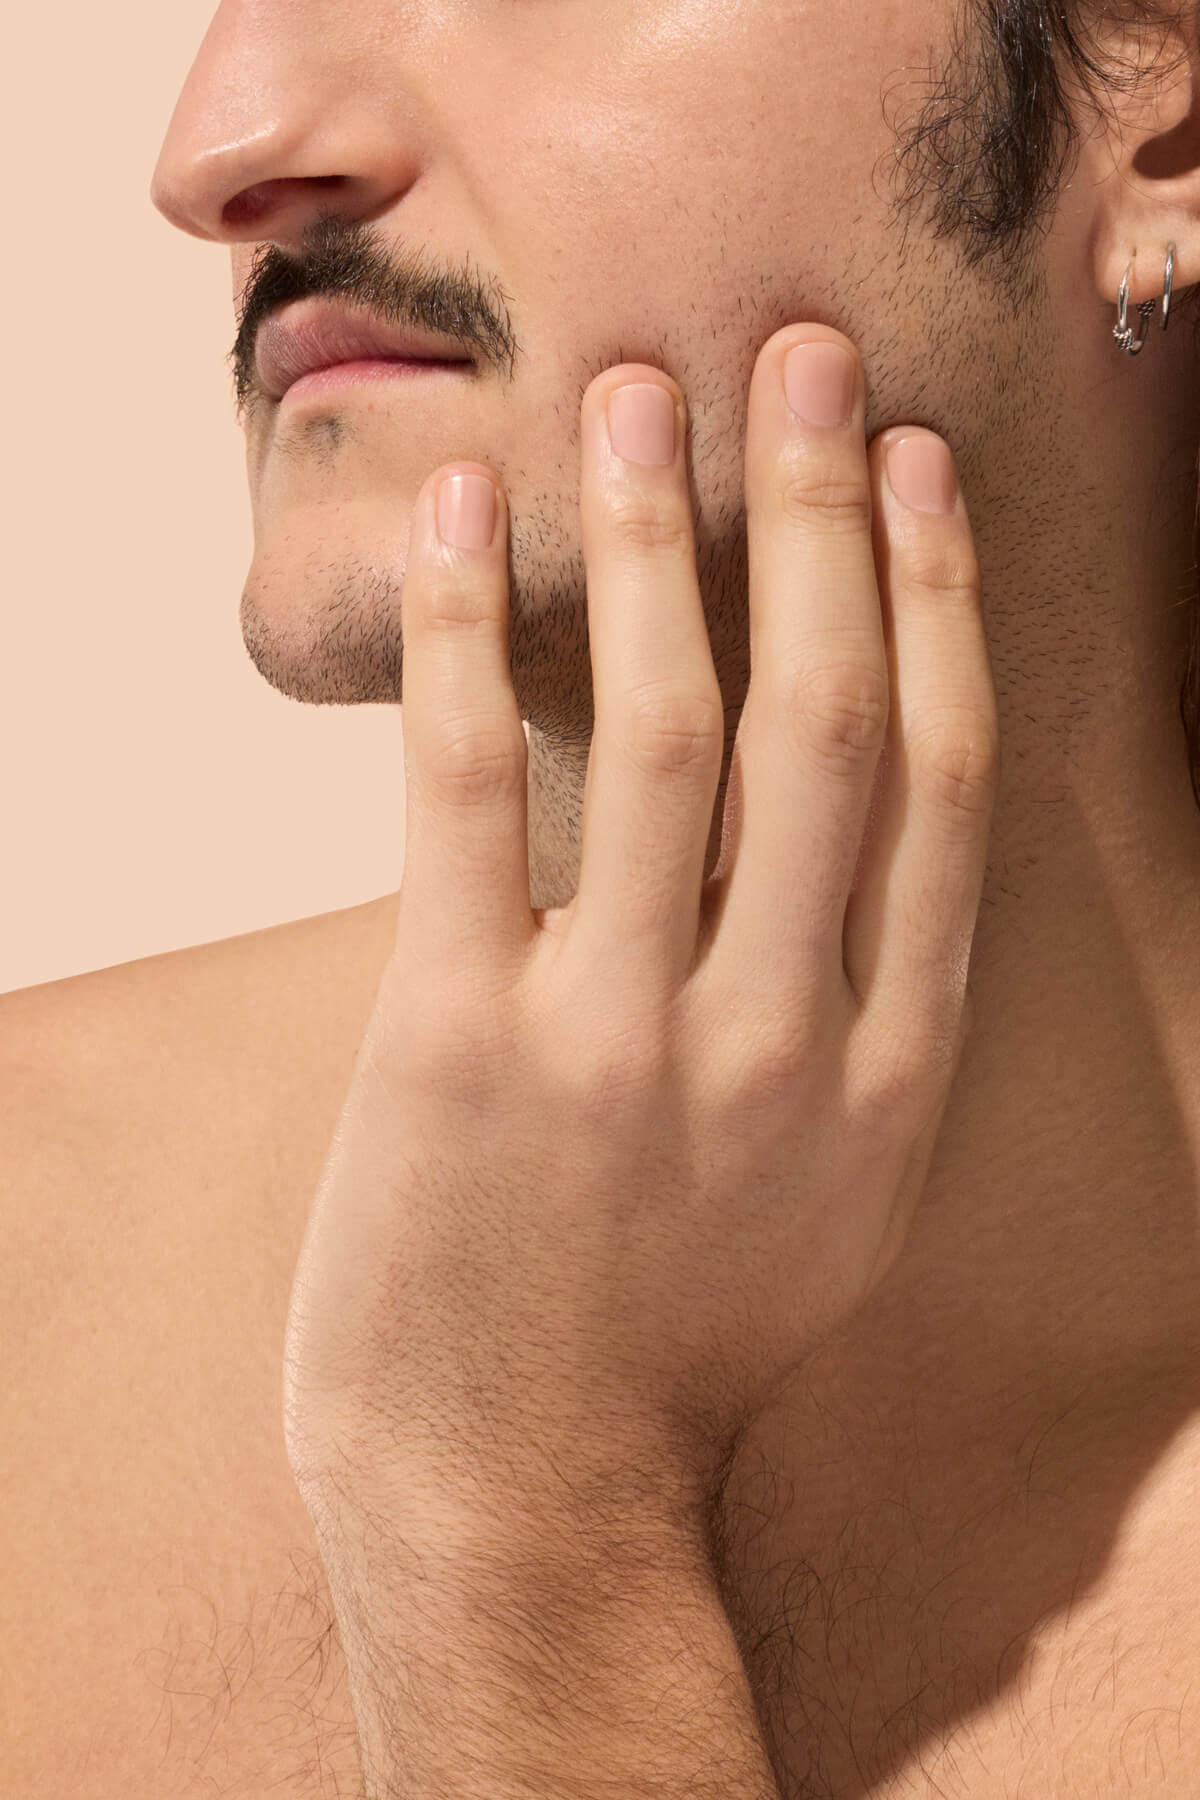
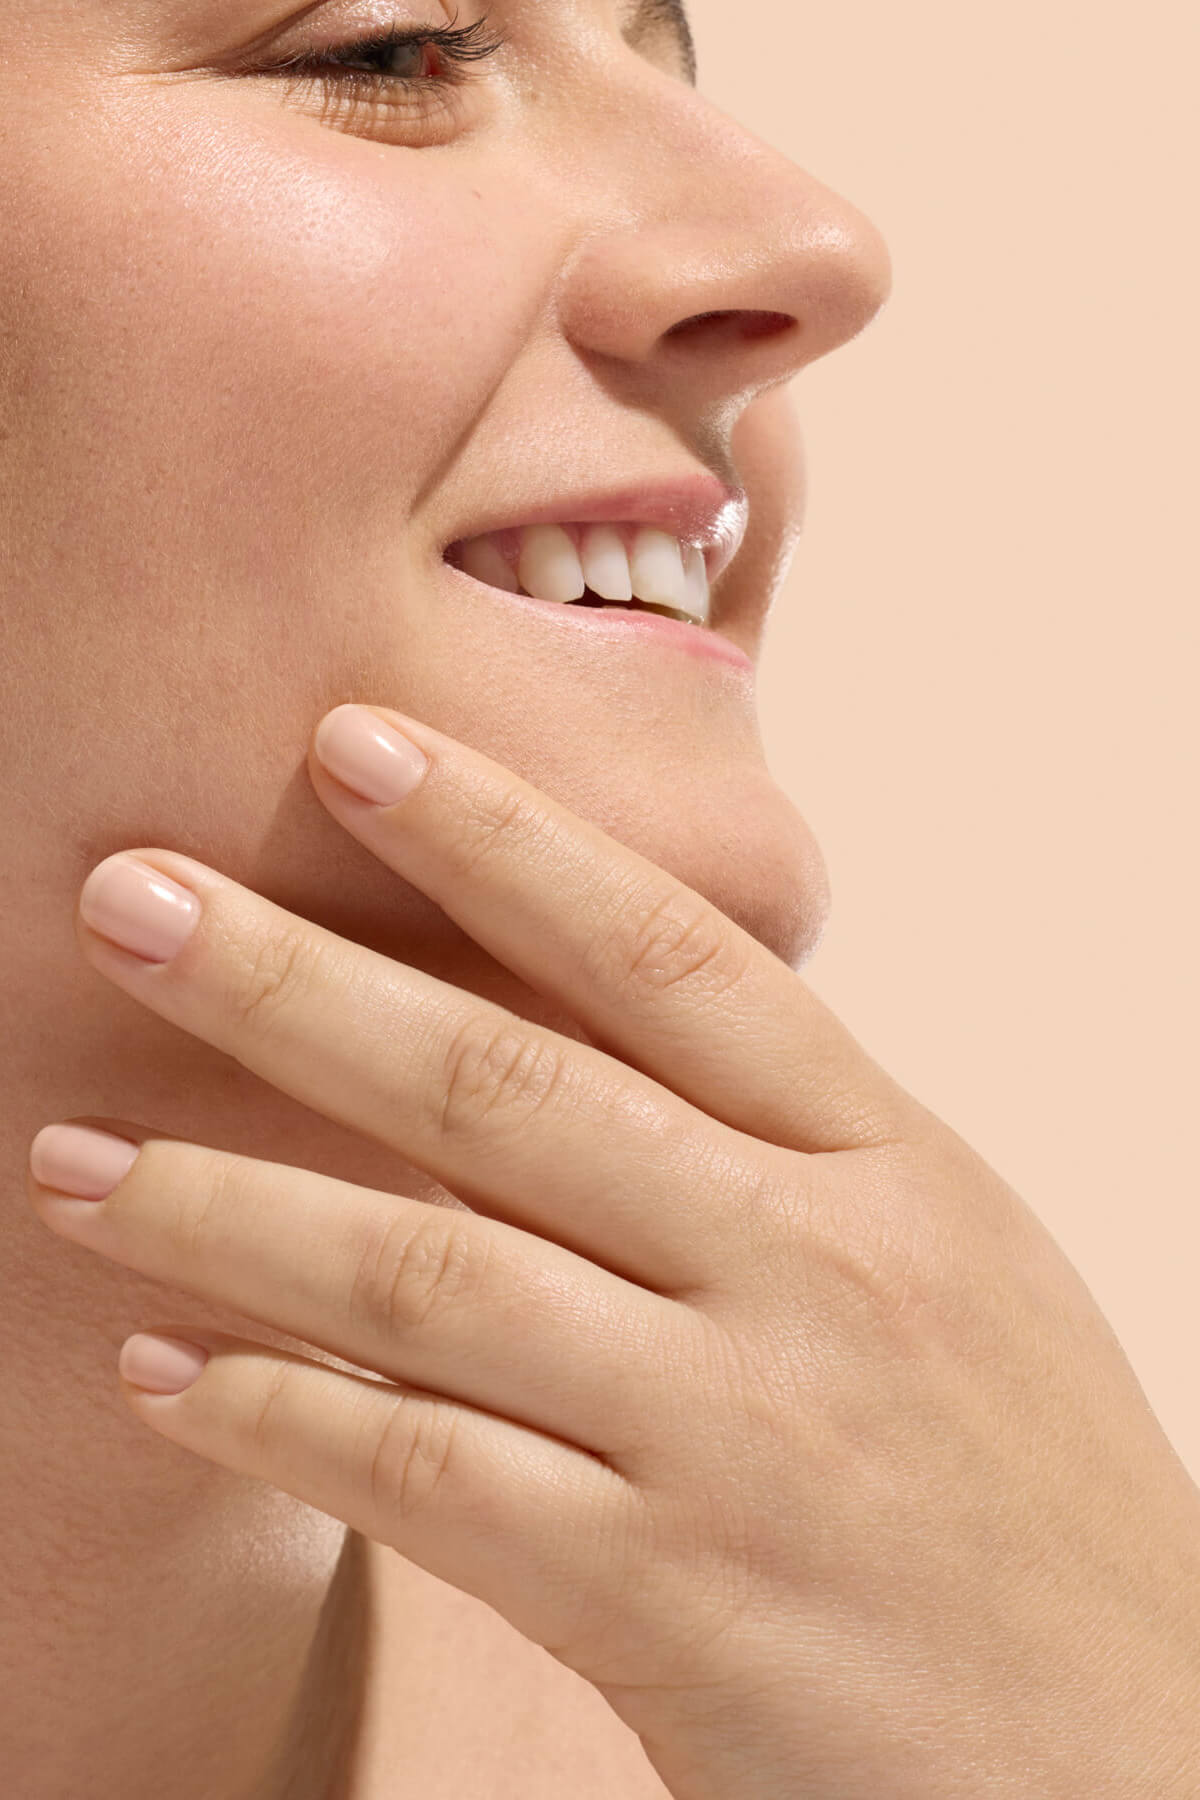
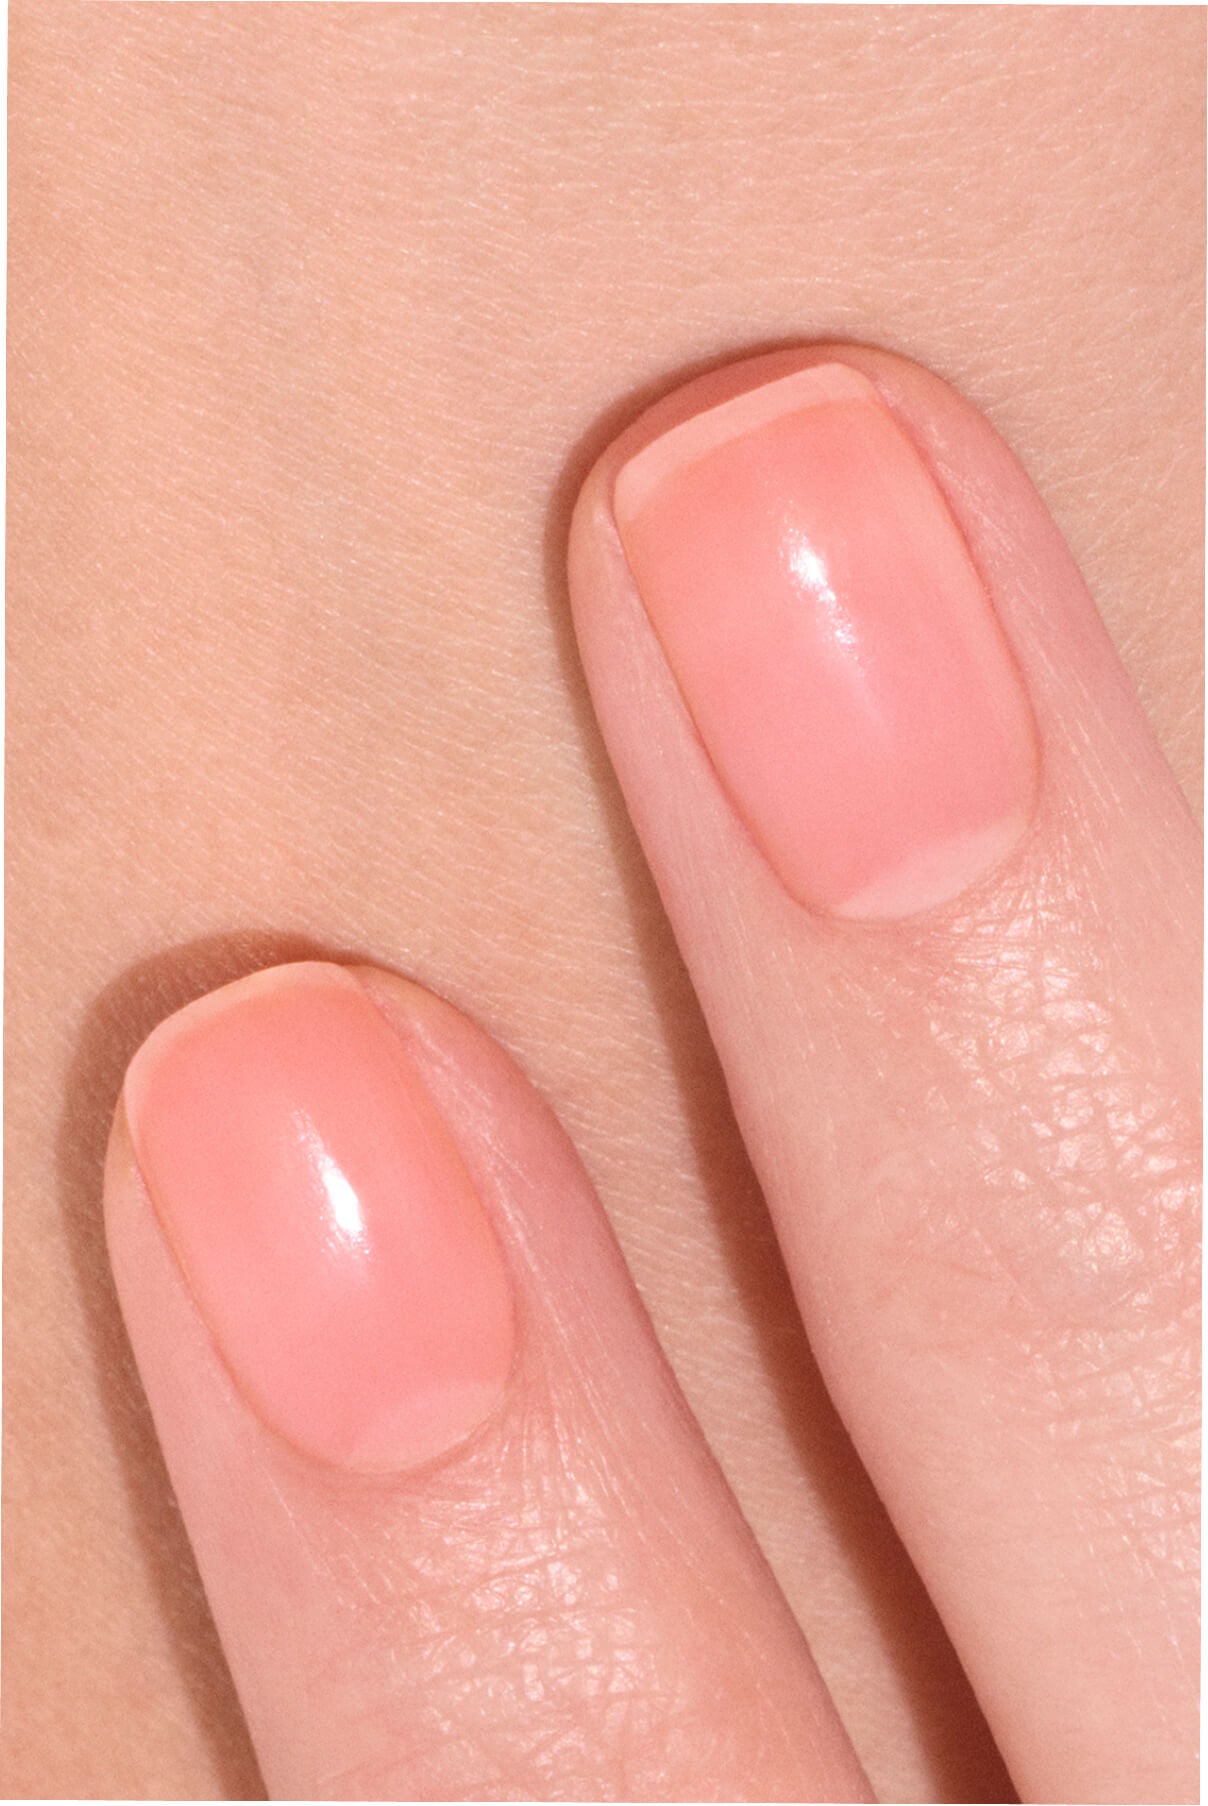
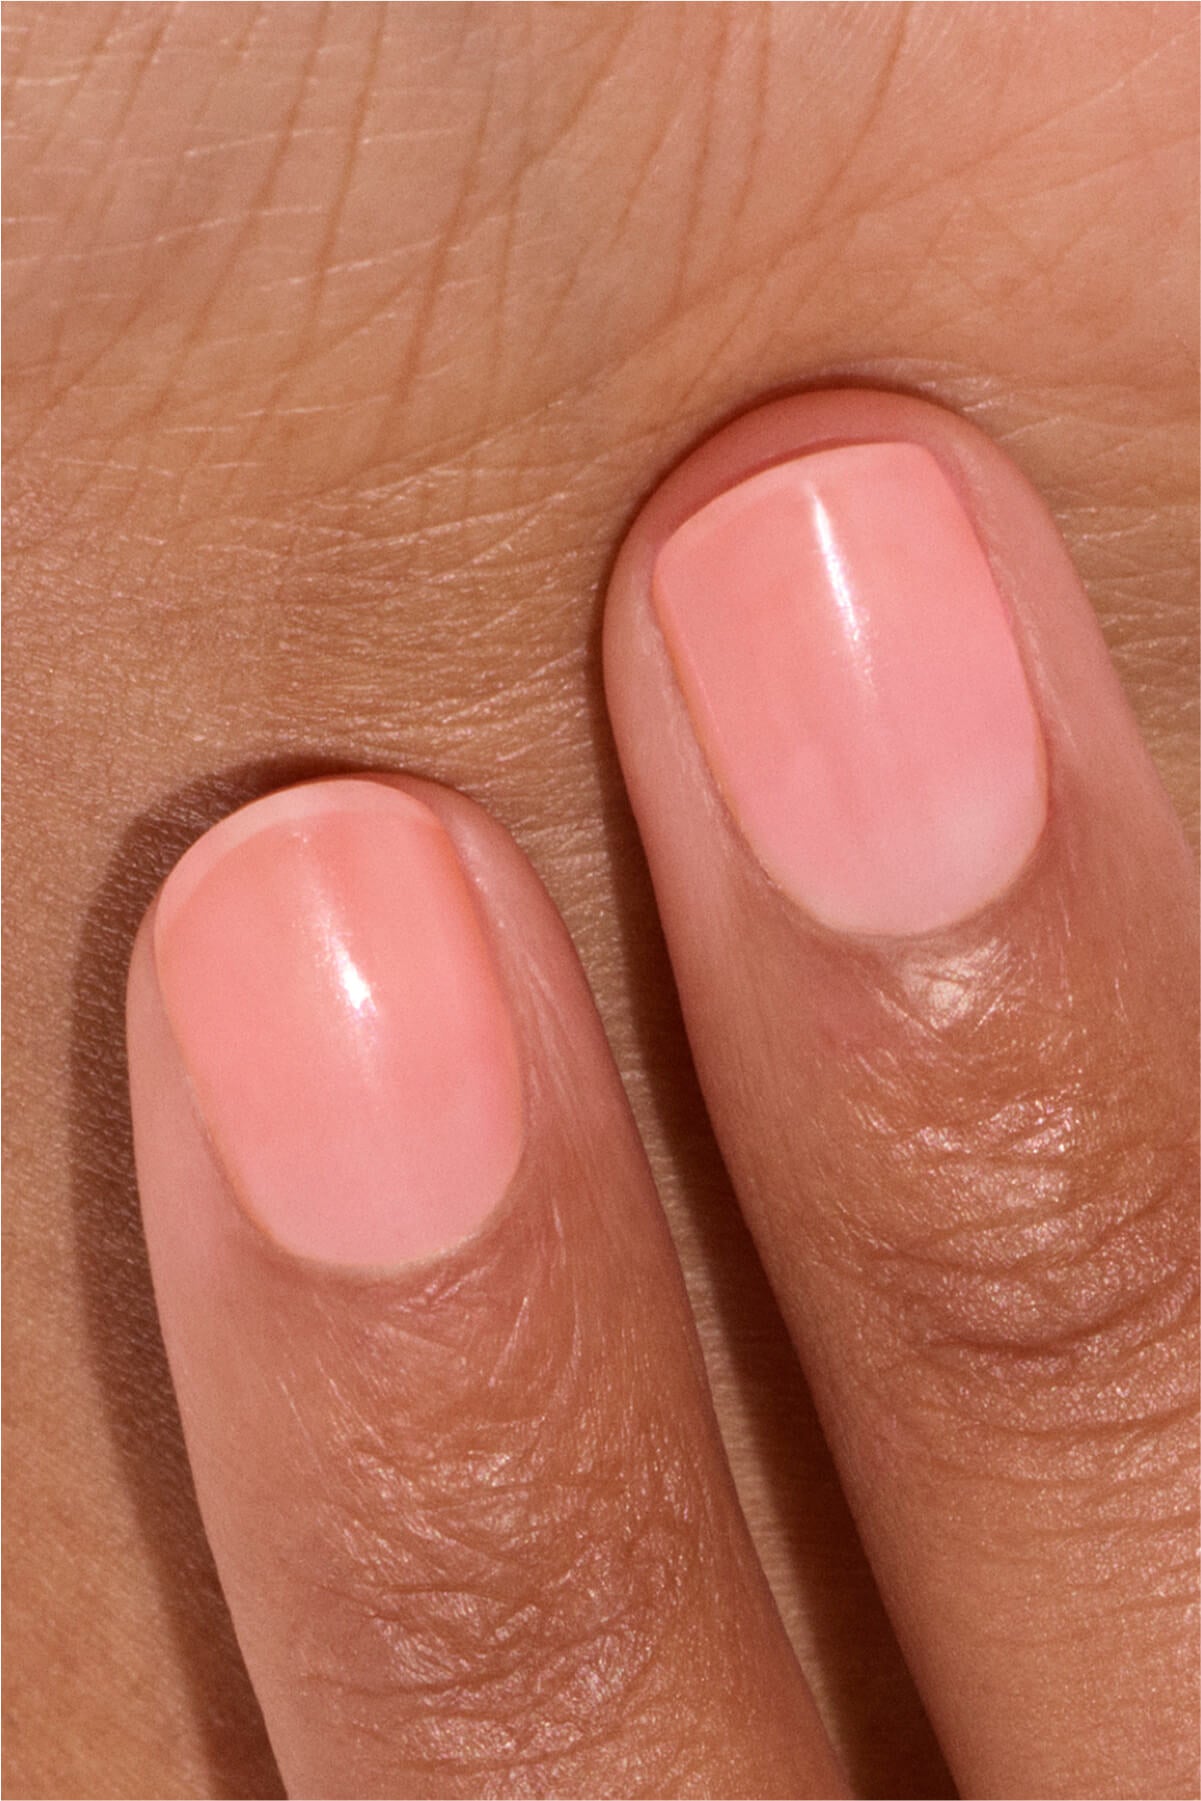
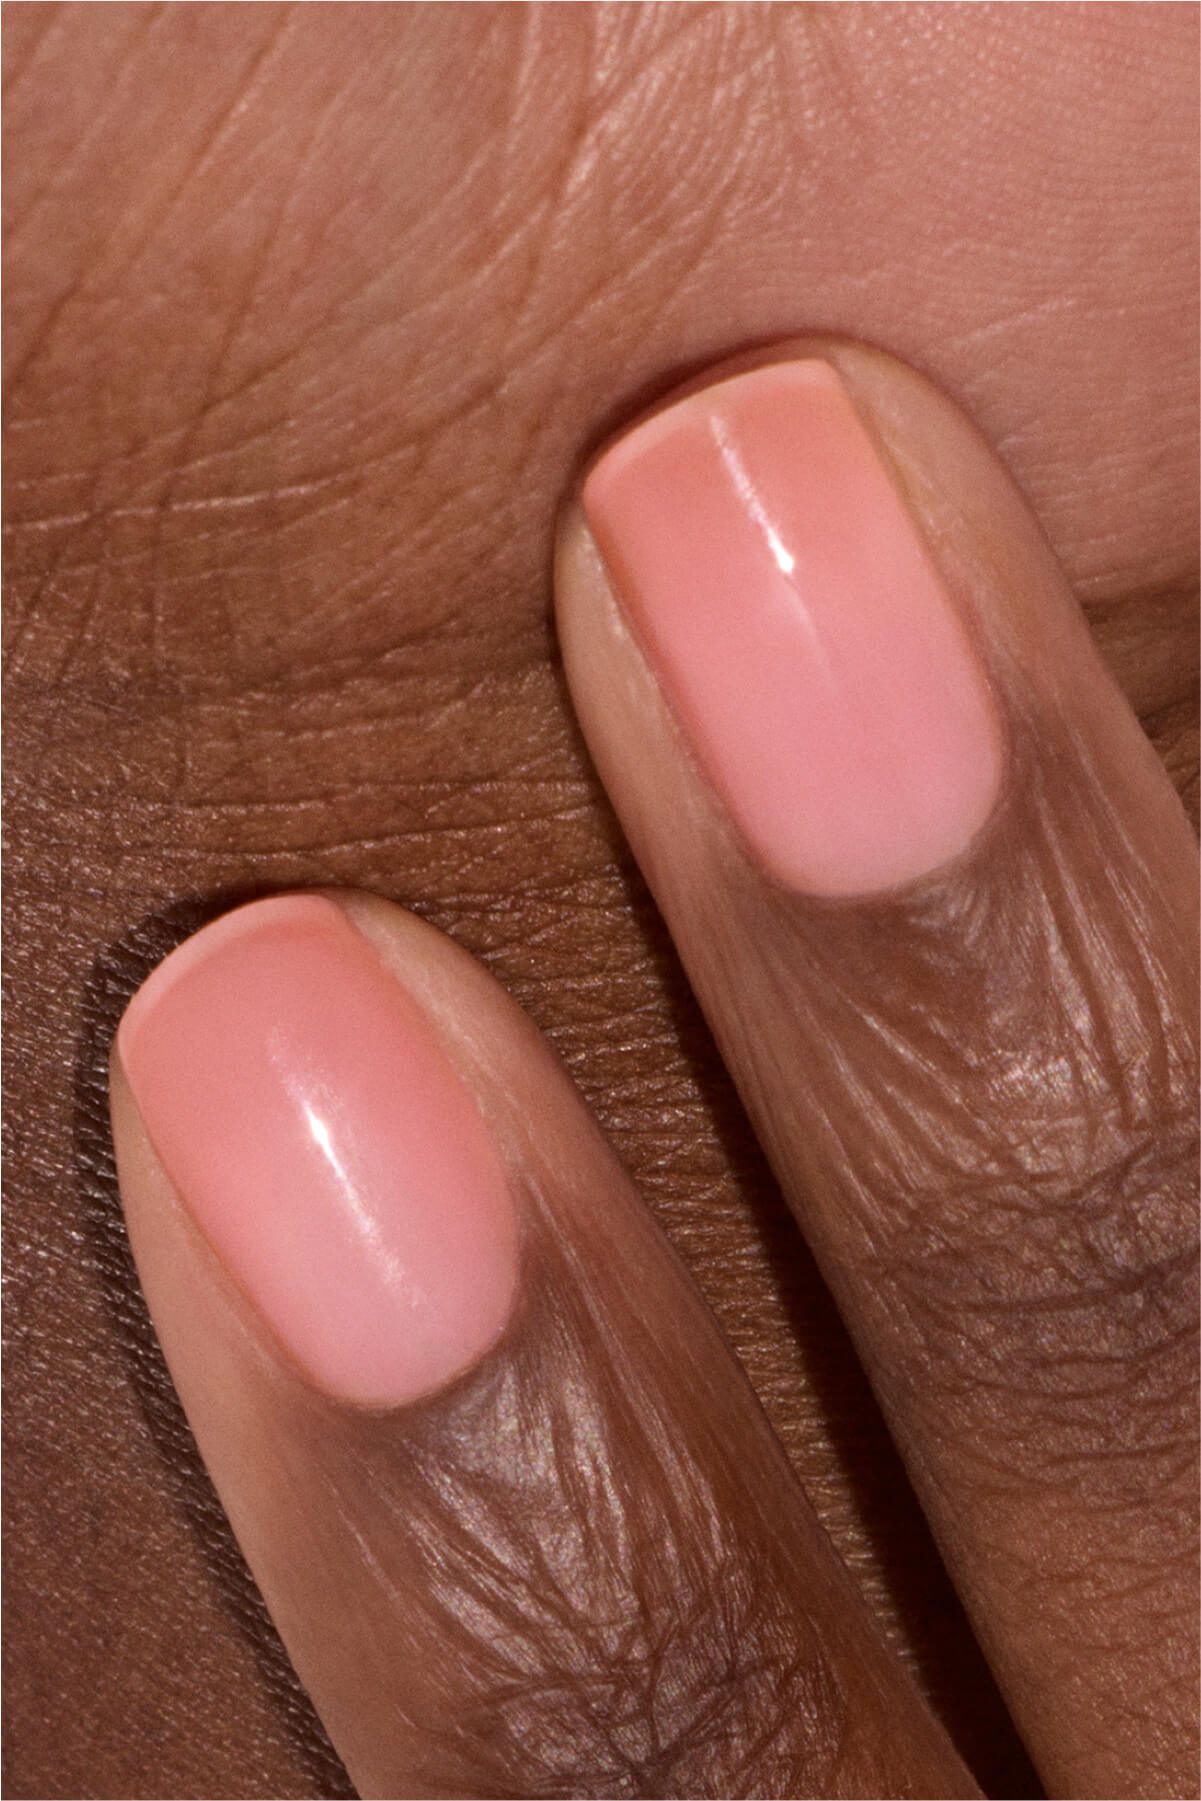
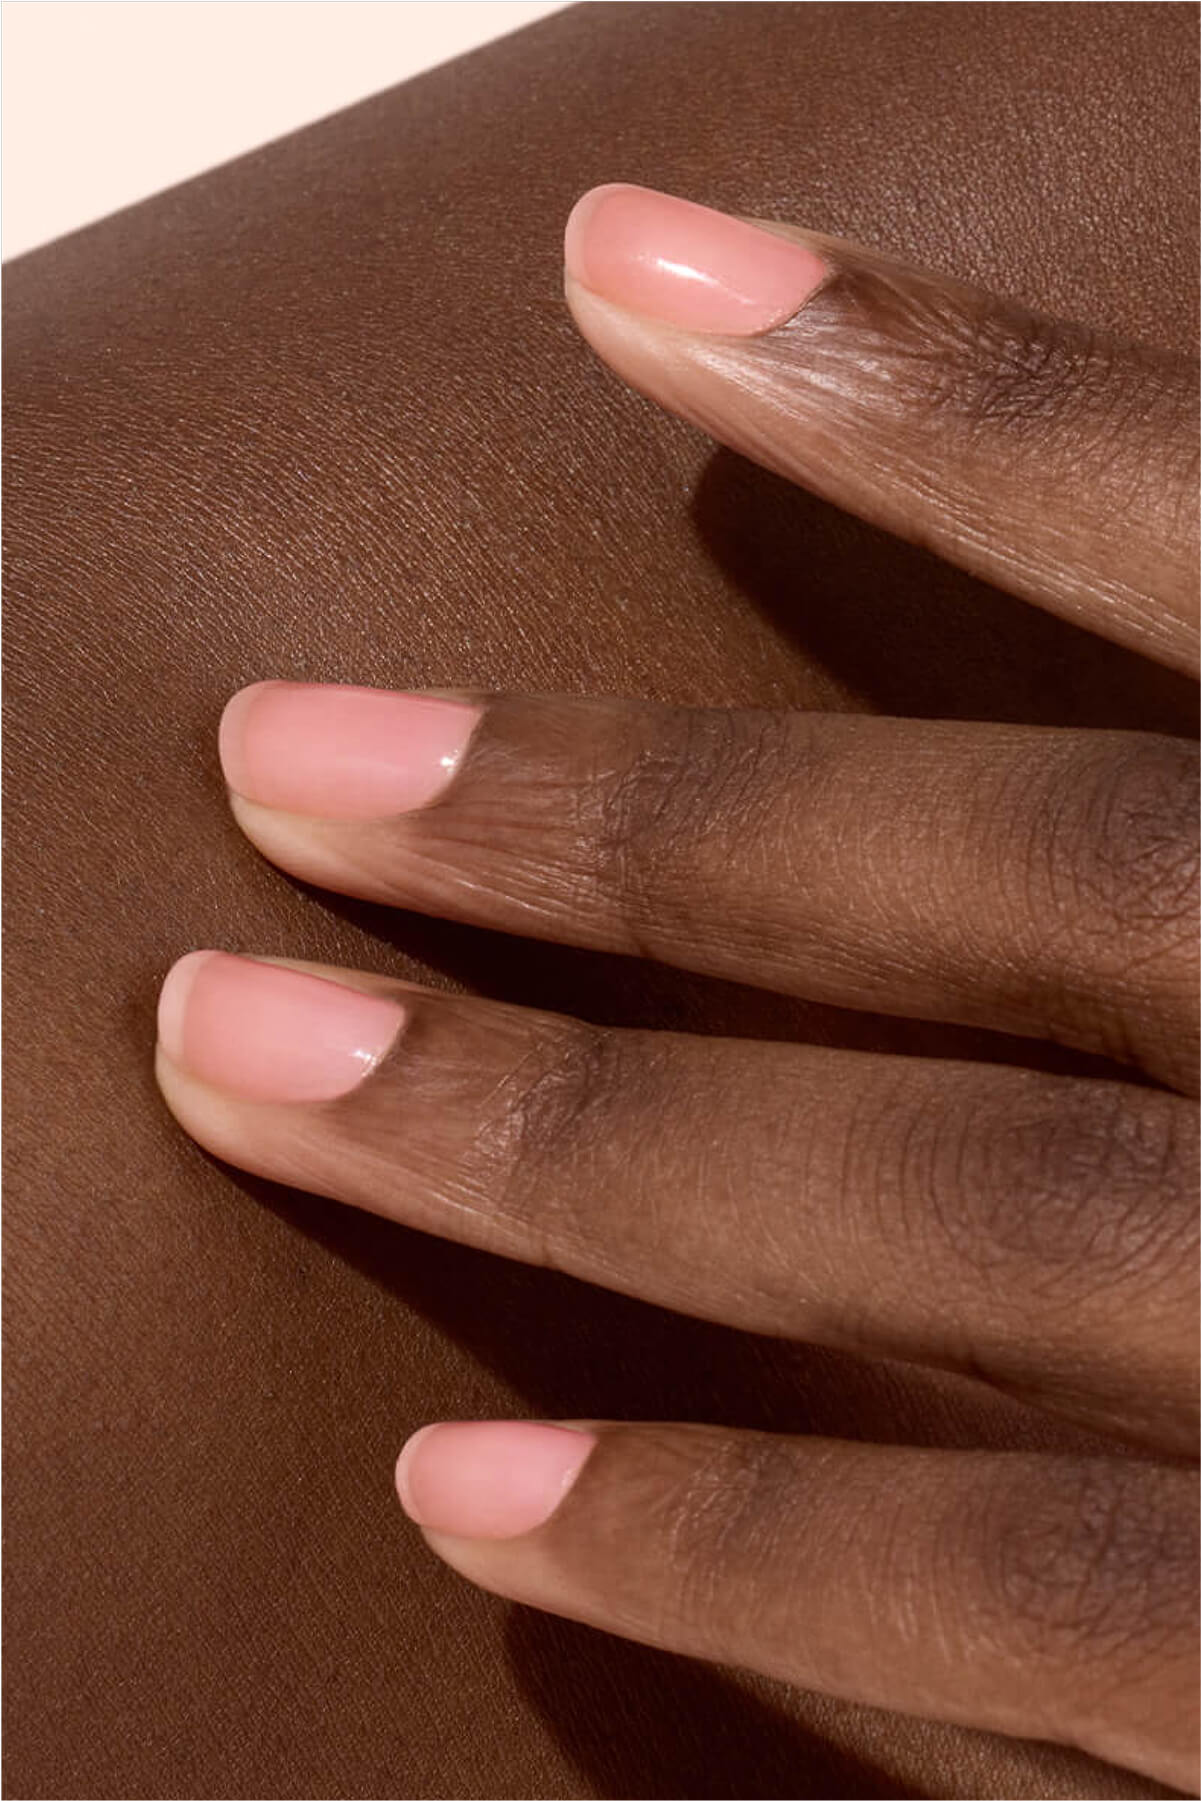
Before drawing a single line, you’ll want to start with a natural nail that’s beautifully prepped. This is the secret to a successful manicure. It only takes a few steps to prep your nails properly:
- File your nails to create a clean, well-defined shape.
- Care for your cuticles: soften them with a little Cuticle Softener and gently push them back to clear the nail plate.
- Lightly buff the surface using the buffer sponge to maximise polish adhesion.
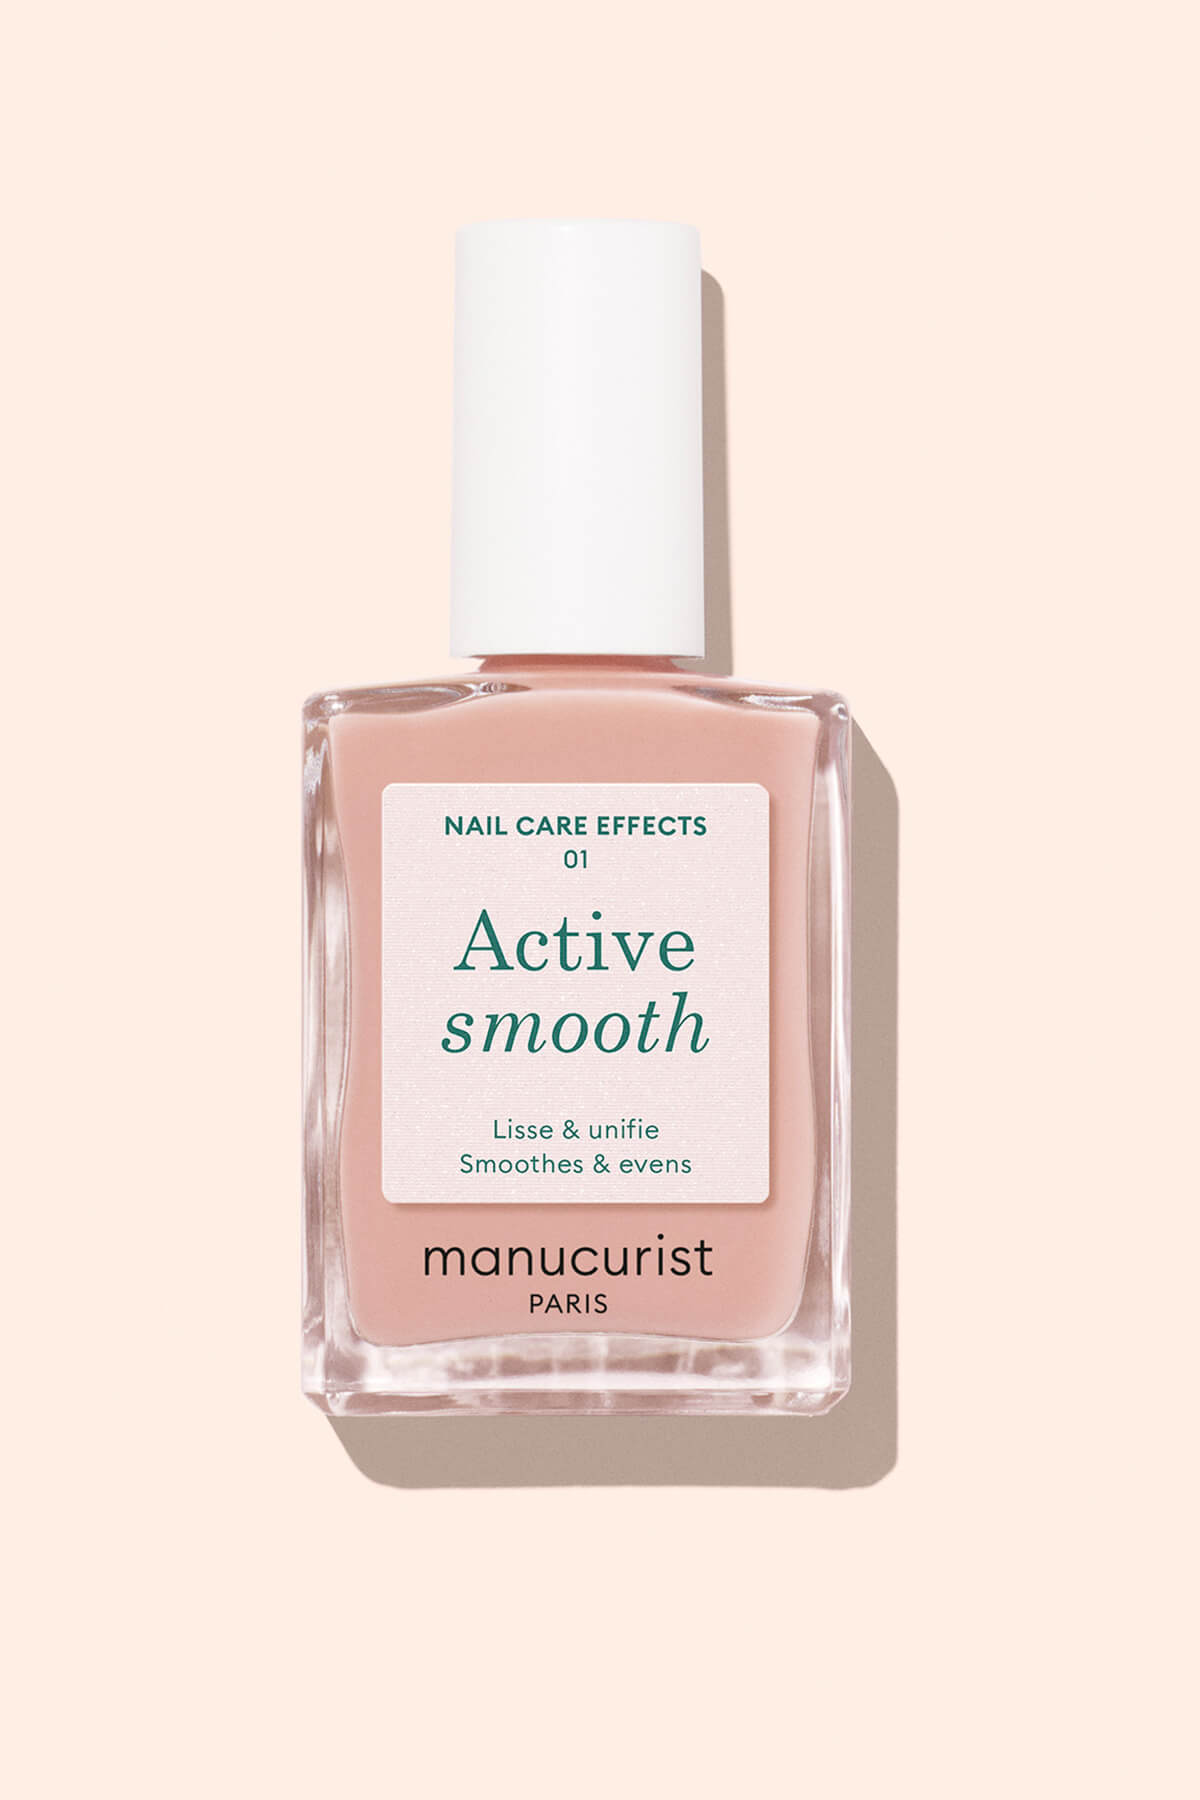
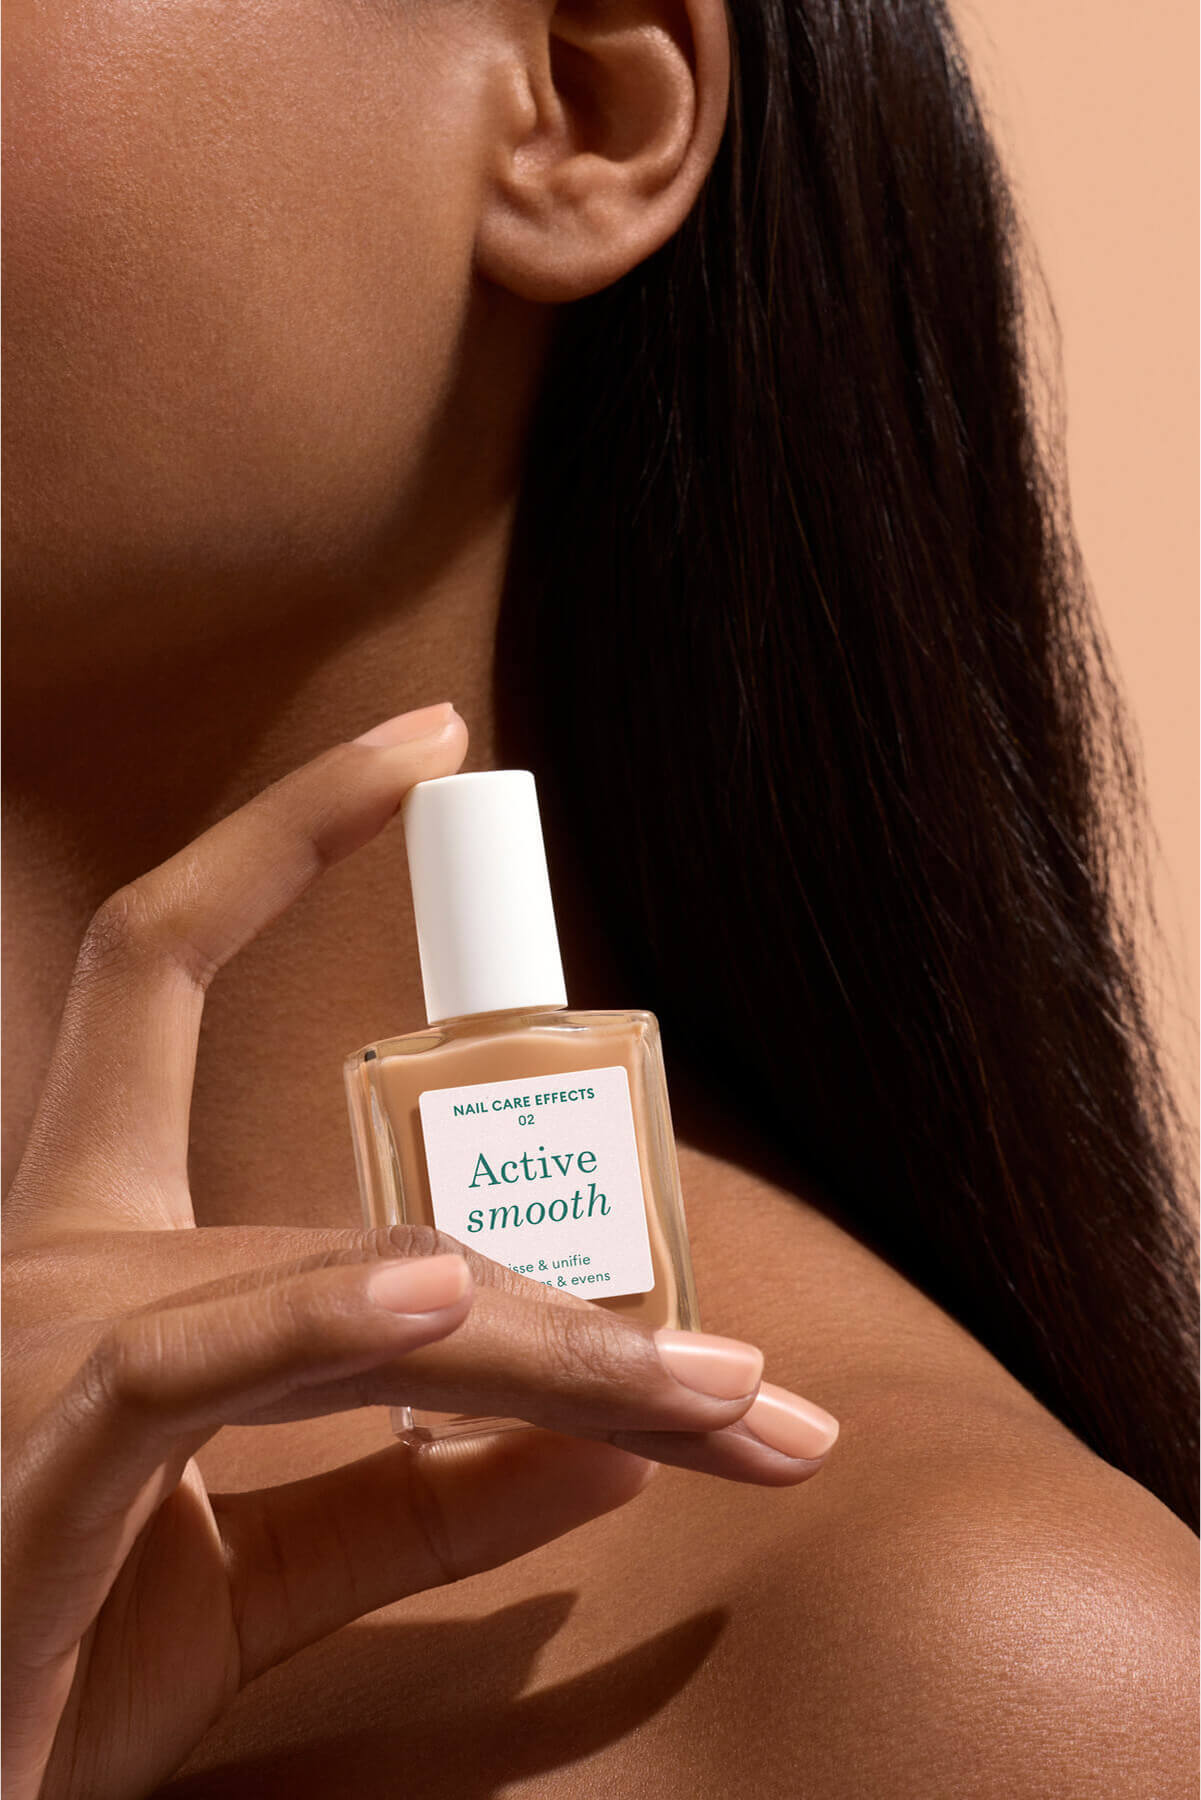
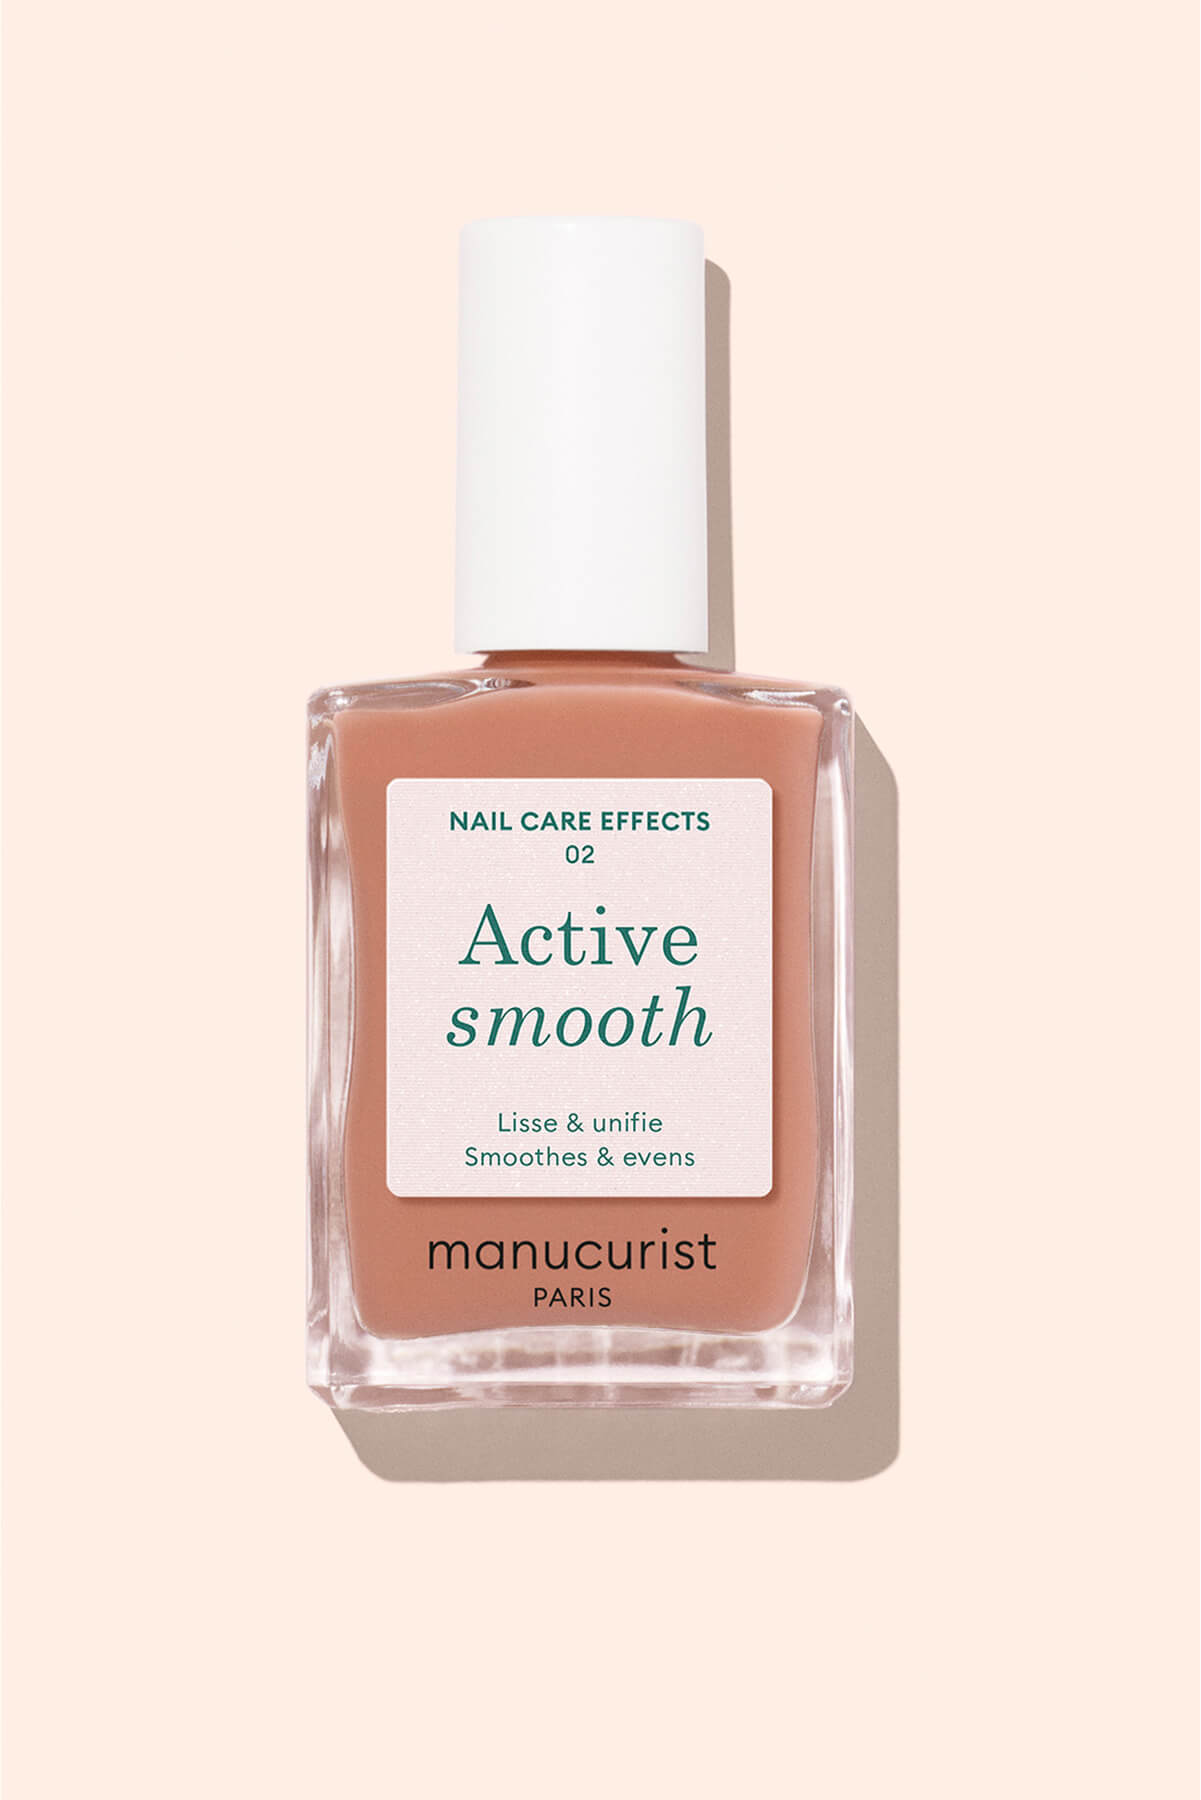
- Apply your Green™ base coat or Green Flash™ base coat depending on your chosen routine.
Why it matters: a well-prepped surface guarantees neater, straighter and longer-lasting stripes.

Nail prep set and liner brush: your must-haves for striped manicures.
2. Drawing your stripes with a fine brush
Start by applying the base colour that will act as the “canvas” for your striped nail art. Apply a thin coat of colour (two coats will give a more intense result), and let it dry thoroughly—air dry for classic polish or cure under a UV or LED lamp for Gel Polish.
Next, grab your essential nail art tool: the liner brush. Thanks to its ultra-fine tip, it allows you to draw sharp, precise and consistent lines, which is what makes striped nails so striking. Here are our top tips for perfect stripes:
- Use only a small amount of polish: too much product can make the line wavy or uneven.
- Draw each line in one relaxed, continuous movement (breathe in, breathe out).
- Start with fine lines: they’re more forgiving and always look elegant. Whether horizontal, vertical or diagonal—it’s your call!
- If you need a little help, try using nail stickers or guides to keep your lines straight.
Once you get the hang of it, you’ll see, it’s quite addictive. And don’t forget to let it dry fully before moving to the next step.
3. Seal the stripes with top coat
To achieve a finish worthy of a professional salon, don’t skip your final layer of top coat. Whether you go for Sunshine Top Coat (for Green™ polish) or Green Flash™ Top Coat, this step guarantees lasting shine and strong hold for your stripes. You can also get creative with a contrast effect using the matte-gloss combo: apply a Matte Top Coat over your base colour (Green™) and draw your stripes using a mirror-effect polish.
The most stylish striped manicure variations
Striped nails can be tailored to suit any mood or moment. Here are the trendiest versions to inspire your next look.
Black & White Stripes: a timeless graphic
A white base using Snow with black stripes using Licorice: whether vertical or diagonal, this iconic duo works all year round and with any outfit. Simple, clean and effortlessly chic.
Striped French: a modern take on a classic
Use a pink base like Hortencia and add black and white stripes (Snow & Licorice): this twist on the classic French manicure is graphic, elegant and easy to wear daily. Perfect for anyone who wants a subtle twist without straying from a structured and clean aesthetic.

Whether it's classic Black & White or a French twist à la Kylie Jenner, make stripes your signature.
(@nailsbyzola)
Pastel stripes: soft and fresh
Try a white base with Snow and pink stripes in Pop, or a blue base with Lilas and white stripes in Snow. This refreshing manicure is perfect for spring and pairs beautifully with minimalist outfits or romantic moods, thanks to the delicate appeal of pastel tones.
Neon stripes: pure energy
Go for a white base using Snow and add orange stripes with Abricot. It’s a bold twist, perfect for brightening up a monochrome outfit or matching a pop-inspired look. Neons work beautifully with a white base to create high contrast and magnetic visual effects.

Thin or bold, pastel or neon, stripes bring summer manicures to life.
(@look8thenails)
Glitter stripes: time to shine
Start with a red-brown base like Bohème and add red glitter stripes with Utopia. The perfect duo for parties, celebrations or whenever you want that extra sparkle. Glitter stripes bring an irresistible festive vibe to your manicure.
Graphic multicolour stripes: the arty option
Combine shades like Pale Rose, Snow, Crème, Clove, Chestnut, Indian Summer... Play with stripe thickness, layer your lines, and break the mould with horizontal designs. The result is a bold, arty effect with a unique and contemporary colour palette.

Whether glittery or multicoloured, let your creativity lead the way.
(@ellzabethm, @shanivynails)
Which striped manicure suits your style?
Stripes are the chameleon of nail art. They adapt to everything—especially to you. Striped nails are also perfect for switching things up with the seasons: go for pastels or neons in spring and summer, then opt for metallics or black and white in autumn and winter. A simple way to refresh your style while keeping that signature graphic edge.
For a minimalist or clean aesthetic
Choose a nude base like Pale Rose or Hortencia and add fine stripes in neutral or darker shades such as Rose Mountbatten, Anthracite, Midnight, Aubergine or Clove. The result is a nail look that’s delicate, structured and incredibly versatile. Perfect for everyday wear, office settings or to complement a capsule wardrobe.

Match Midnight, Hortencia, Rose Mountbatten or Pale Rose stripes for a very chic clean girl nail art look.
For a pop or Y2K look
Love Britney, low-rise jeans and early 2000s vibes? Time to have fun and go bold. Start with a white base and add bright, fluorescent and high-contrast stripes. Try Neon Pink, Lava, Fizz or Ultramarine. It’s vibrant, playful and full of character.

Play with contrast and embrace stripes in Fizz, Snow, Neon Pink or Crème.
For chic workwear style
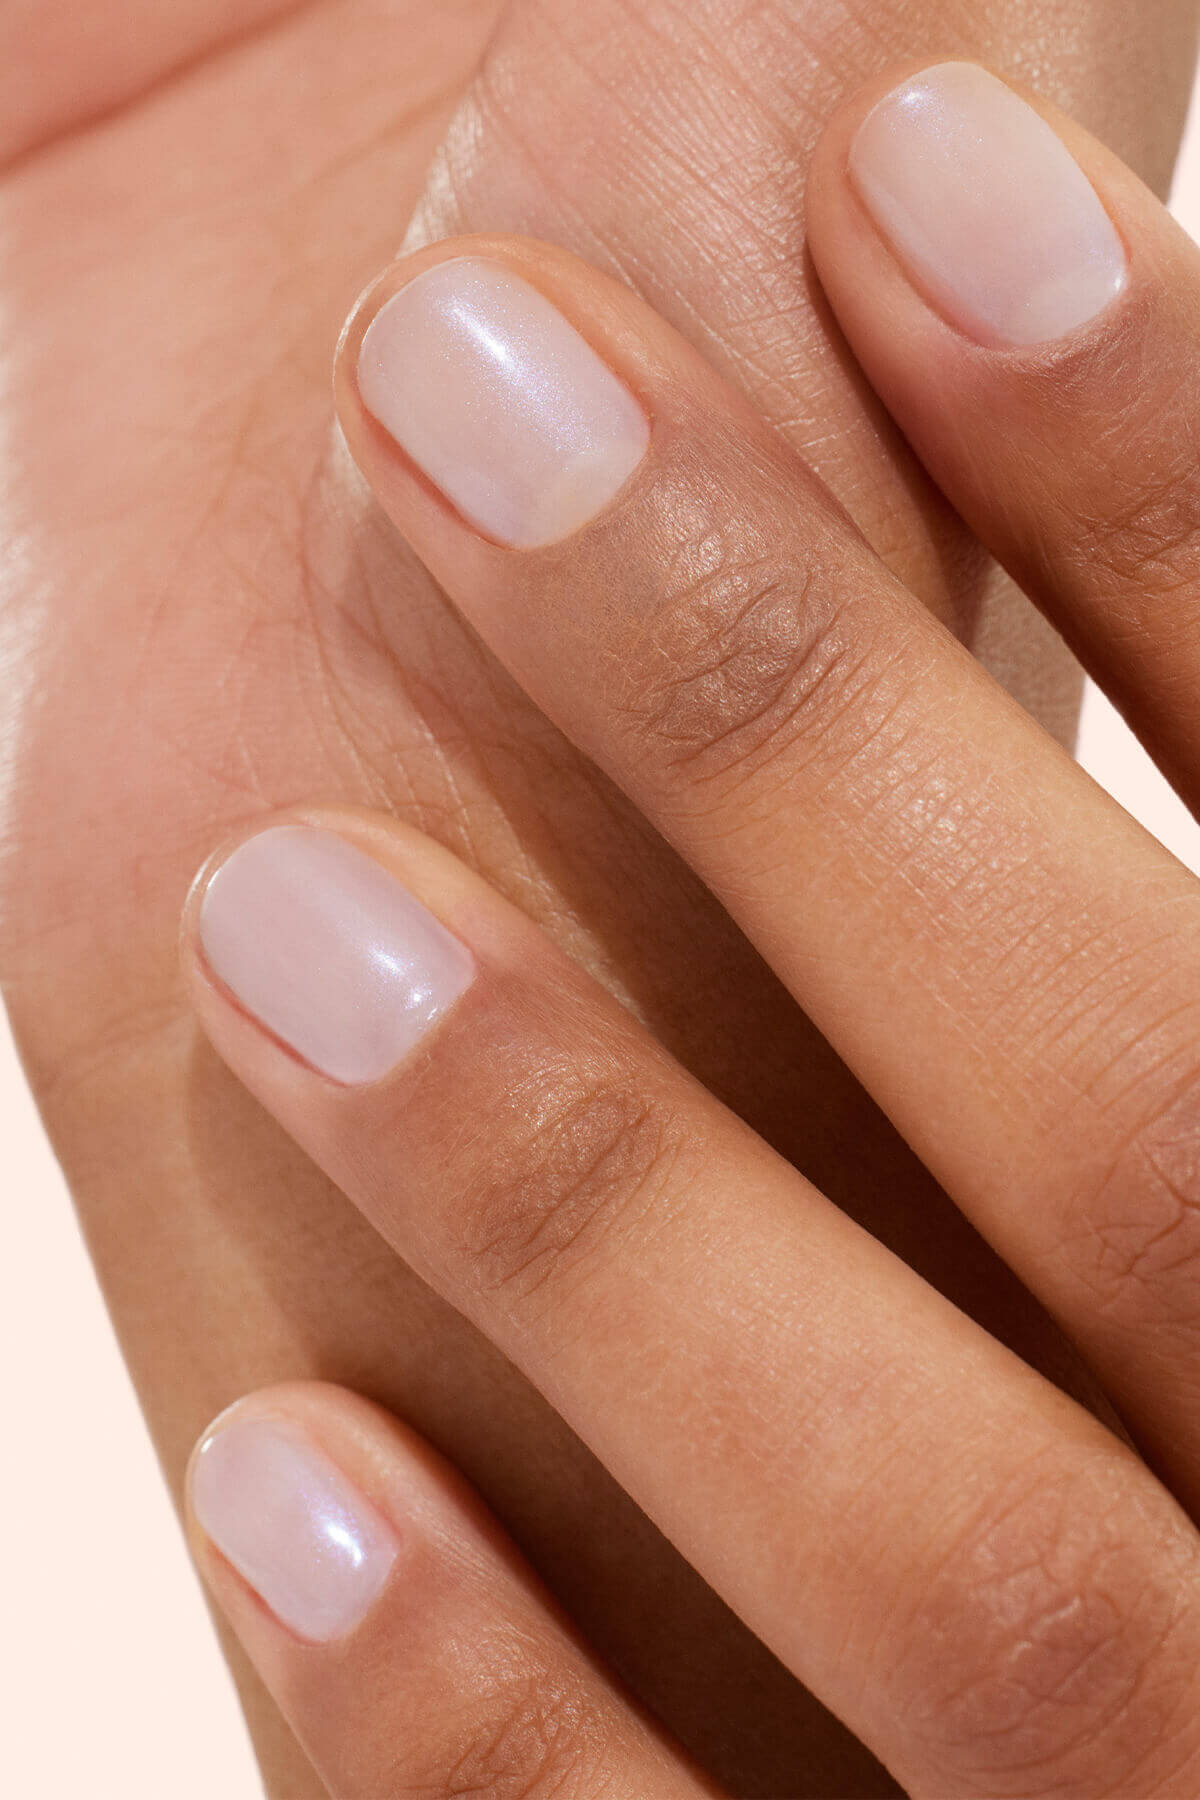
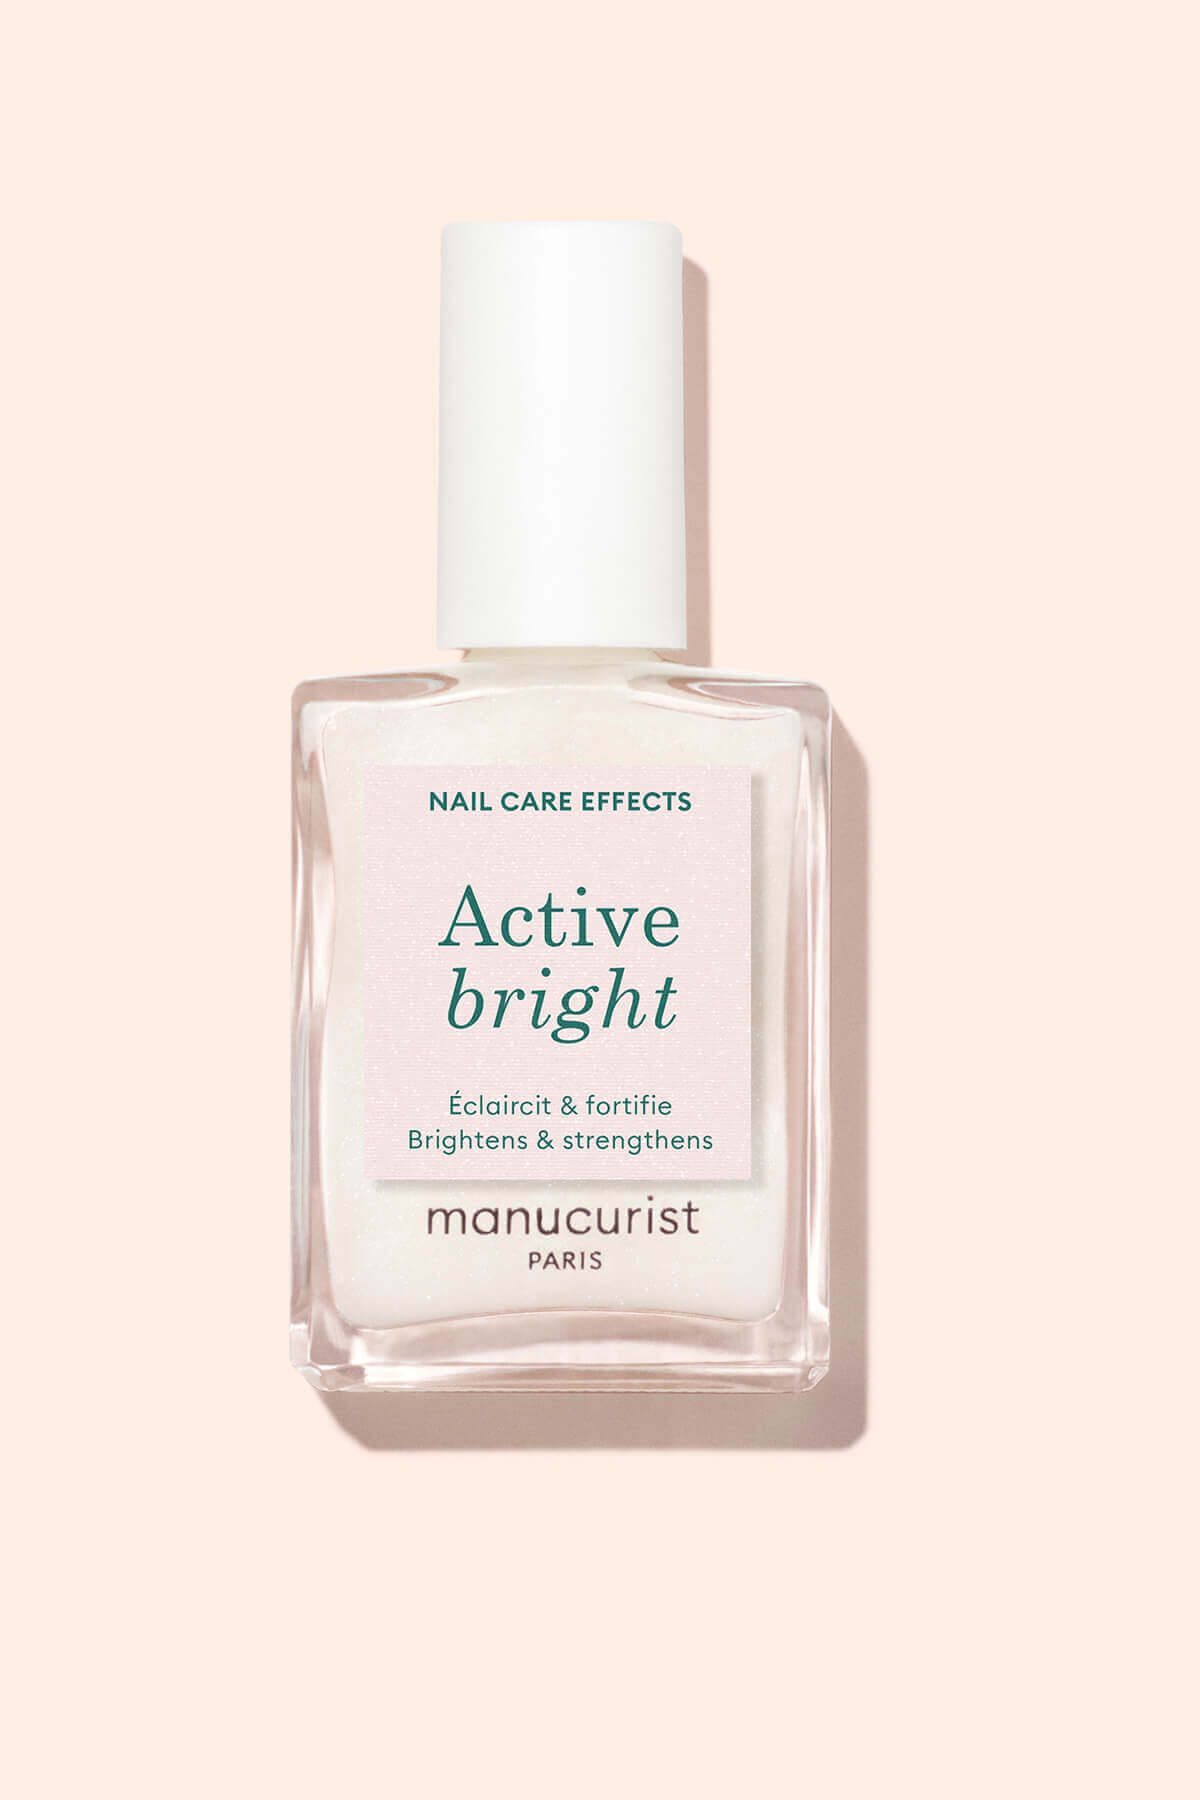
Want to explore nail art without going outside your professional dress code? Go for a striped French manicure in black and white or try an Active™ Bright base with chrome stripes using Metallic or Bronzé. It’s a subtle and elegant twist. Ideal for adding a creative edge to a professional outfit without overdoing it. For work events or important meetings, go for fine lines for a sophisticated and polished result. Subtle yet stylish.

For a subtle and stylish workwear look, go for chrome stripes with Metallic, Active™ Bright or Bronzé.
For an arty look
For the bold and the creative, anything goes. Think eccentric polish colours, asymmetry, unexpected pairings: striped nails break all the rules. Mix textures (opaque, chrome, glitter), vary line thickness and layer them to create a unique pattern on each hand.
Our expert tips for a clean and long-lasting finish
Striped nail art is fairly easy to achieve, but there are a few key rules to follow if you want a truly professional result.
❌ Mistakes to avoid
Some colour combinations don’t work well and can spoil the sharp look of your stripes (and their charm):
- Colours that are too similar, such as white and nude, don’t provide enough contrast and create a tone-on-tone effect.
- Neon colour duos that “vibrate” too much, making the stripes appear blurry.
- Poorly balanced warm and cool tones, like Lilas and Coral Reef, which tend to clash.
✅ Tips to remember
This is where the magic happens: a few simple tricks can dramatically improve your striped nail design.
- Play with contrast: light over dark, dark over light... Contrast defines the line, creates depth and enhances clarity.
- Vary thickness and texture: thin vs thick lines, opaque polish vs glitter or chrome... Playing with texture adds dimension and turns a basic stripe into a true design.
- Experiment with top coat effects: a matte top coat gives a modern, arty finish, while a glossy top coat creates a mirror-like shine. Swapping your top coat can completely change the final look. After all, they say the magic is in the details, right?
With a striped manicure, you really can’t go wrong. Thanks to its incredible versatility, it works with any mood, season or style, no matter your nail shape or skin tone. With a little finesse and thoughtful colour choices, striped nails are within everyone’s reach. Ready, set, stripe 🖊️🌈