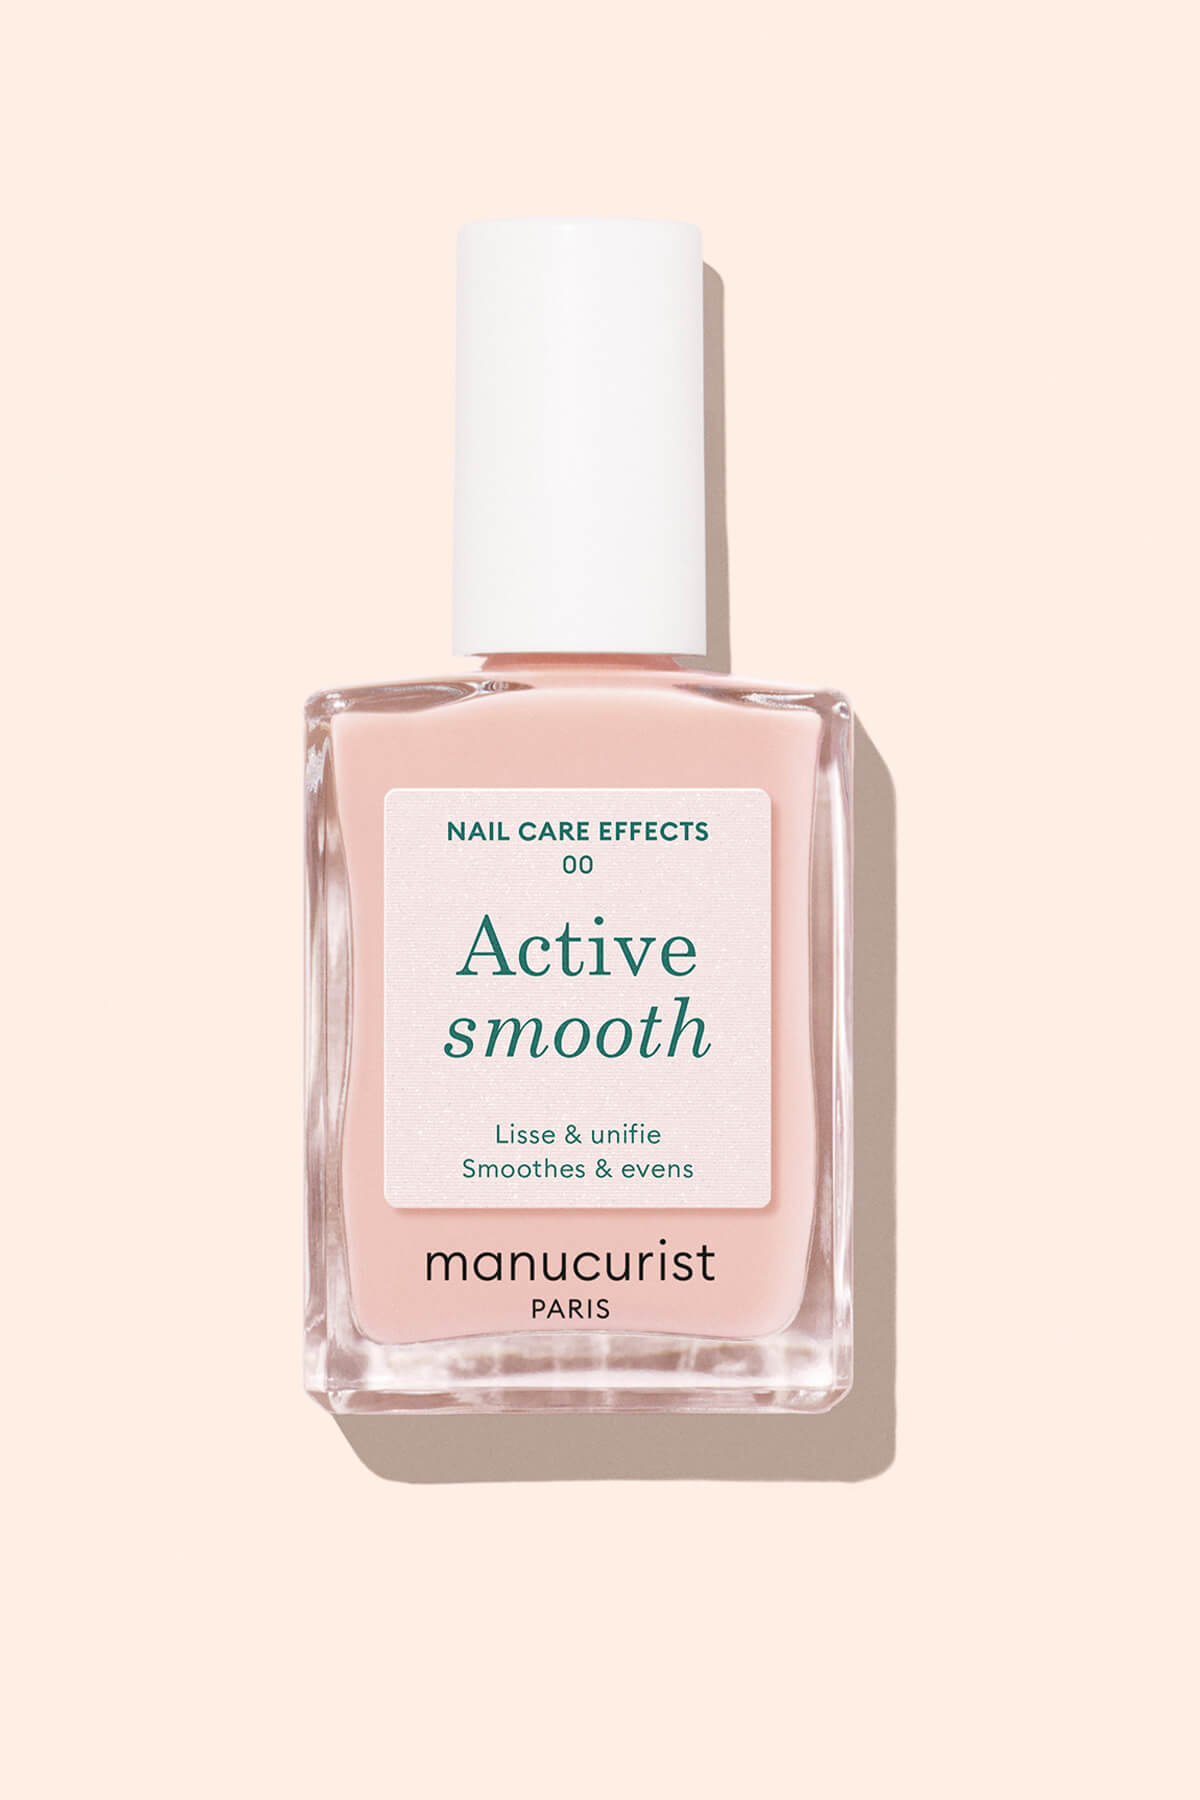
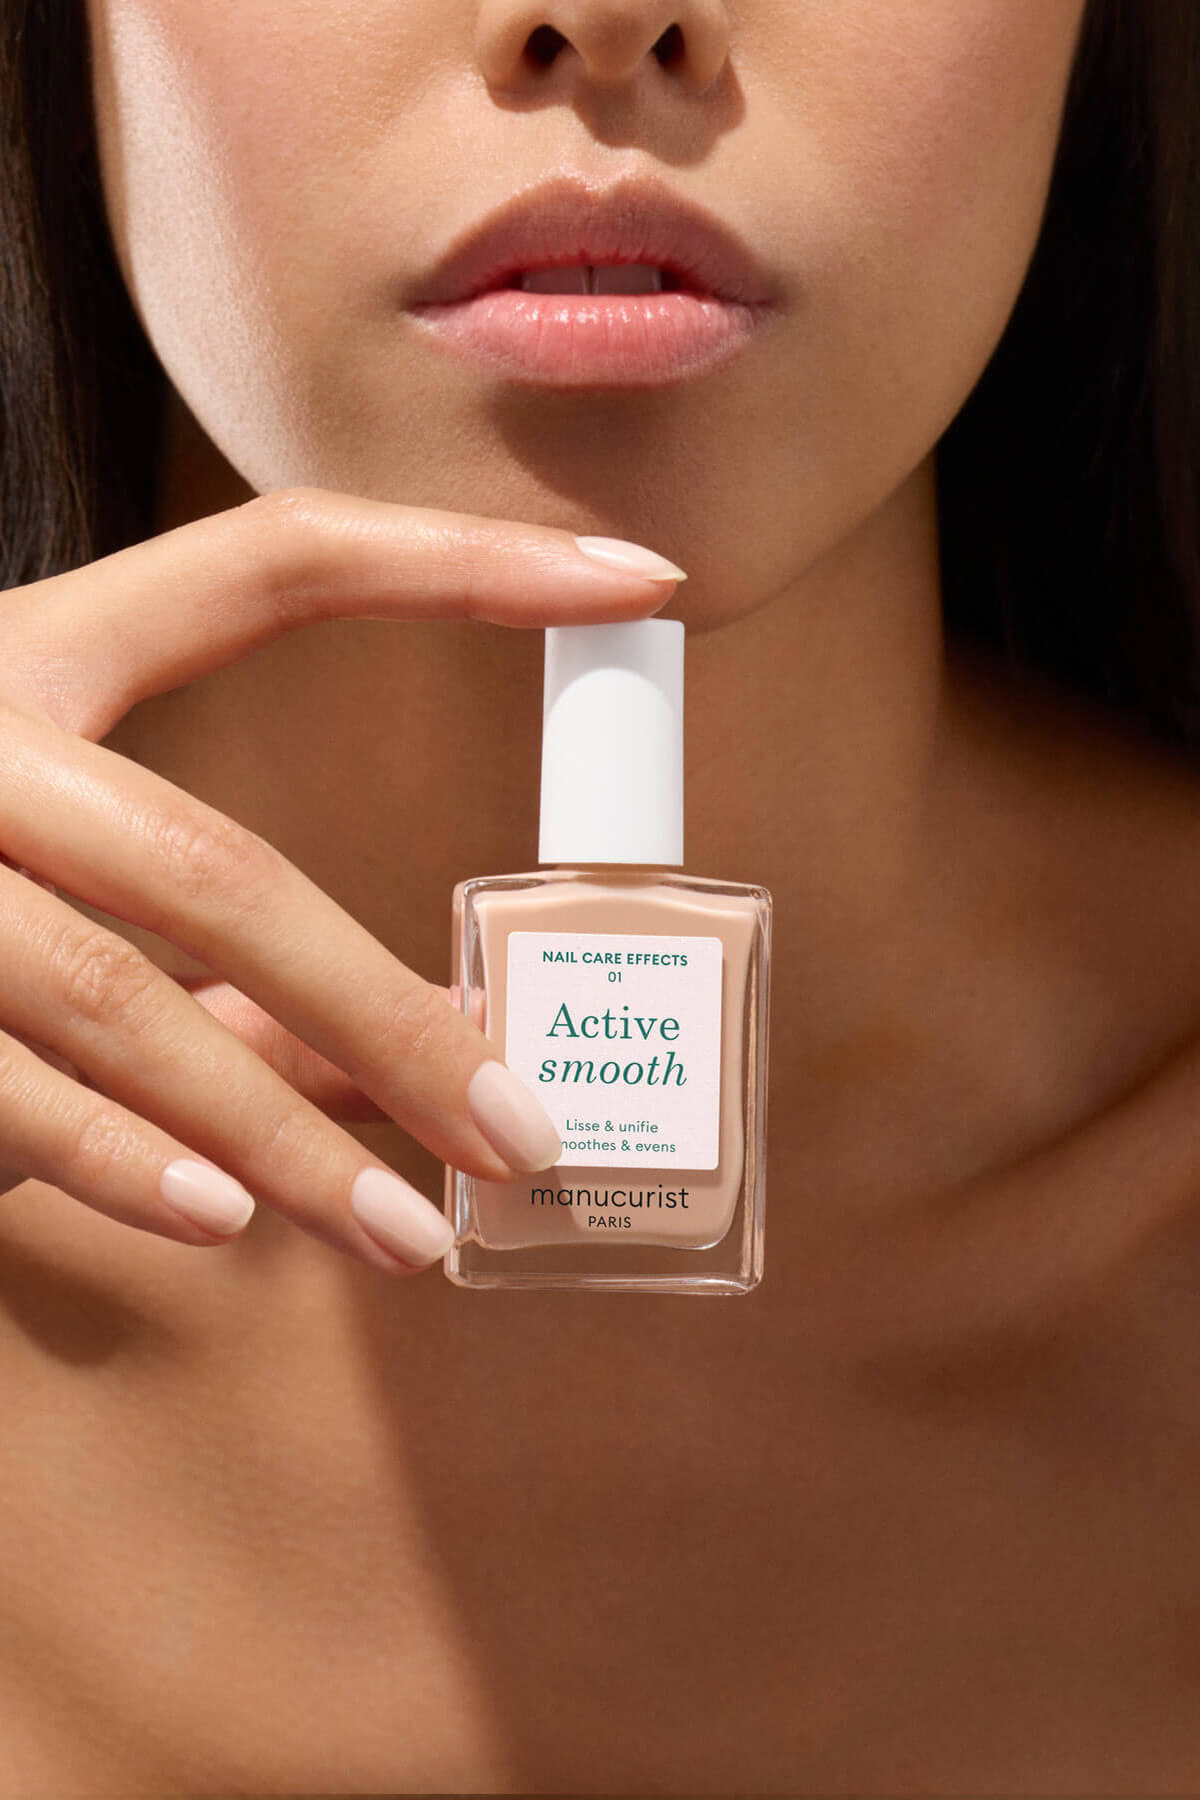
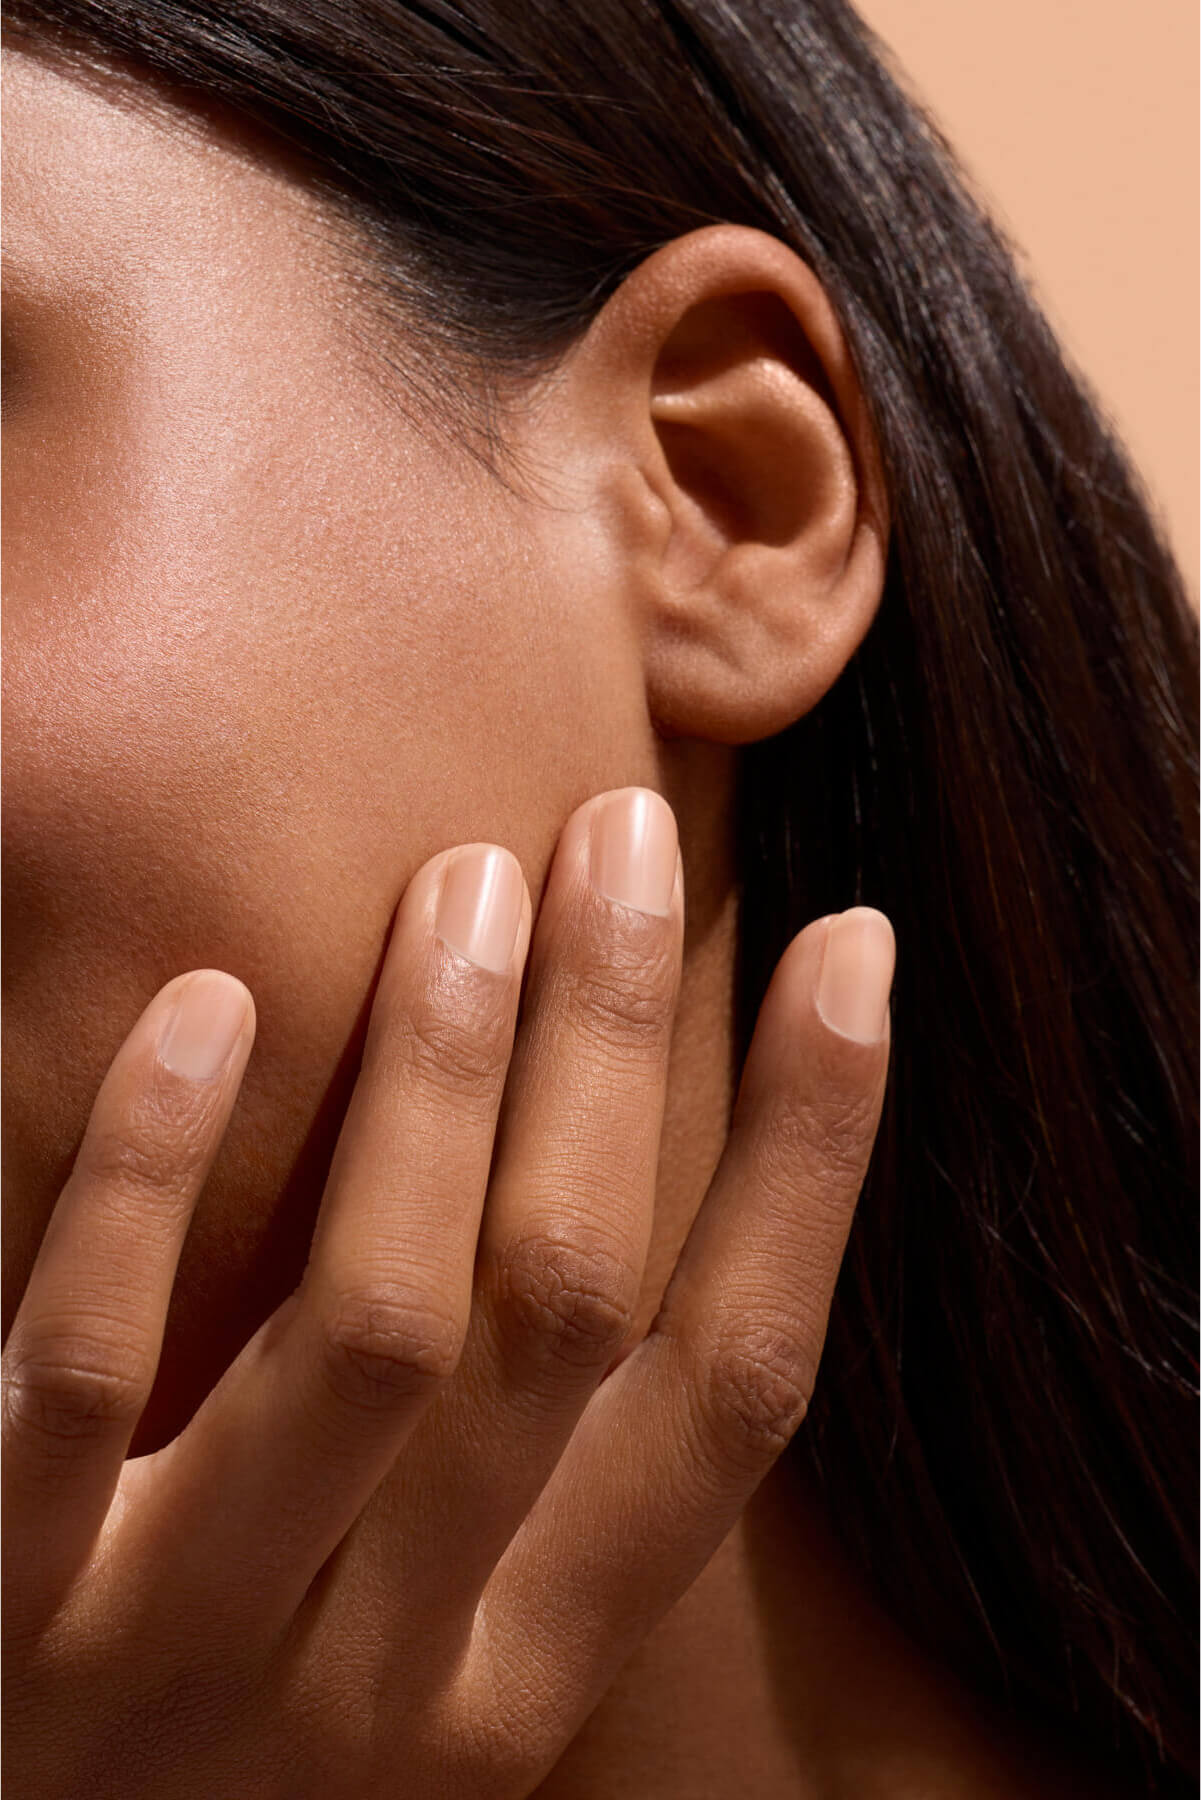
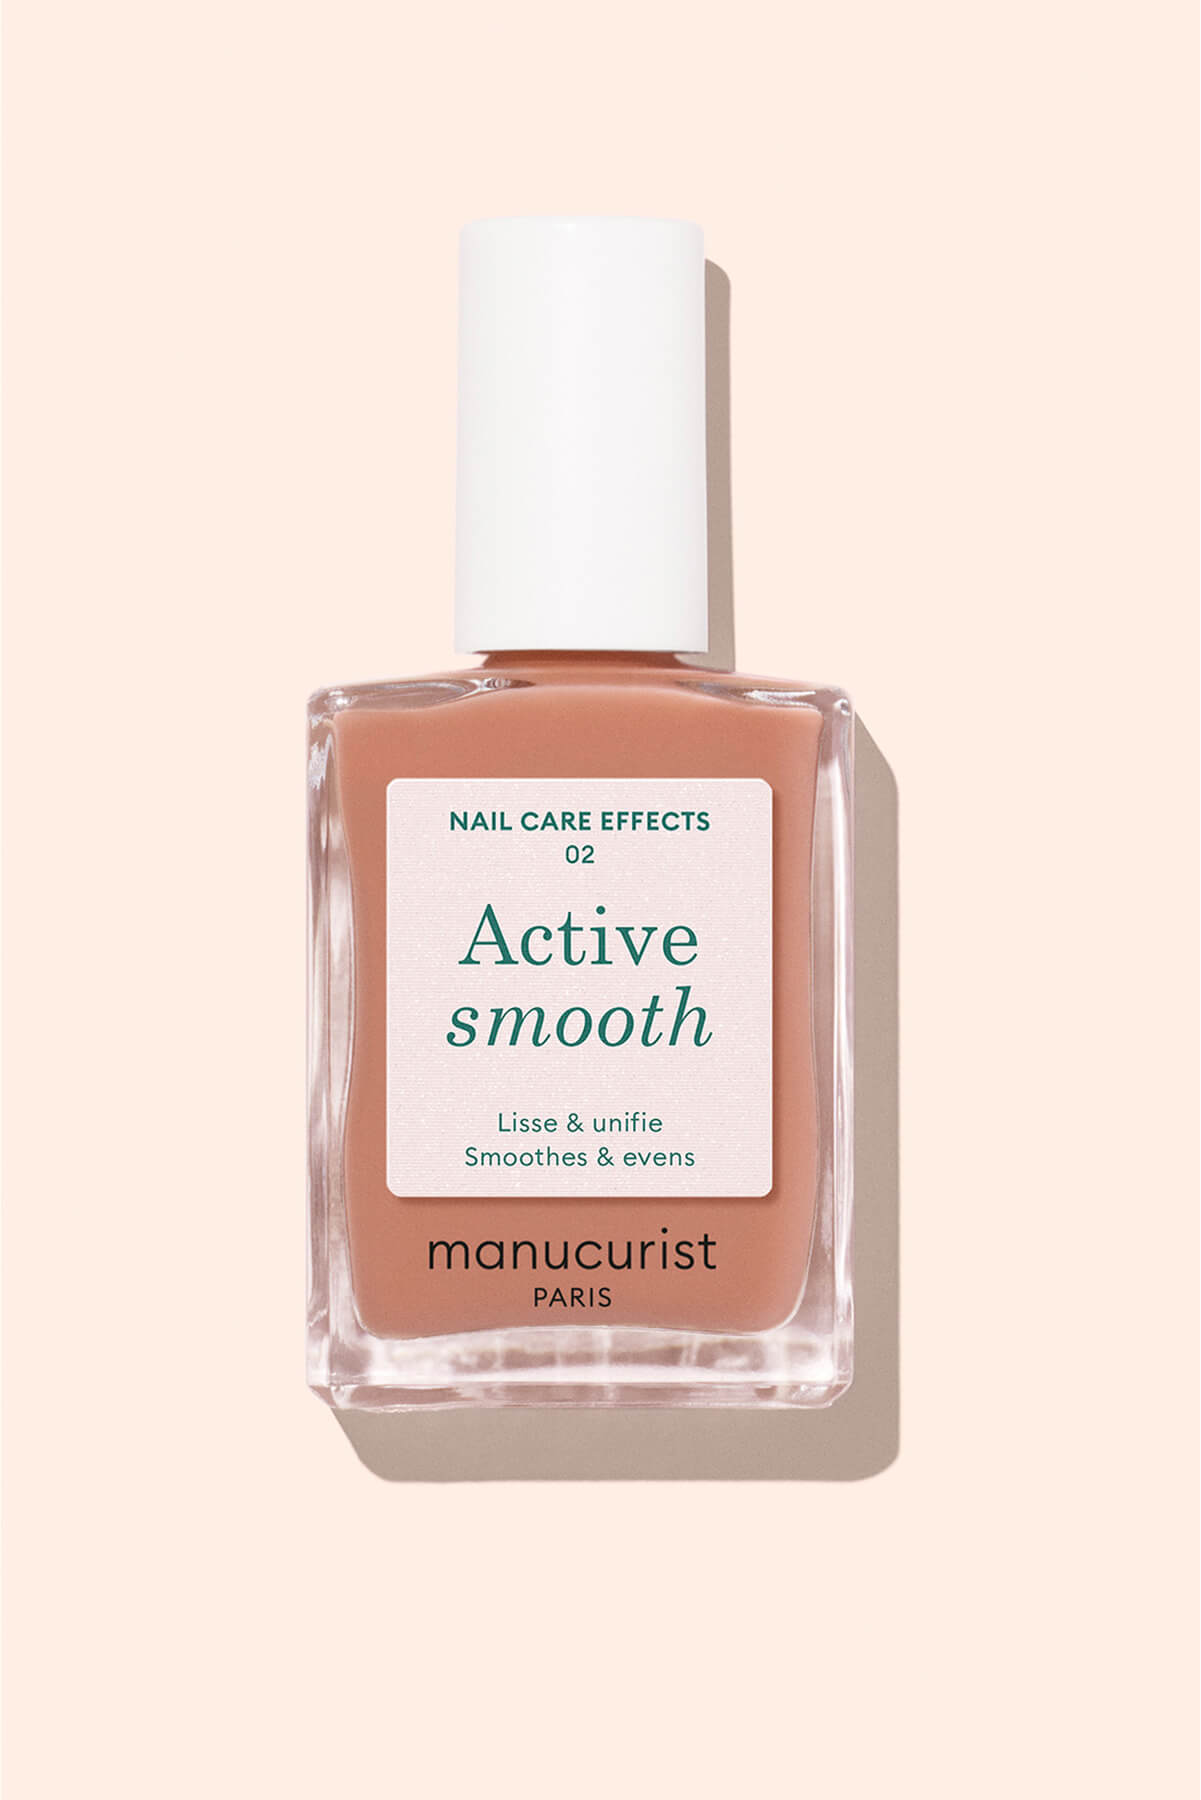
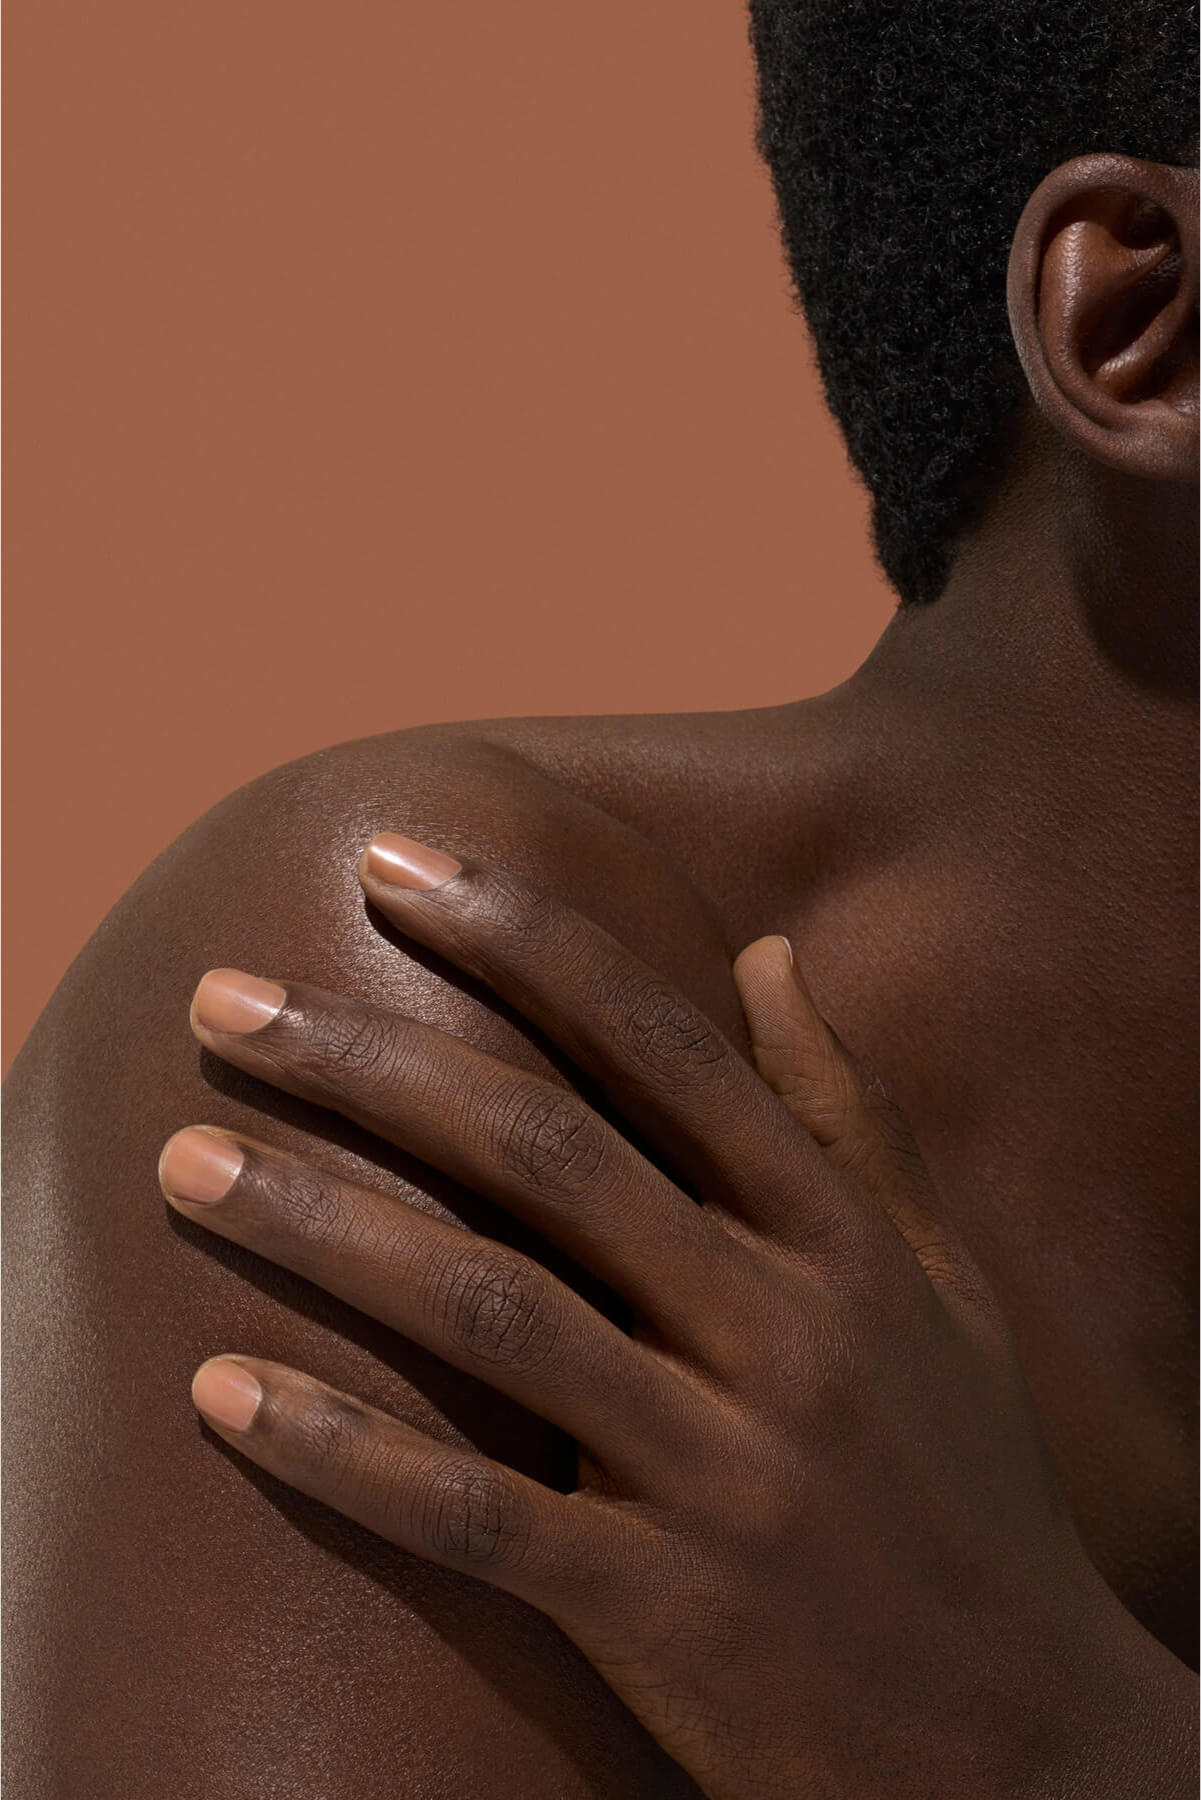
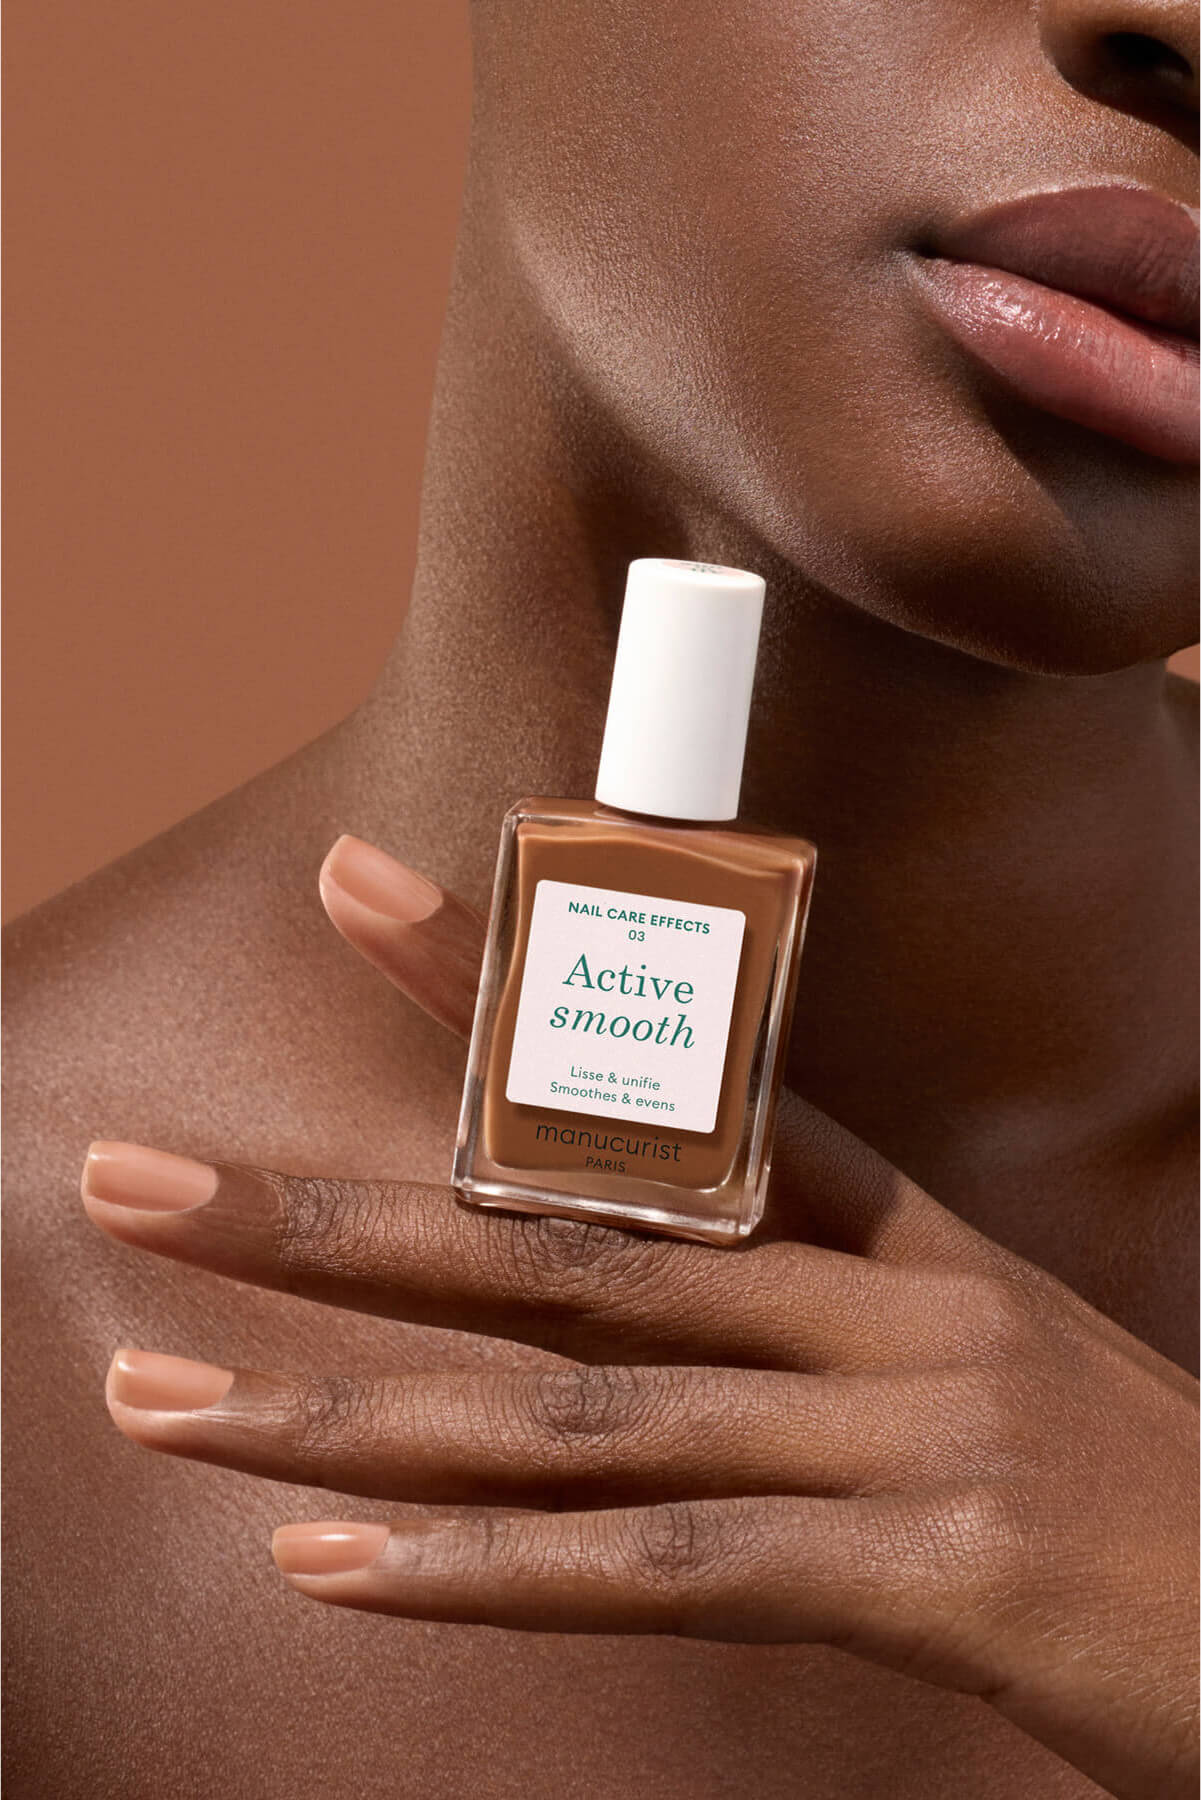
If you are a fan of the at-home mani, you may have experienced polish applications that don’t alway seem to meet our expectations, especially when compared to an in-salon application, whether this means the long-lasting nature or the application quality itself.
A perfect application will always start with choosing the right products, in this case products that offer fluid textures and ergonomic, well-designed brushes for smooth application. In addition to this, knowing a few simple tips for the perfect application and optimal hold will help to give you the perfect mani at home!
Prep : An Essential Prerequisite !
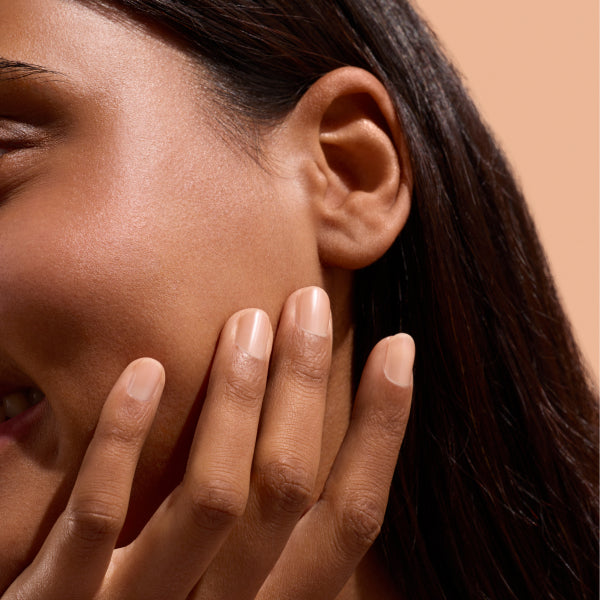
Before starting a mani, it is important to remember that applying polish to well-groomed and prepped nails helps to guarantee long-lasting colour!
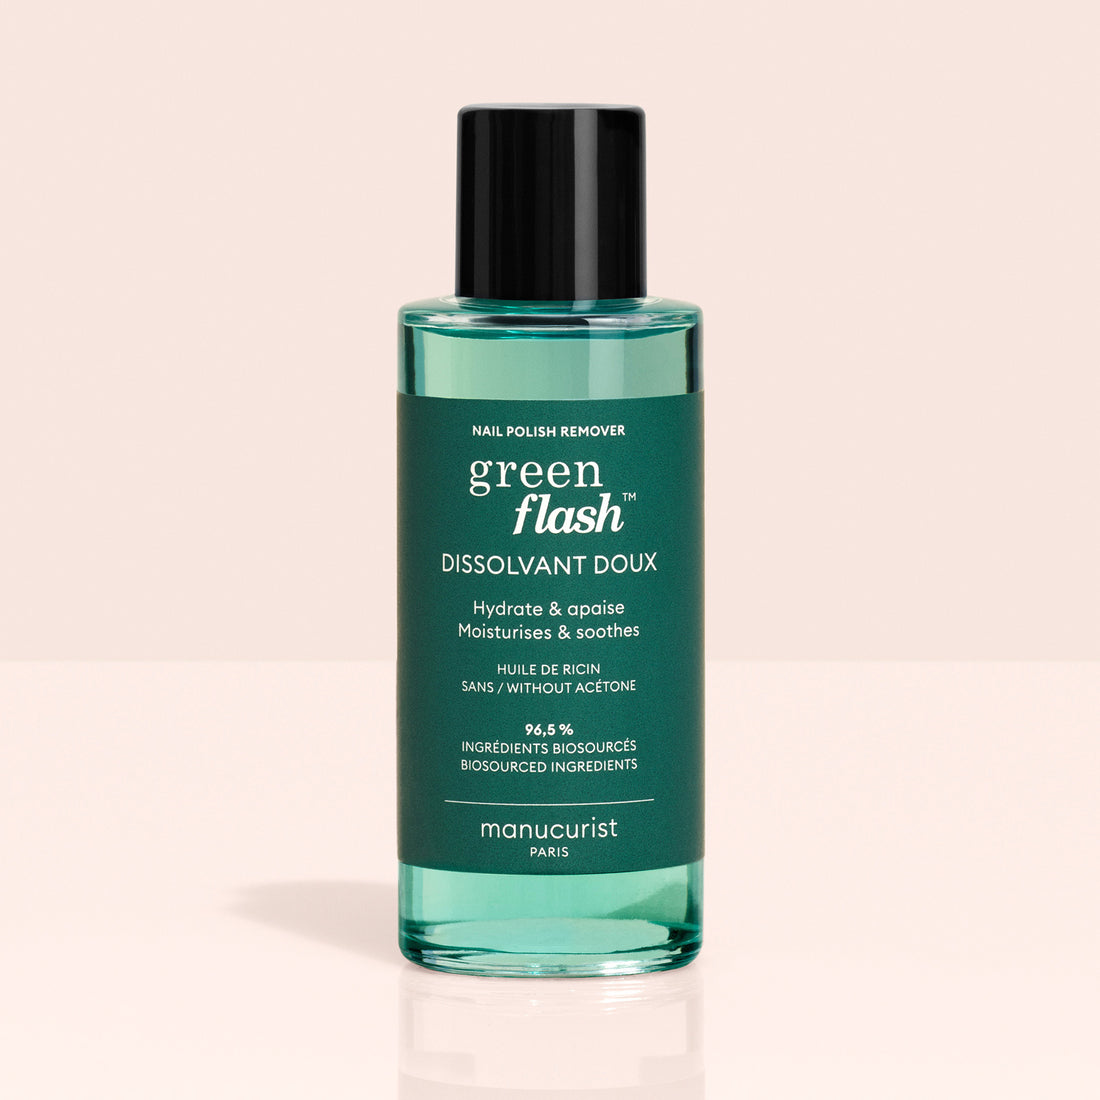
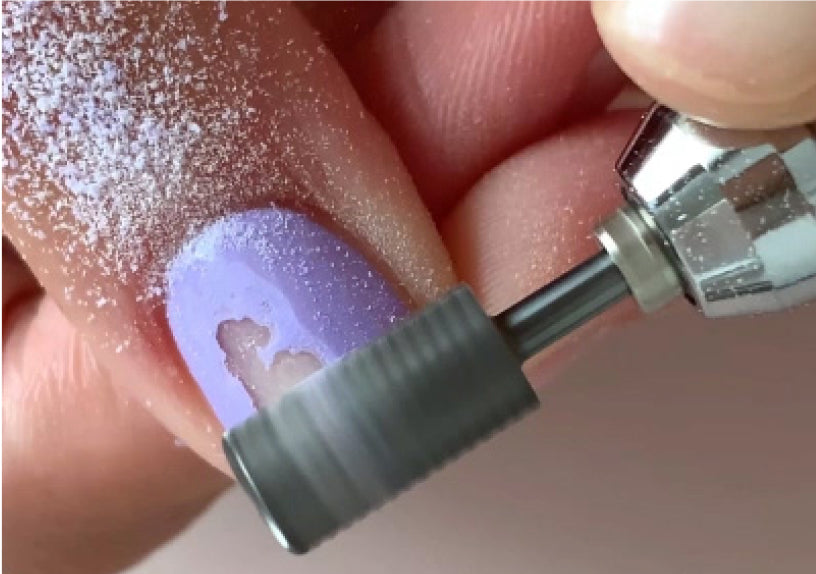
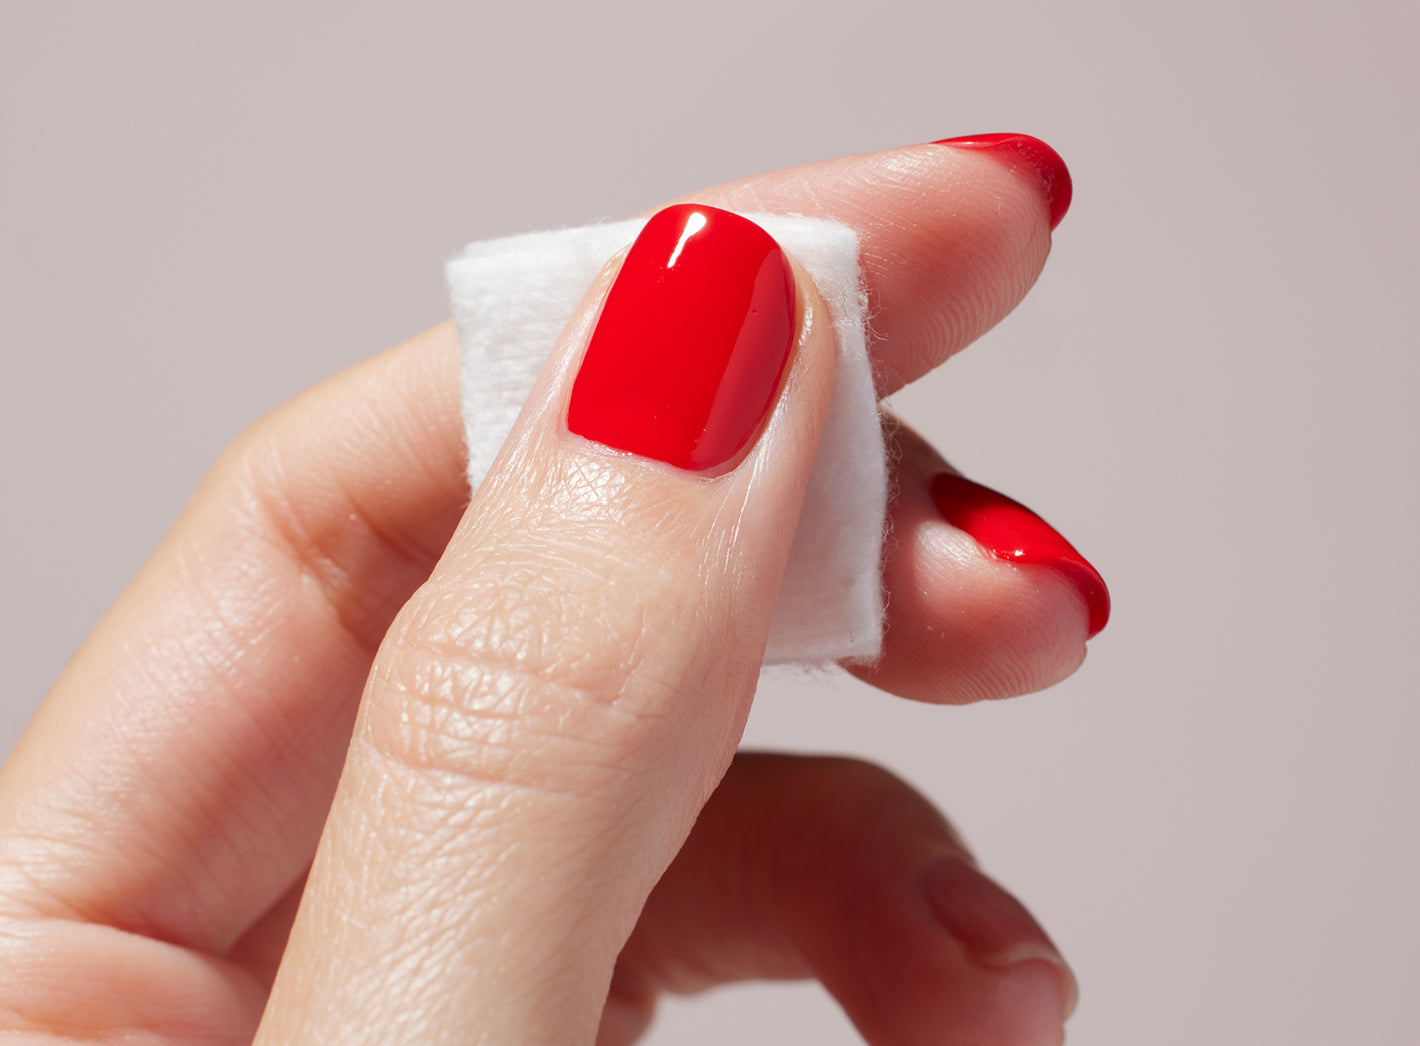
Start by pushing back cuticles and cleaning up the contours of your nails before buffing the nail surface with a buffer sponge and shaping with a nail file. Be sure to degrease your nails with Green Flash Gentle Acetone-Free Remover to remove any grease or dust to more easily ensure colour adhesion.
Pick-up, Apply, Border : Master the Art of Polish Application!
Applying polish doesn't need to be difficult, step up your mani game by following these easy steps:
1 / Pick up
Take only a small amount of polish with the brush and squeeze out any access by pressing the brush against the side of the bottle, leaving only a drop to be applied.
2 / Apply
Apply the polish in very thin and even layers, using about 3 brushstrokes. Start in the middle of the nail and stretch the nail polish out to the sides.
3 / Border
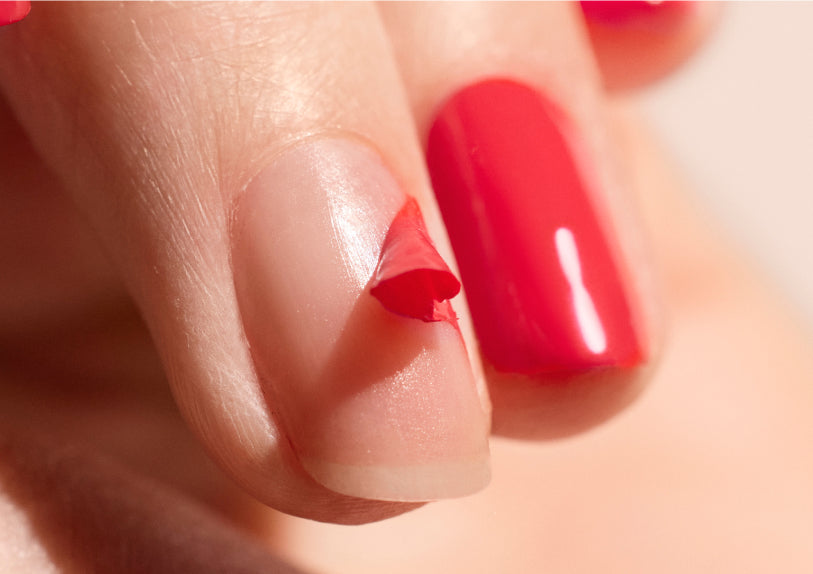
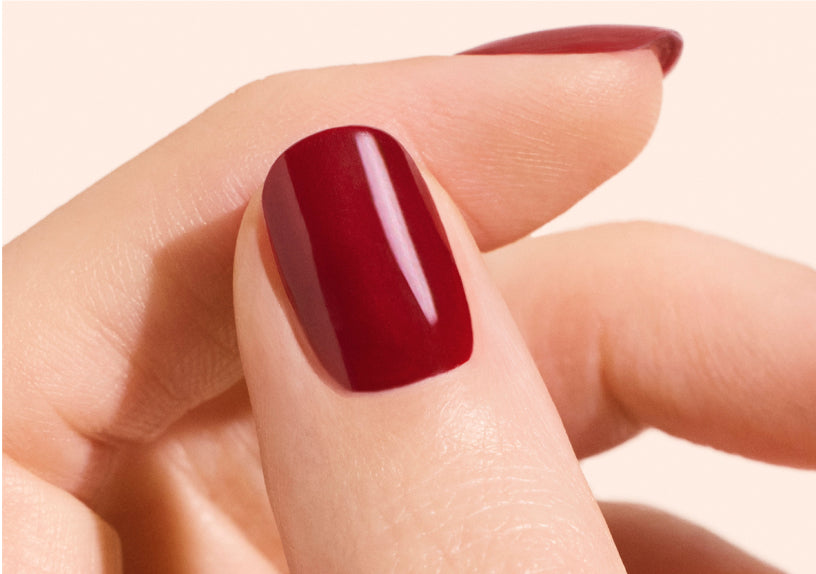
Border the nail by gently brushing the nail’s free top edge without adding any additional polish. This is important as it creates a seal on the top edge and protects from any water or particles getting under the polish and lessening the staying power. This step is essential to preventing peeling and chipping from the top edge.
Tips
Place your hand on a flat surface and apply the polish by holding the brush parallel to your nail.
Keep your brush mostly parallel to the nail during the application process and pass over the nail without applying to much pressure.
Stretch the polish from the base of the nail to the top edge. Start in the middle of the nail and then move to both sides.

Tips
Border the free end of the nail without adding additional polish.
On short nails, pull the fingertip away from the edge of the nail before bordering
Respect the 4-Coat Rule !
Never forget that a shiny, long-lasting manicure requires 4 thin coats.
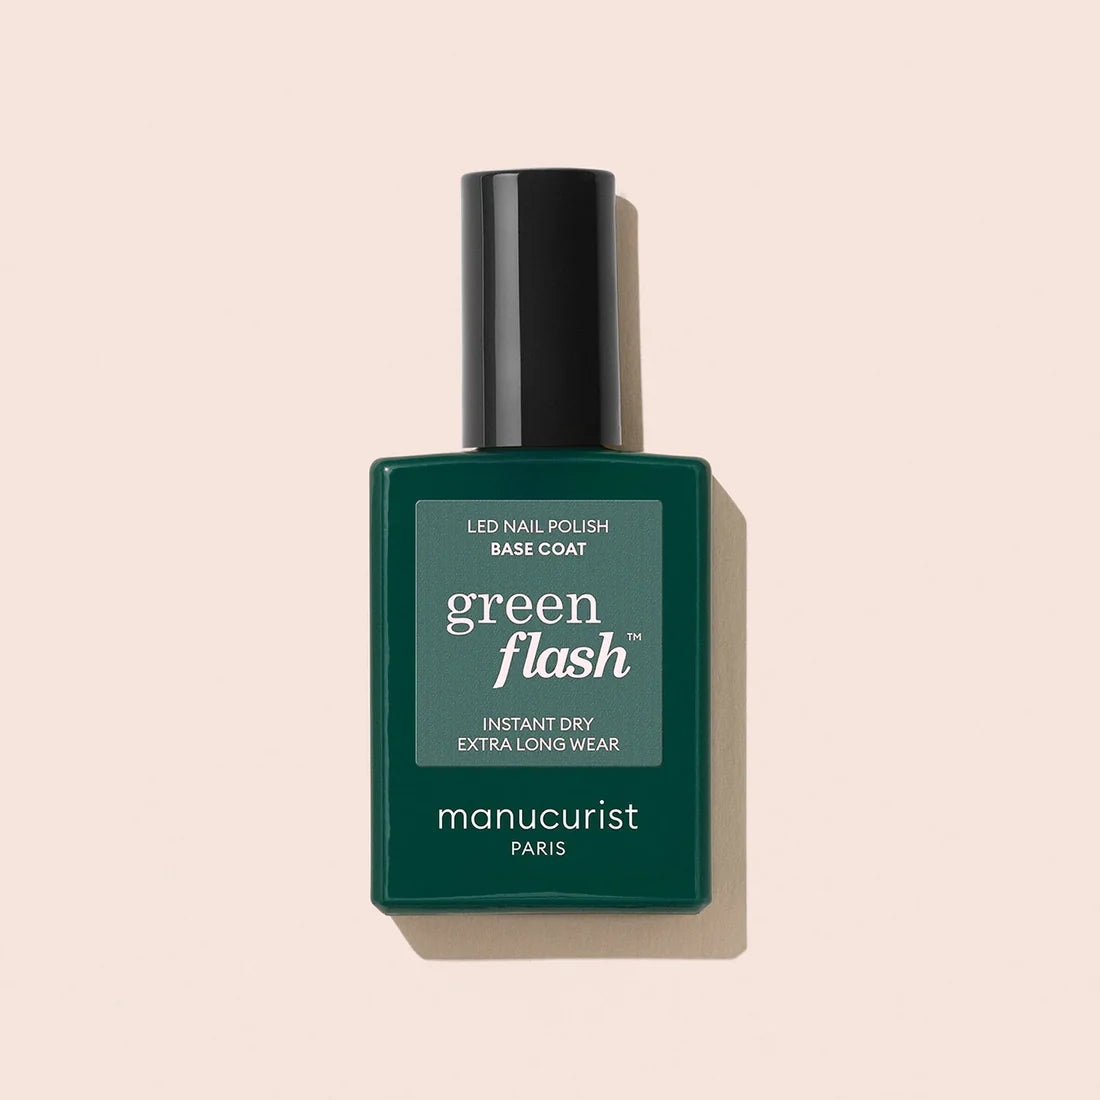
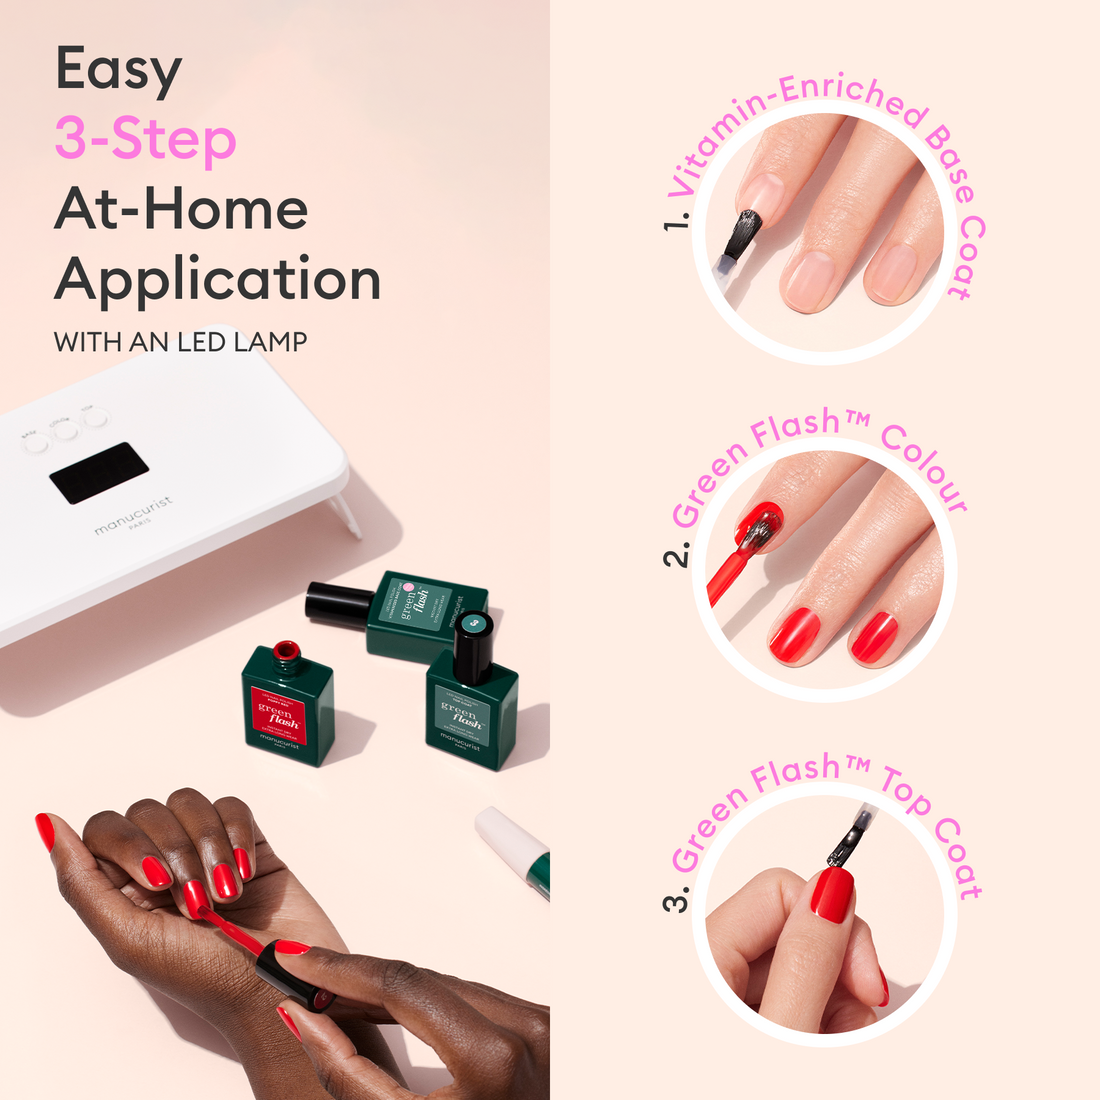
• 1 coat of Base Coat to protect the nails and increase polish adhesion and colour-lasting quality
• 2 coats of colour are needed to create a vibrant colour payoff
• 1 coat of Top Coat to protect the manicure, shorten drying times and enhance hold and finishing shine.
Went outside the lines ? No need to panic…
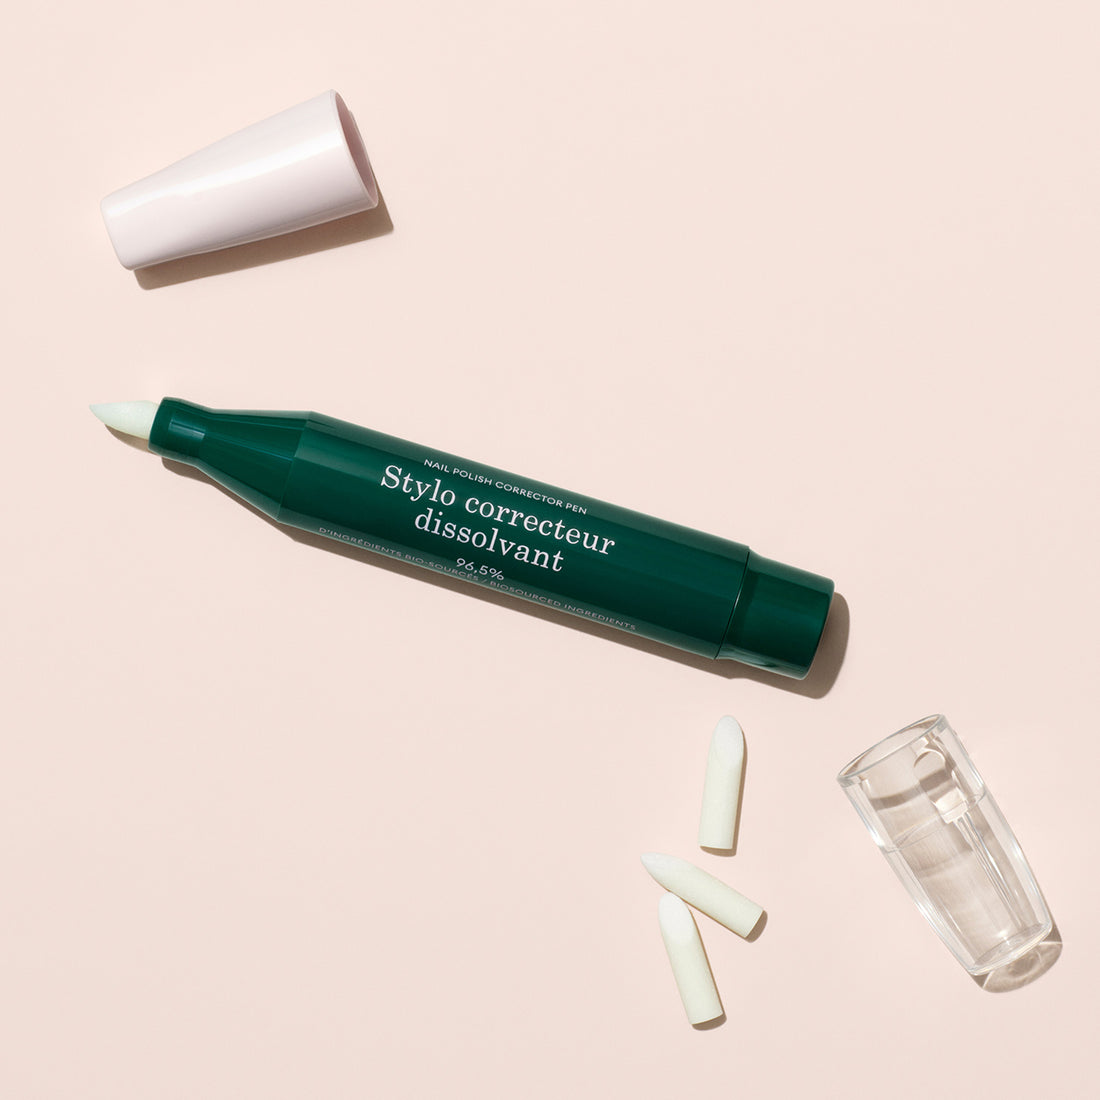
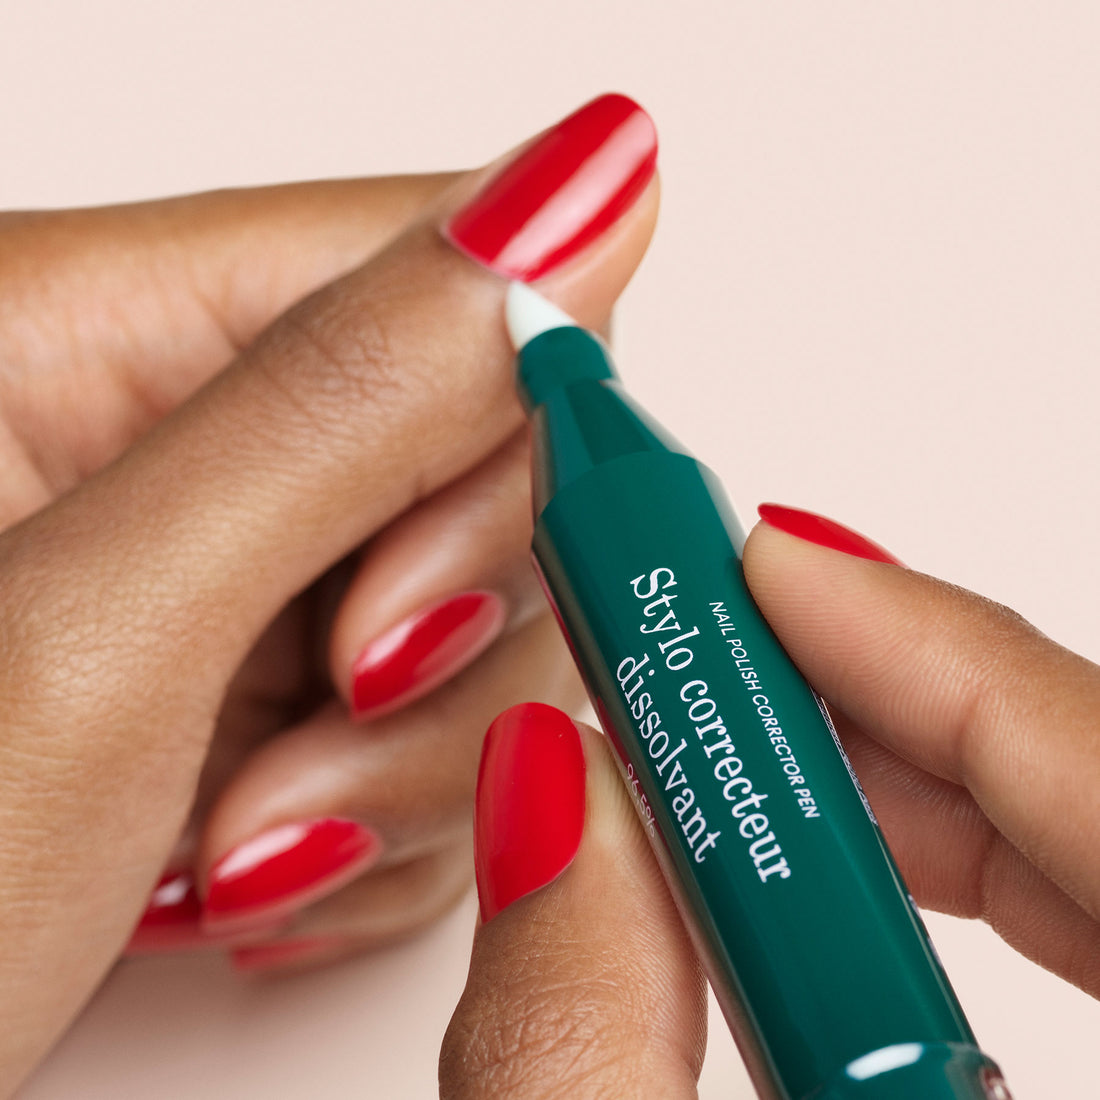
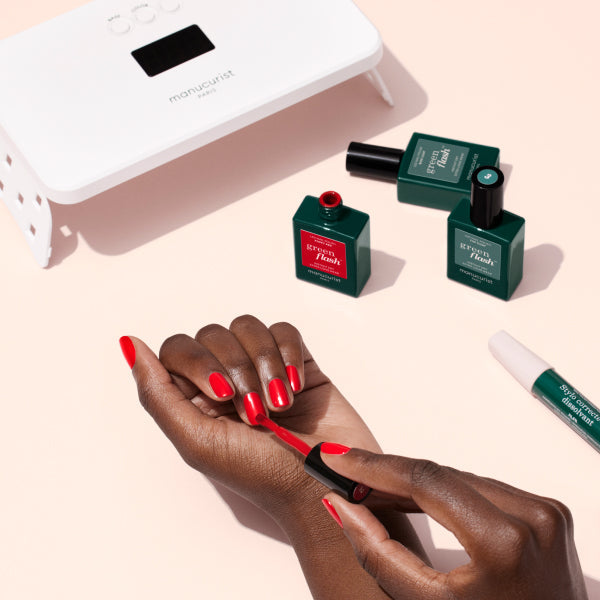
It happens to even the pros! If you happen to apply polish to your skin or anywhere other than the nail plate just use the Green Flash Corrector Pen to correct any mistakes with a simple swipe! With its rounded and beveled tip, it gently and precisely erases small application imperfections.

Tips
For Green Flash manicures, be sure to clean up any polish application mistakes BEFORE flashing under the lamp
Green Flash Manicures: respect the drying times
As for a classic polish manicure, a Green Flash manicure is applied in 4 coats. These coats should be thin, and cured under the lamp after each layer.
Remember that the drying times of our LED lamps are pre-programmed for each step and have been specifically designed for optimal adhesion and colour hold.
Don’t worry if the applied coats freel a little sticky after curing, this promotes better polish adhesion. Polish will be dry a few minutes after the last curing

Tips
When using Green Flash, respect the drying times programmed on to the lamps. Over drying risks ruining your manicure
Et voila… your are ready to shine like a PRO ! ✨
To make the most of your manicure, and give it every chance of long-term survival, here are 2 final tips:
Avoid bumps, taps, scratches and contact with water.. all of which will cause damage or soften the manicure after application.
Dram manicures last longer on nails that are nourished and in good health, don't forget to follow a personalized nail care routine between colour applications!


