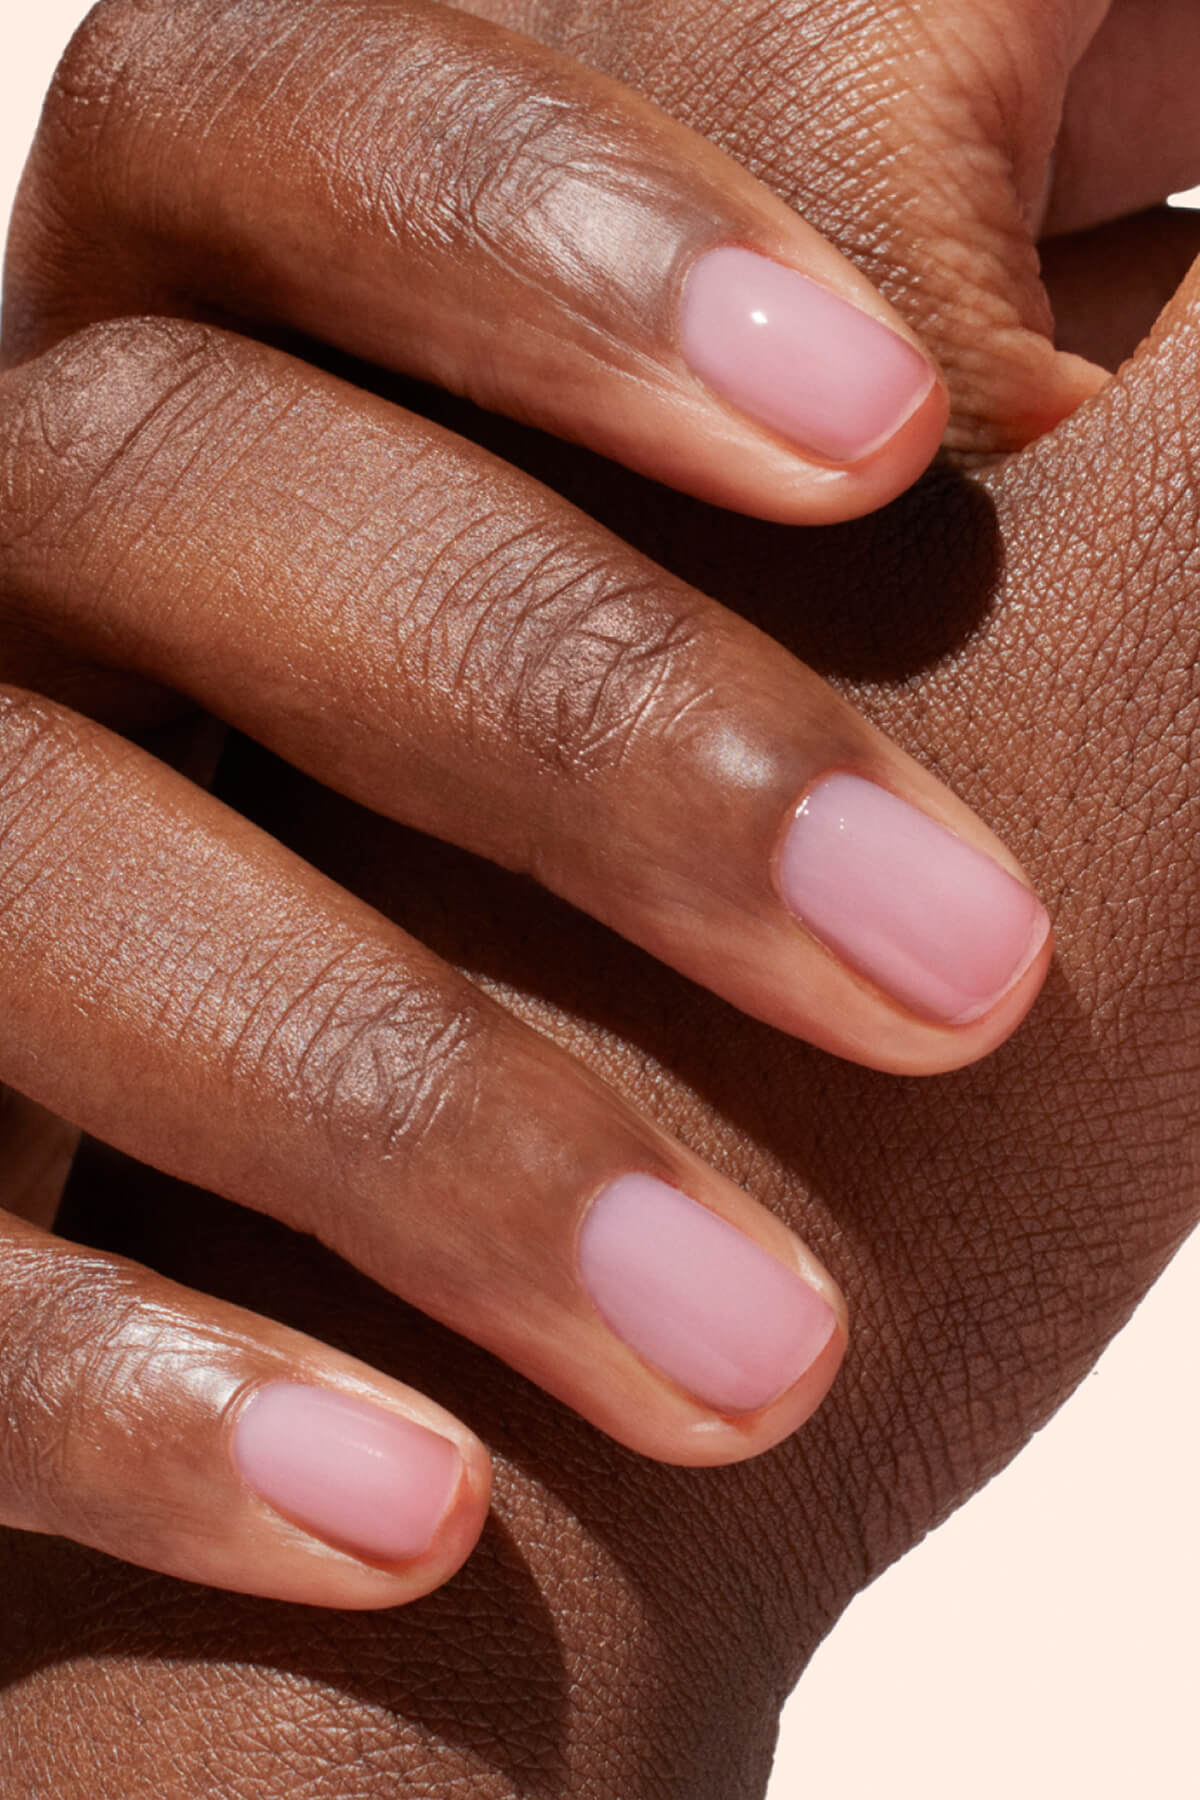
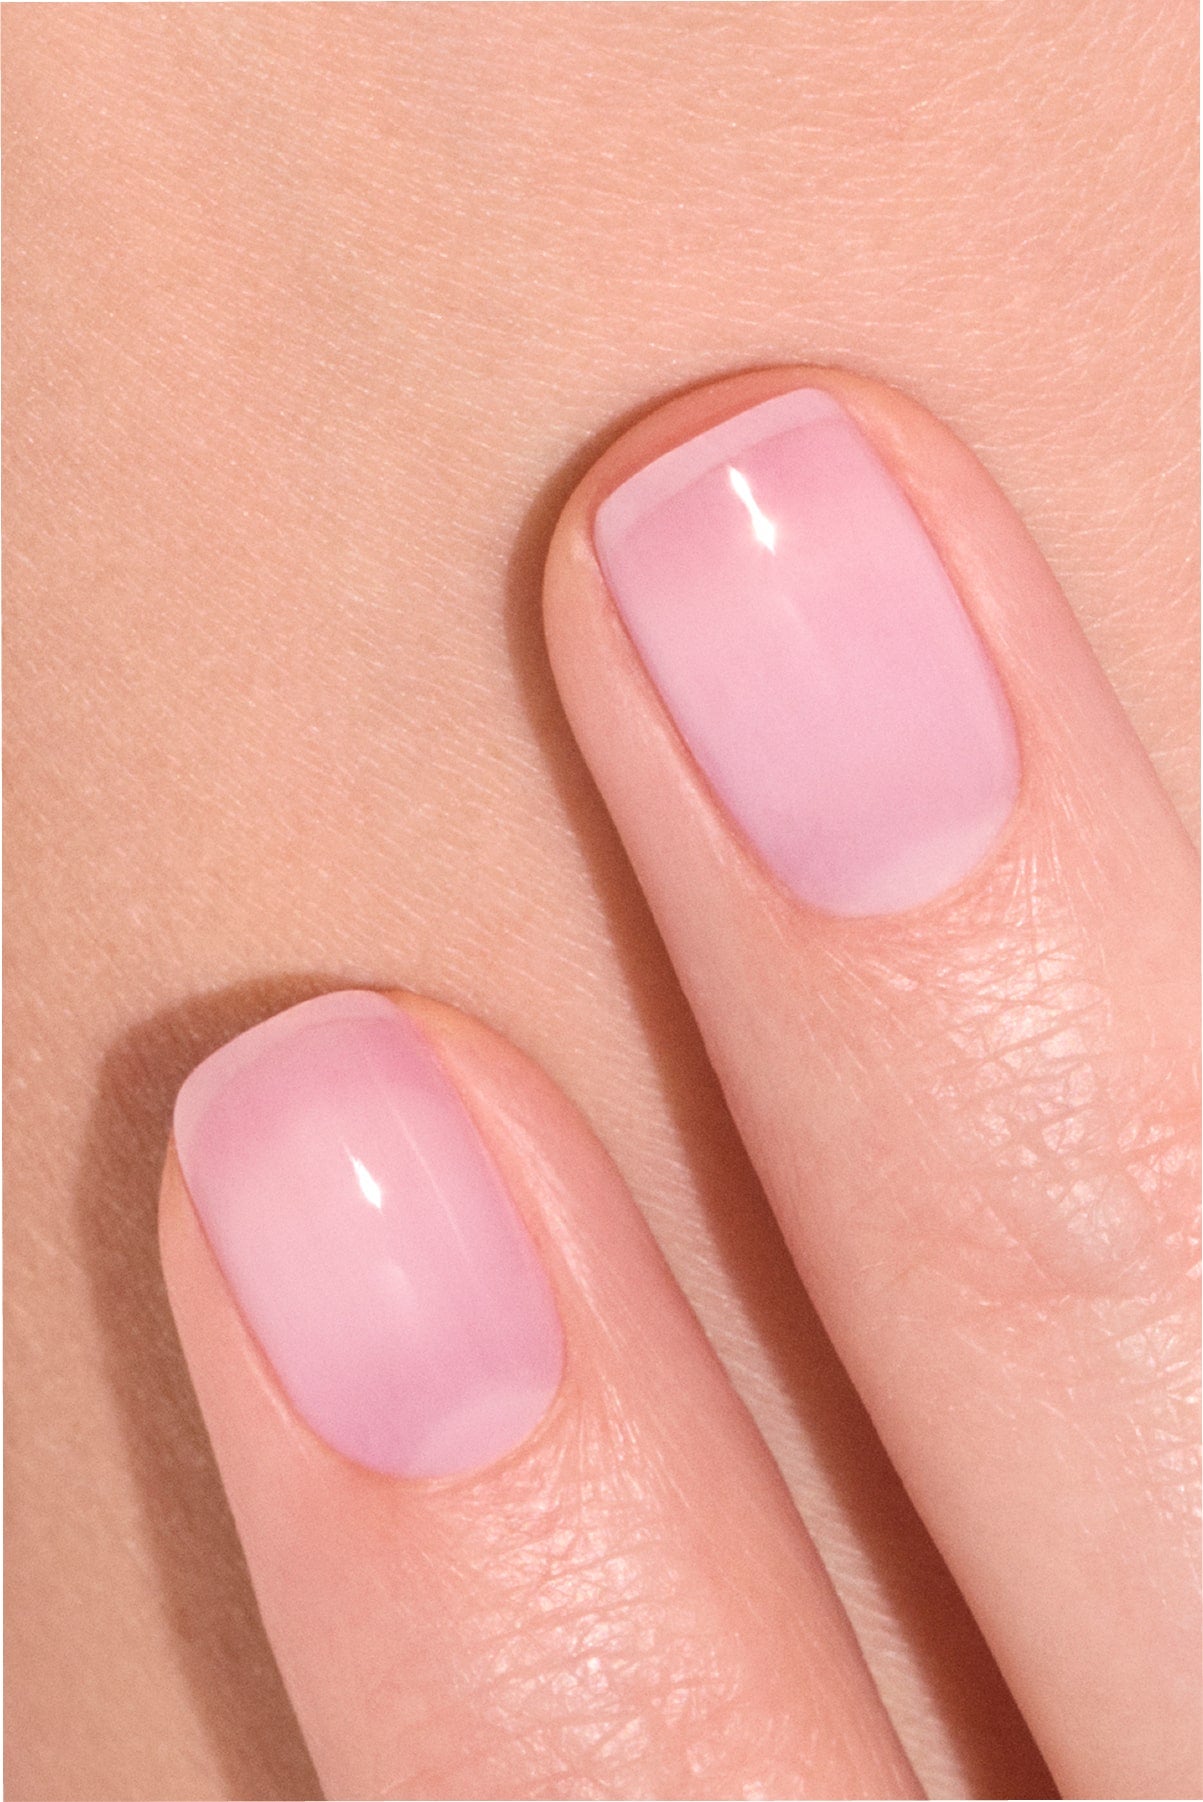
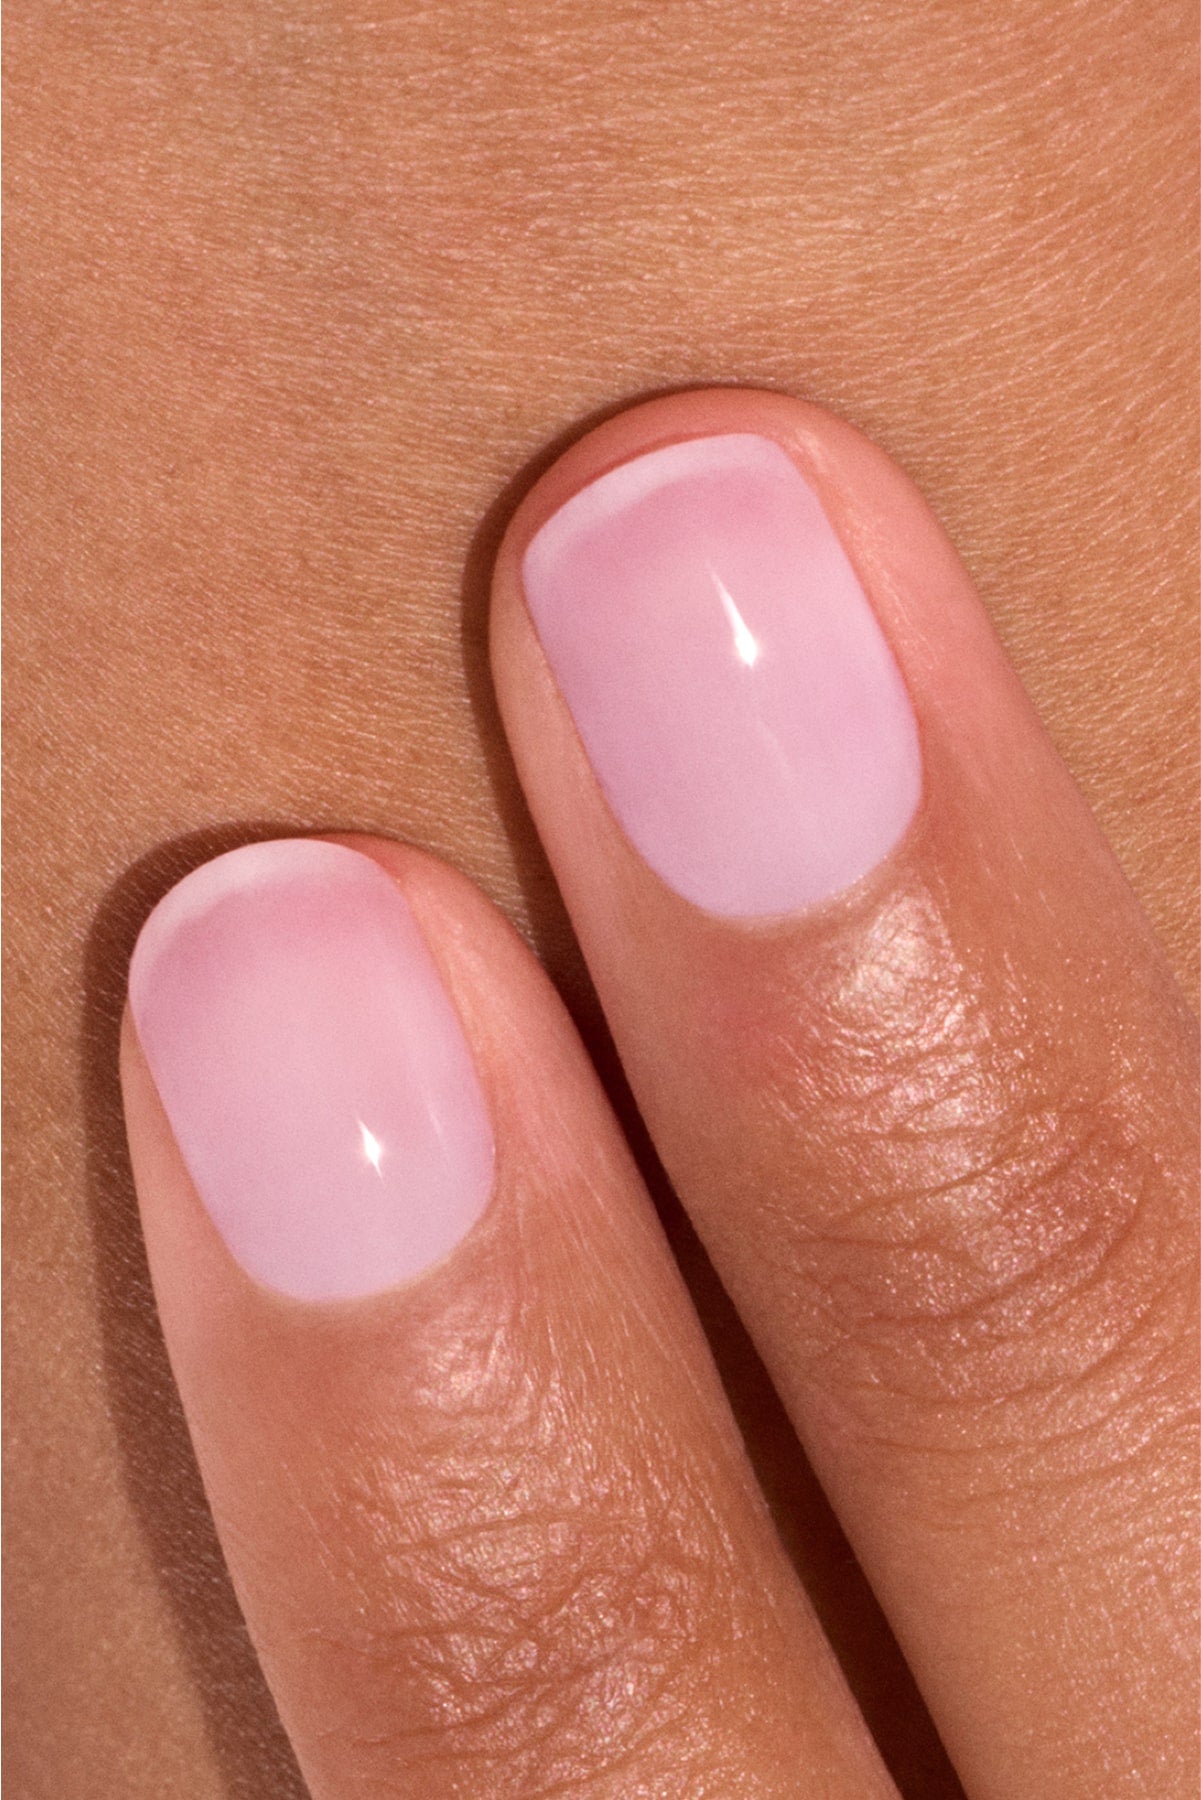
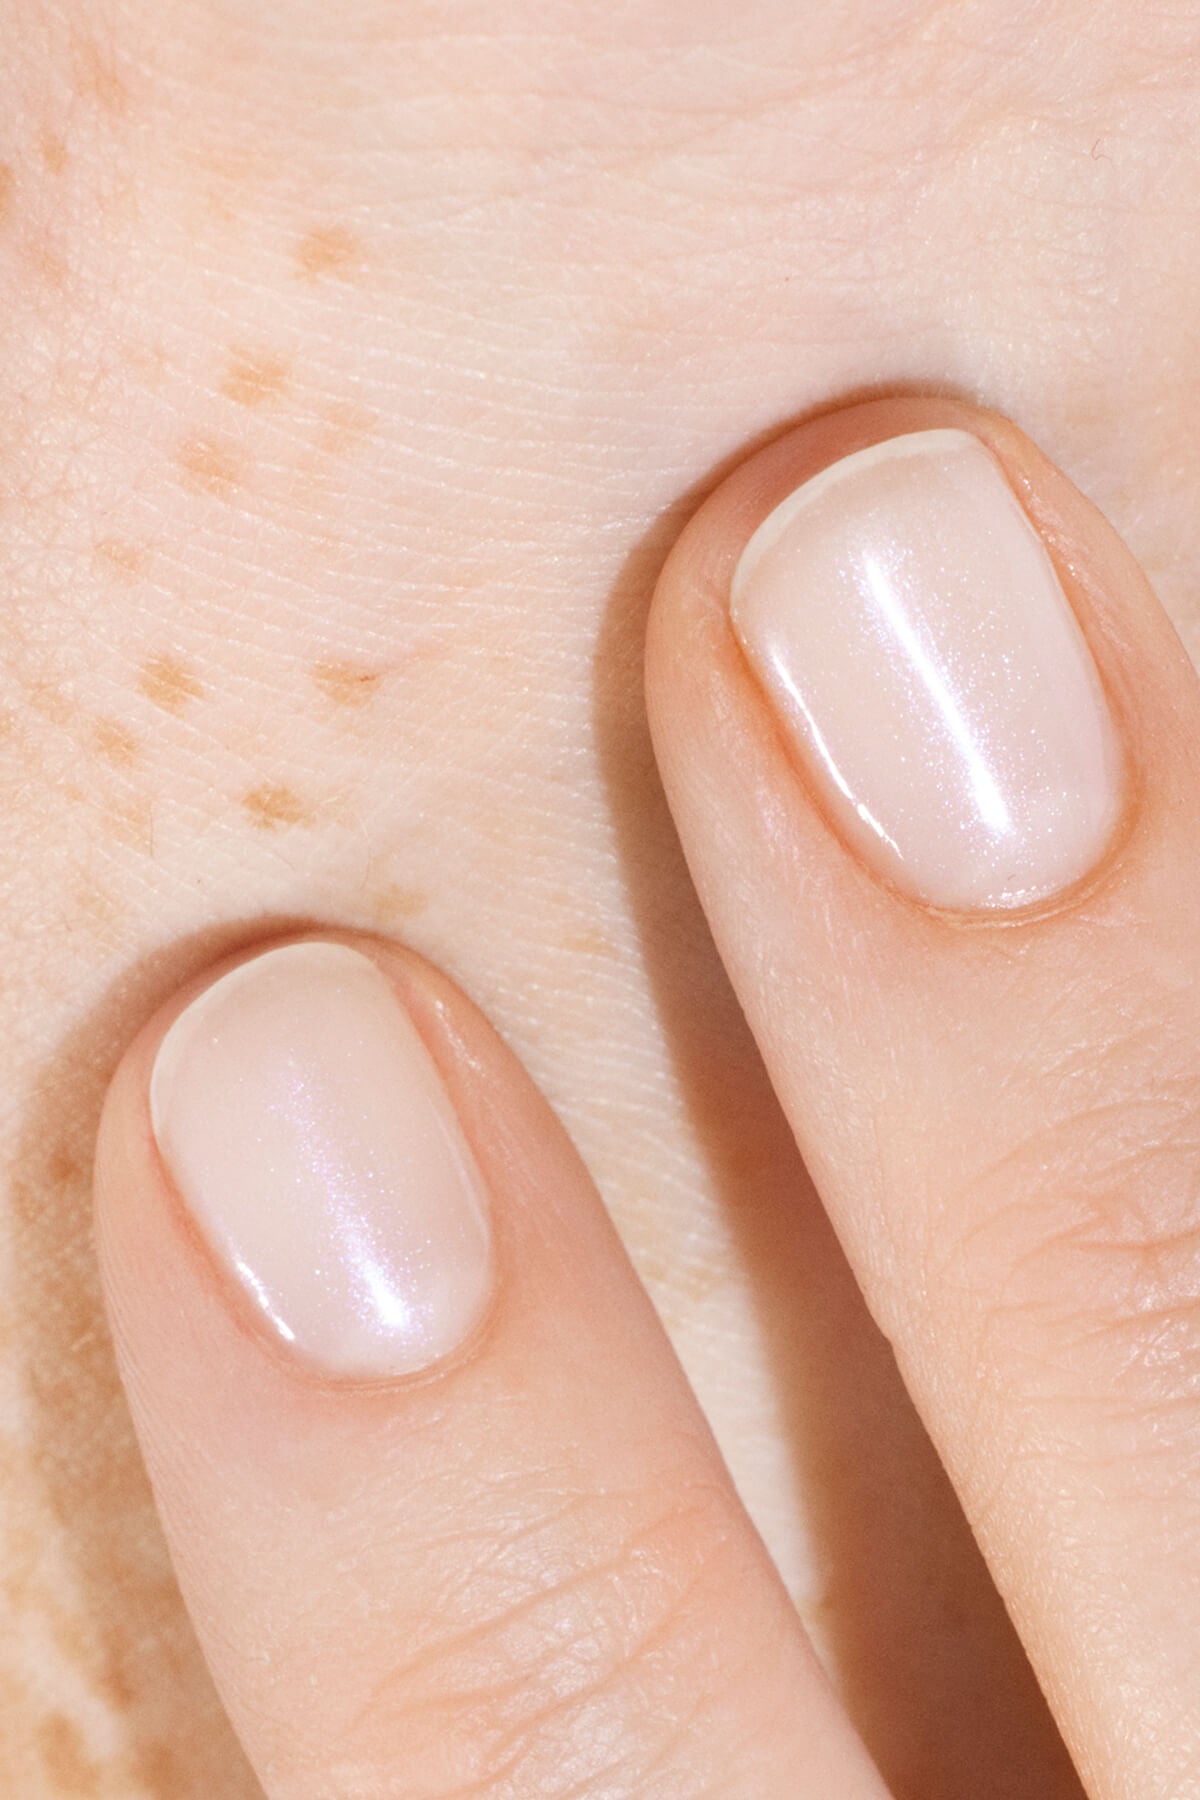
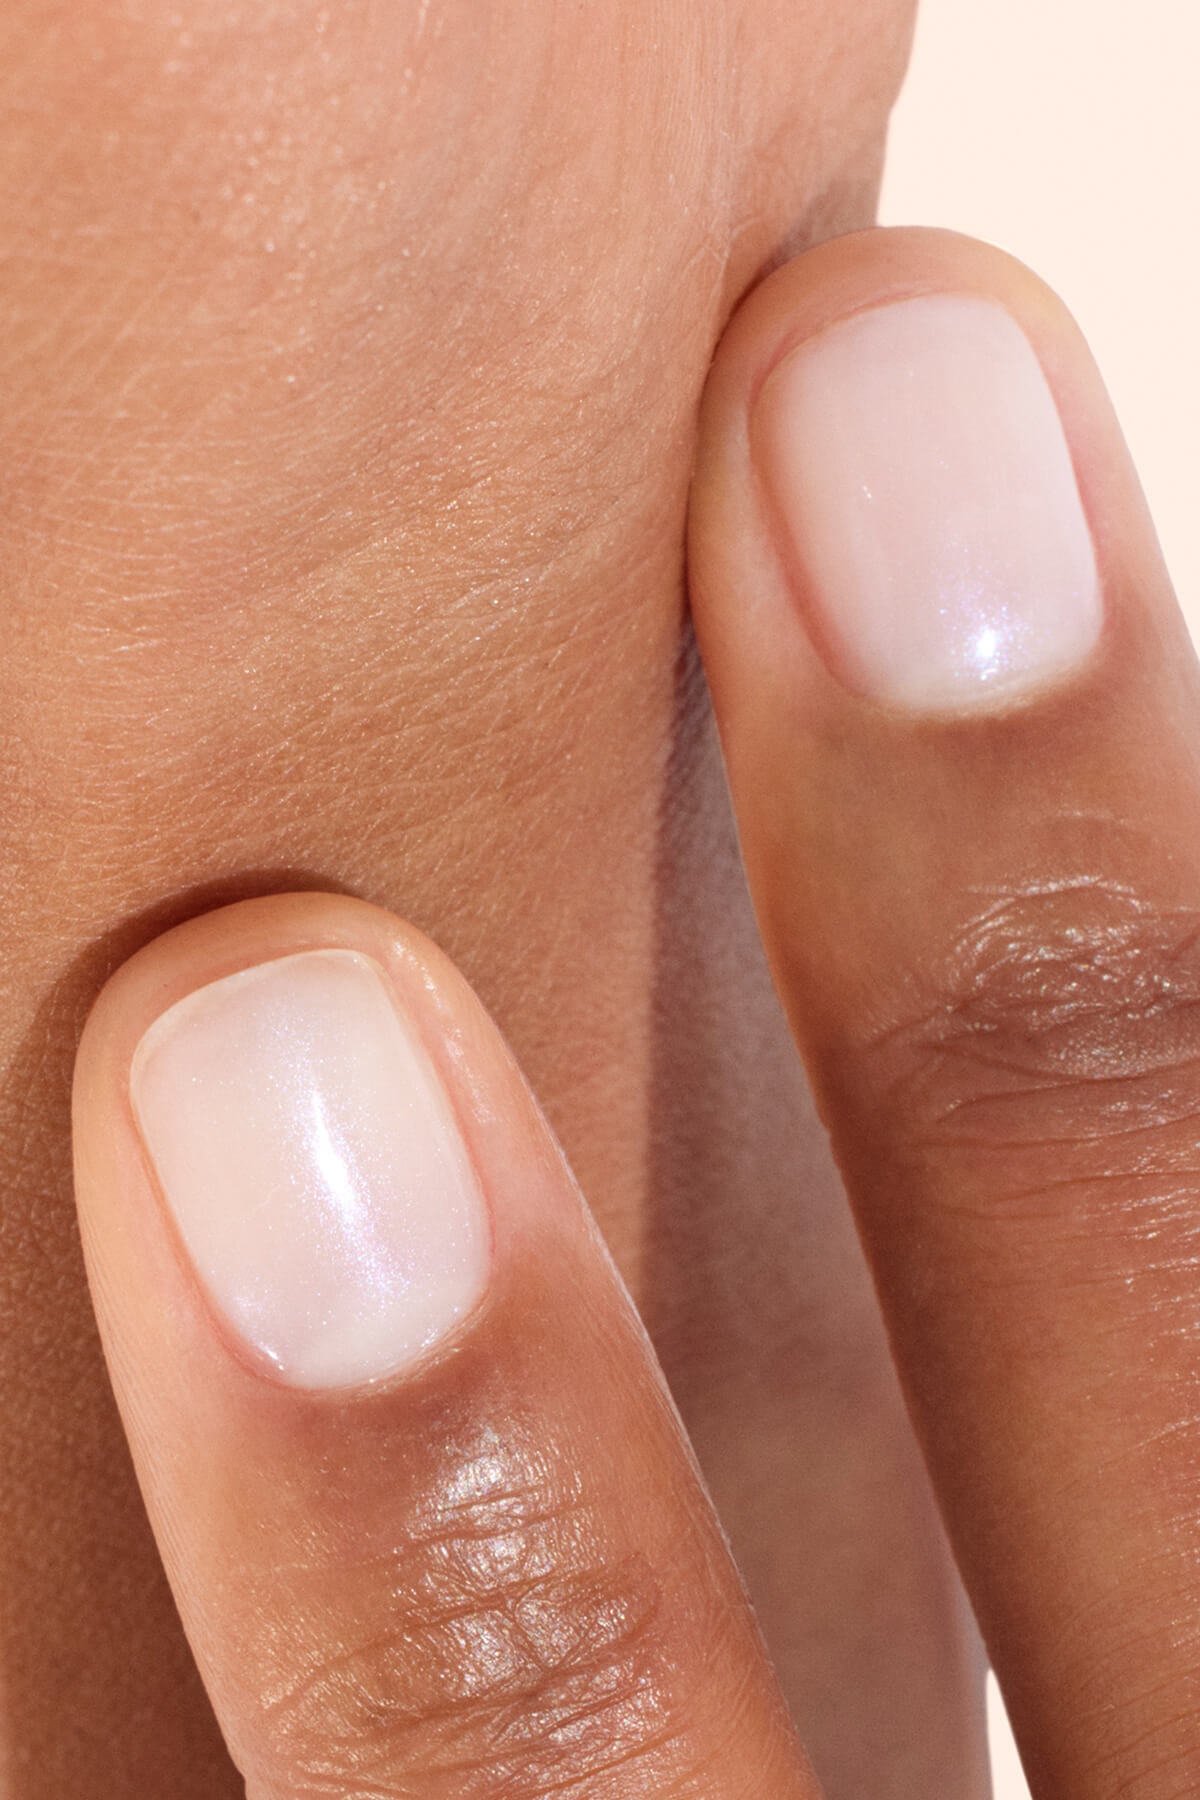
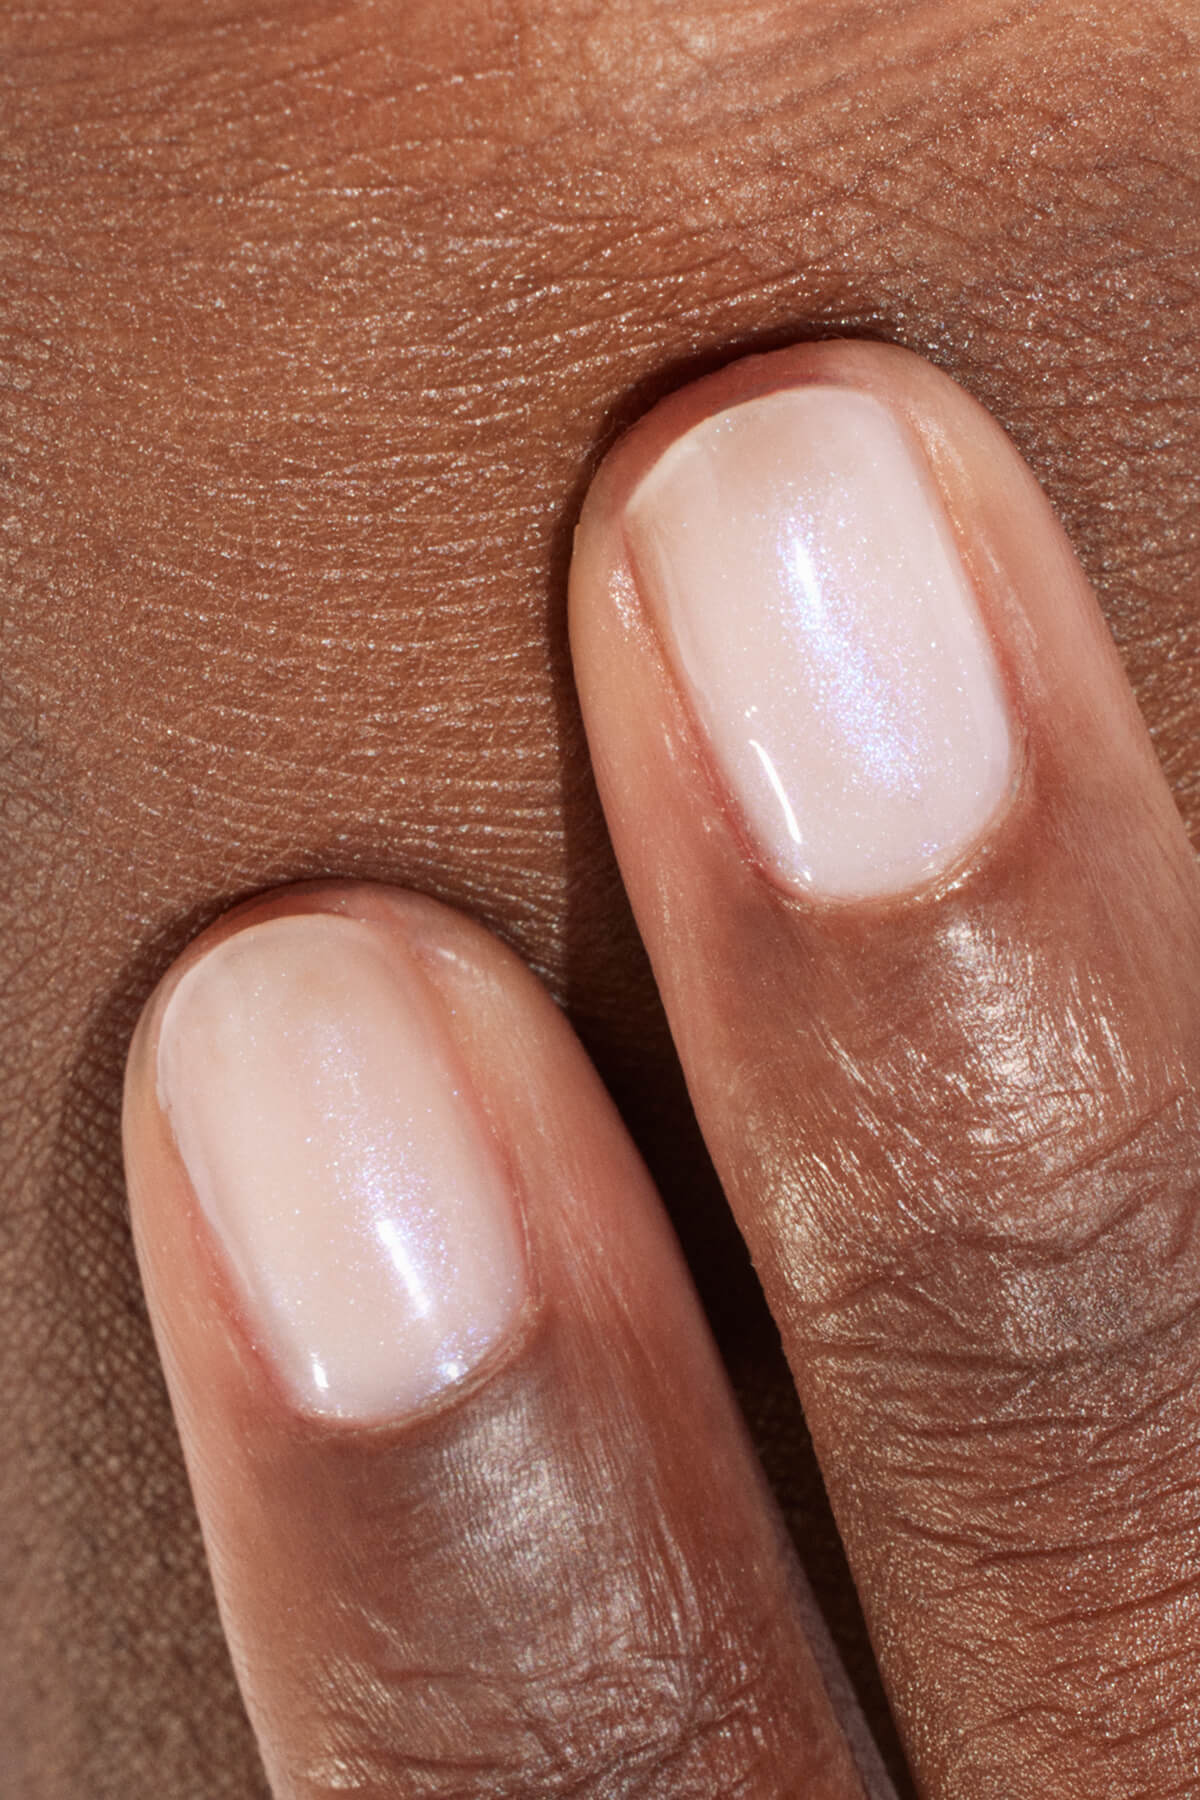
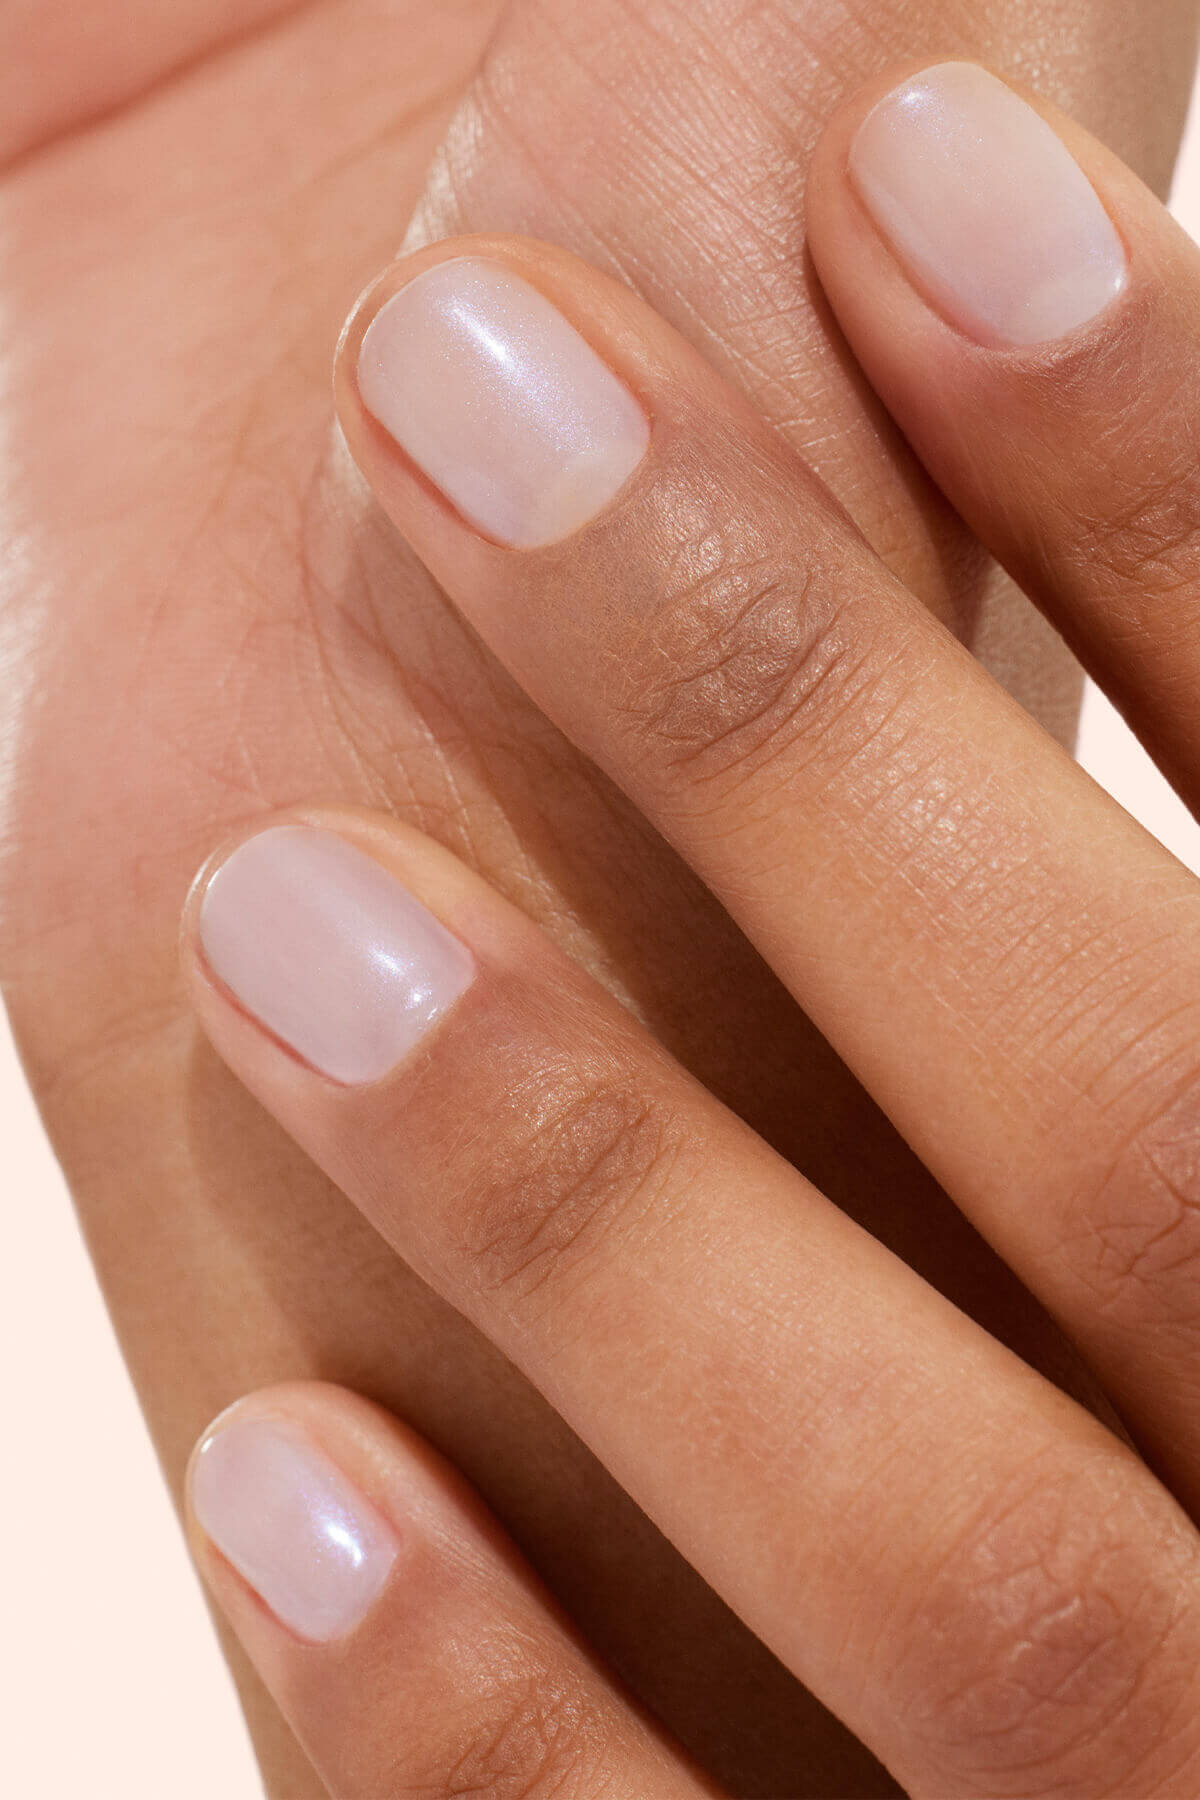
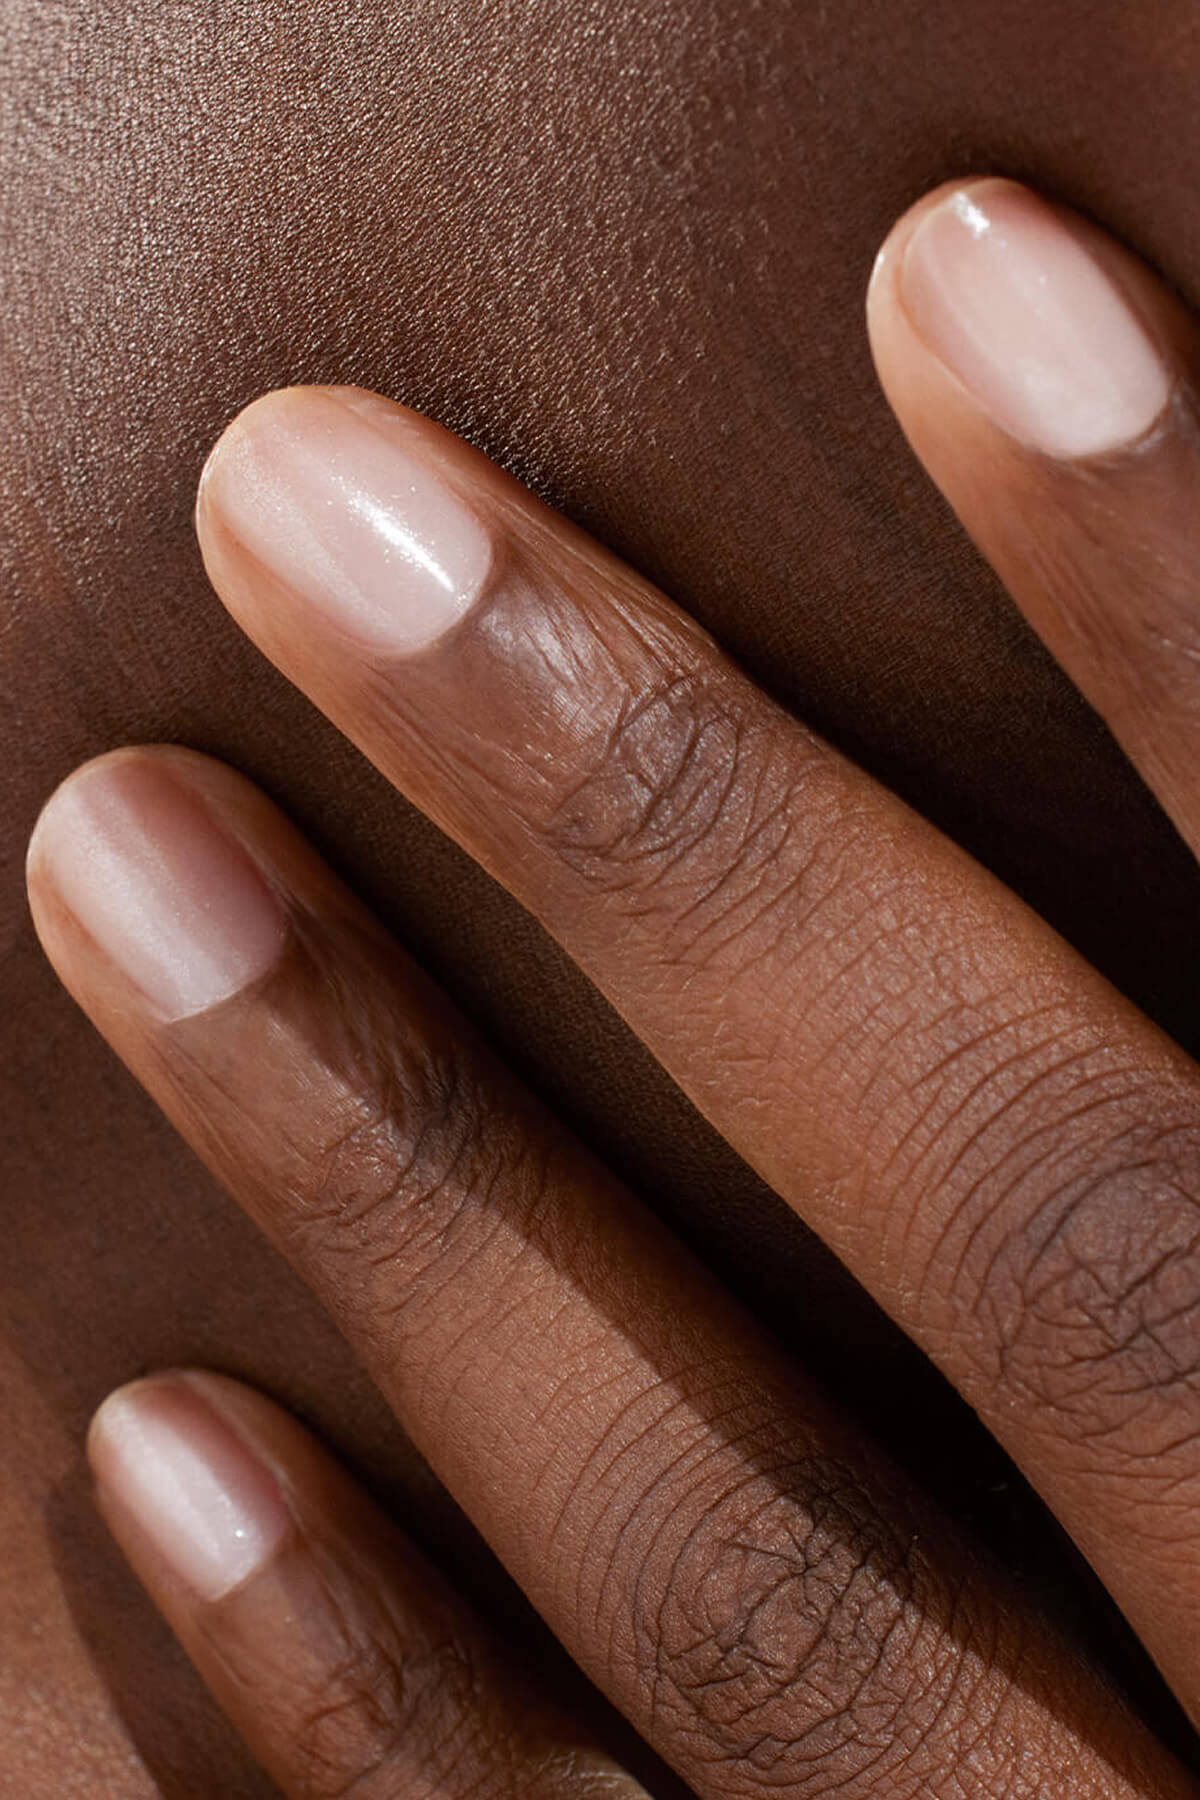
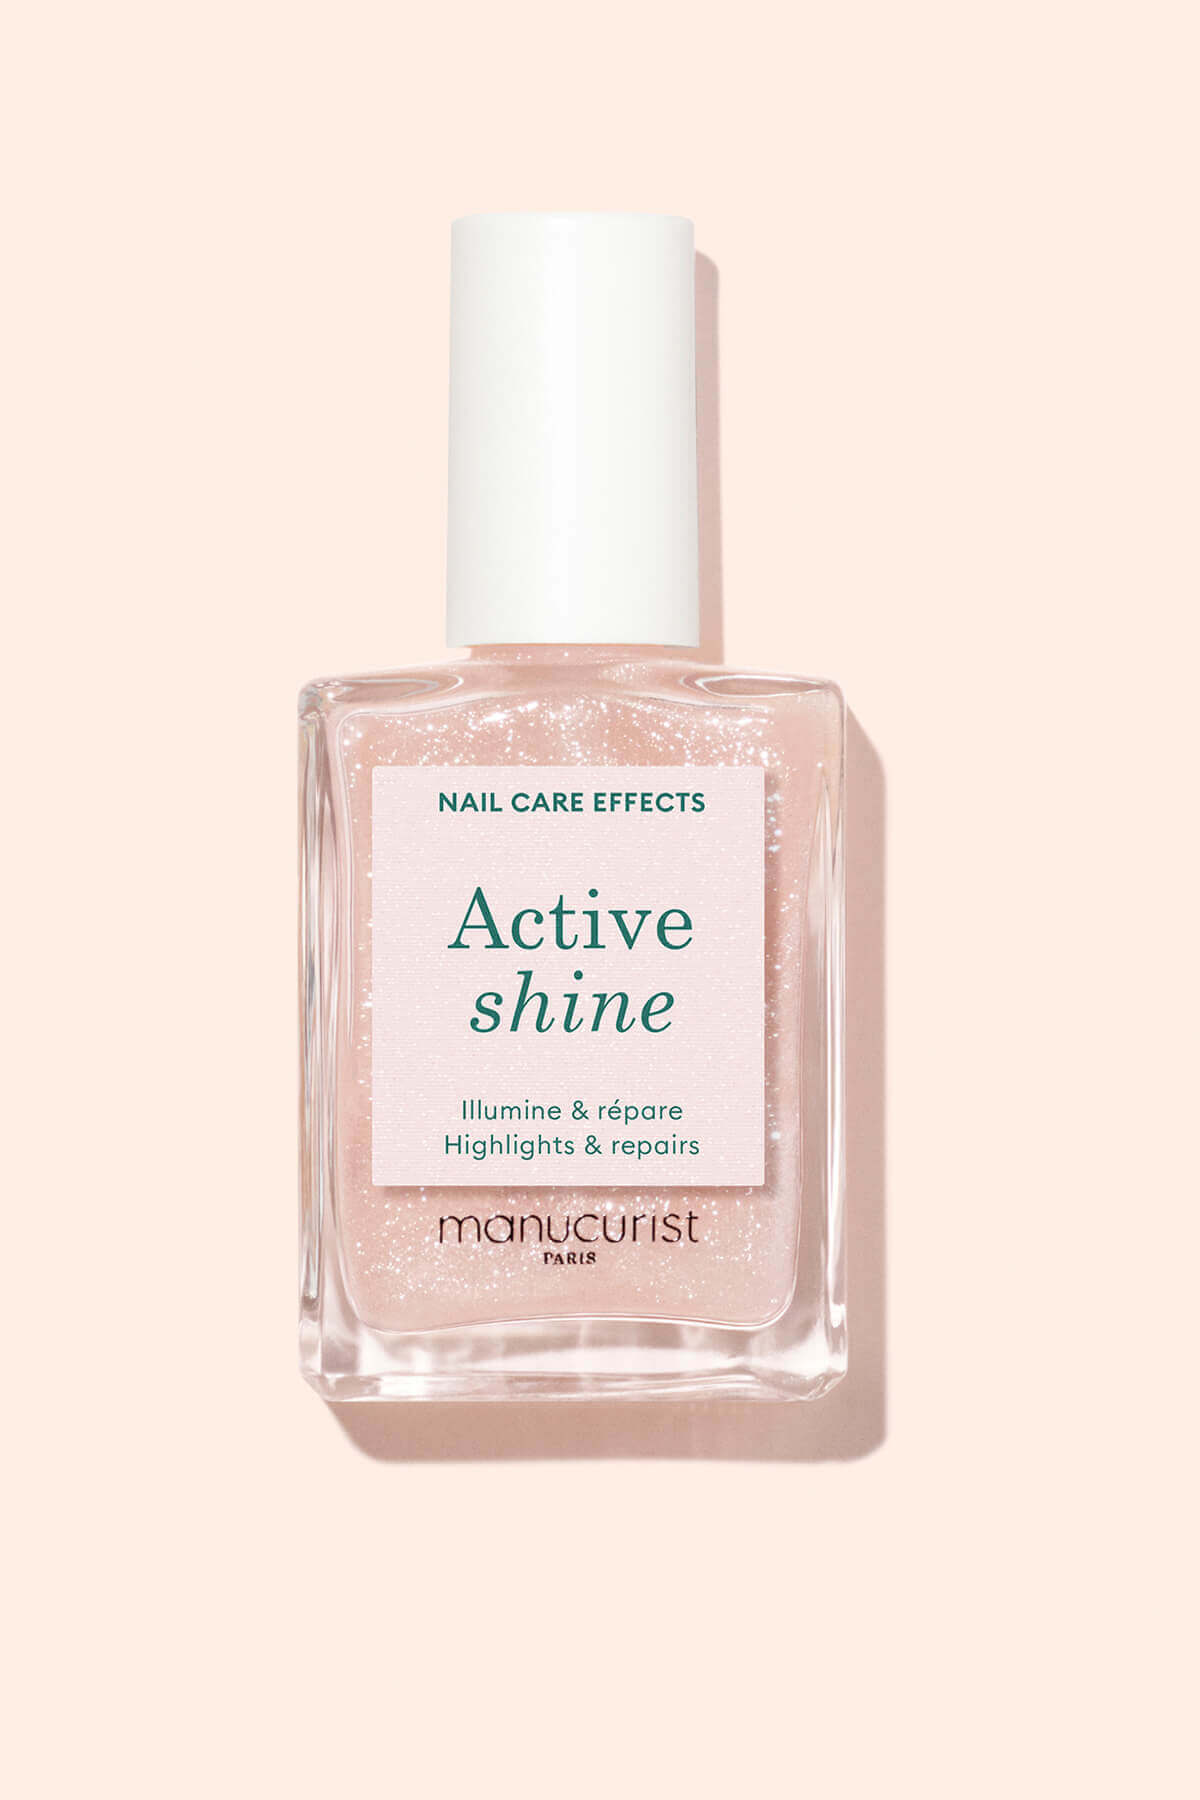
If you want to have clean, healthy nails and help your polish to adhere better and last longer, nail prep should be the essential first step in your manicure routine. So, let's go! Here we share all our tips so you can prep like a pro and discover the secret to long-lasting, flawless results.
Step-by-step nail prep
Step 1: File into your desired shape
Start by filing your nails to shorten them and shape them to suit. Square, oval, almond or stiletto – create your favourite nail shape but do it gently, with the right emery board and careful movements. Instructions:
🛠️ The tool you need: an emery board for natural nails with a fine grit, specially designed not to weaken your nails. Use the less coarse side and avoid filing back and forth, which can split and weaken your nails.
👉 Steps to follow:
-
Hold the emery board at a right angle to the nail and file from the outer edge to the centre, always in the same direction.
-
Then do the same thing on the other side of the nail. Once you've mastered this, you can have fun experimenting with different nail shapes to find the one that best suits your style.
Shorten and shape your nails using our emery board for natural nails.
Step 2: Soften your cuticles
Reminder: your cuticles are the thin layer of skin at the bottom edge of the nail that protect the nail matrix. While it is important to push them back to have a neat nail contour and make it easier to apply a new colour, you need to take care not to damage them . Here's how you do it:
🛠️ The tools you need:
-
A few drops of Cuticle Remover.
-
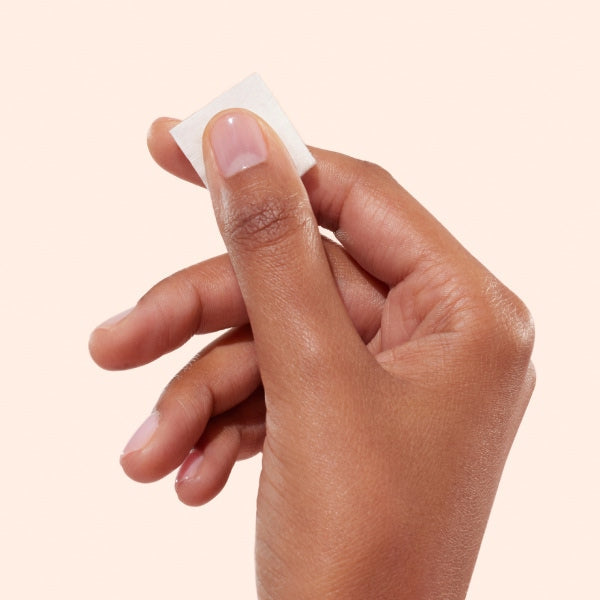
Some cotton squares.
👉 Steps to follow:
- First, apply a drop of cuticle remover to the base of your nails and leave it to work for a minute to soften your cuticles.
-
Massage it in gently and then remove the excess with a cotton square.
A tip for gentle cuticle care: use a few drops of our Cuticle Remover.
Step 3: Push back your cuticles
This step is essential to ensure your polish application is a success. In fact, if you apply nail polish to your cuticles, it risks peeling off prematurely. So follow these tips carefully:
🛠️ The tools you need:
-
either an orangewood stick or a stainless steel cuticle pusher.
-
cuticle nippers (optional).
👉 Steps to follow:
-
Once the cuticles are fully softened, carefully push them back using an orangewood stick or the round end of your cuticle pusher, always in the opposite direction to nail growth and without moving back and forth to avoid damaging the nail plate.
-
Use the square end of your cuticle pusher if needed to get into the corners.
An optional step for anyone confident with the cuticle nippers: use them to cut off any excess dead skin, but don't get too close to the edge and only do it if necessary!
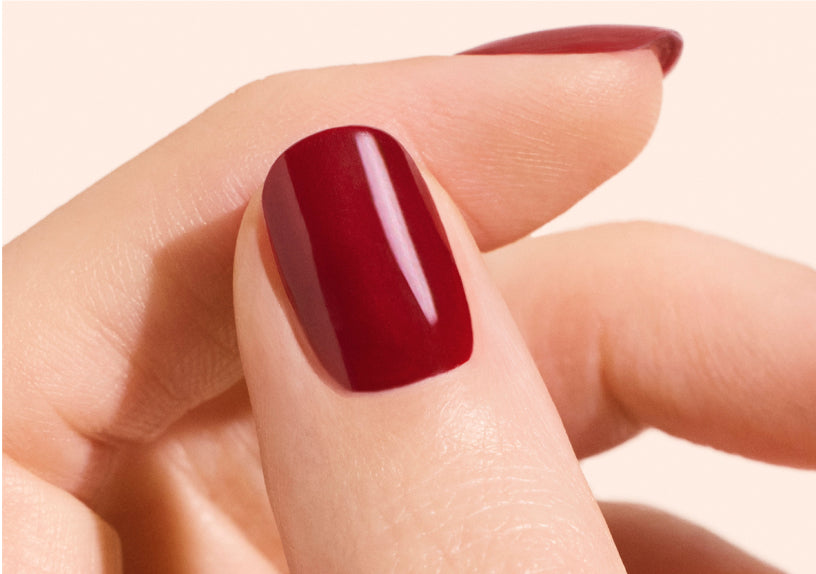
Carefully push back your cuticles to obtain a neat and tidy nail contour.
Step 4: Smooth and buff
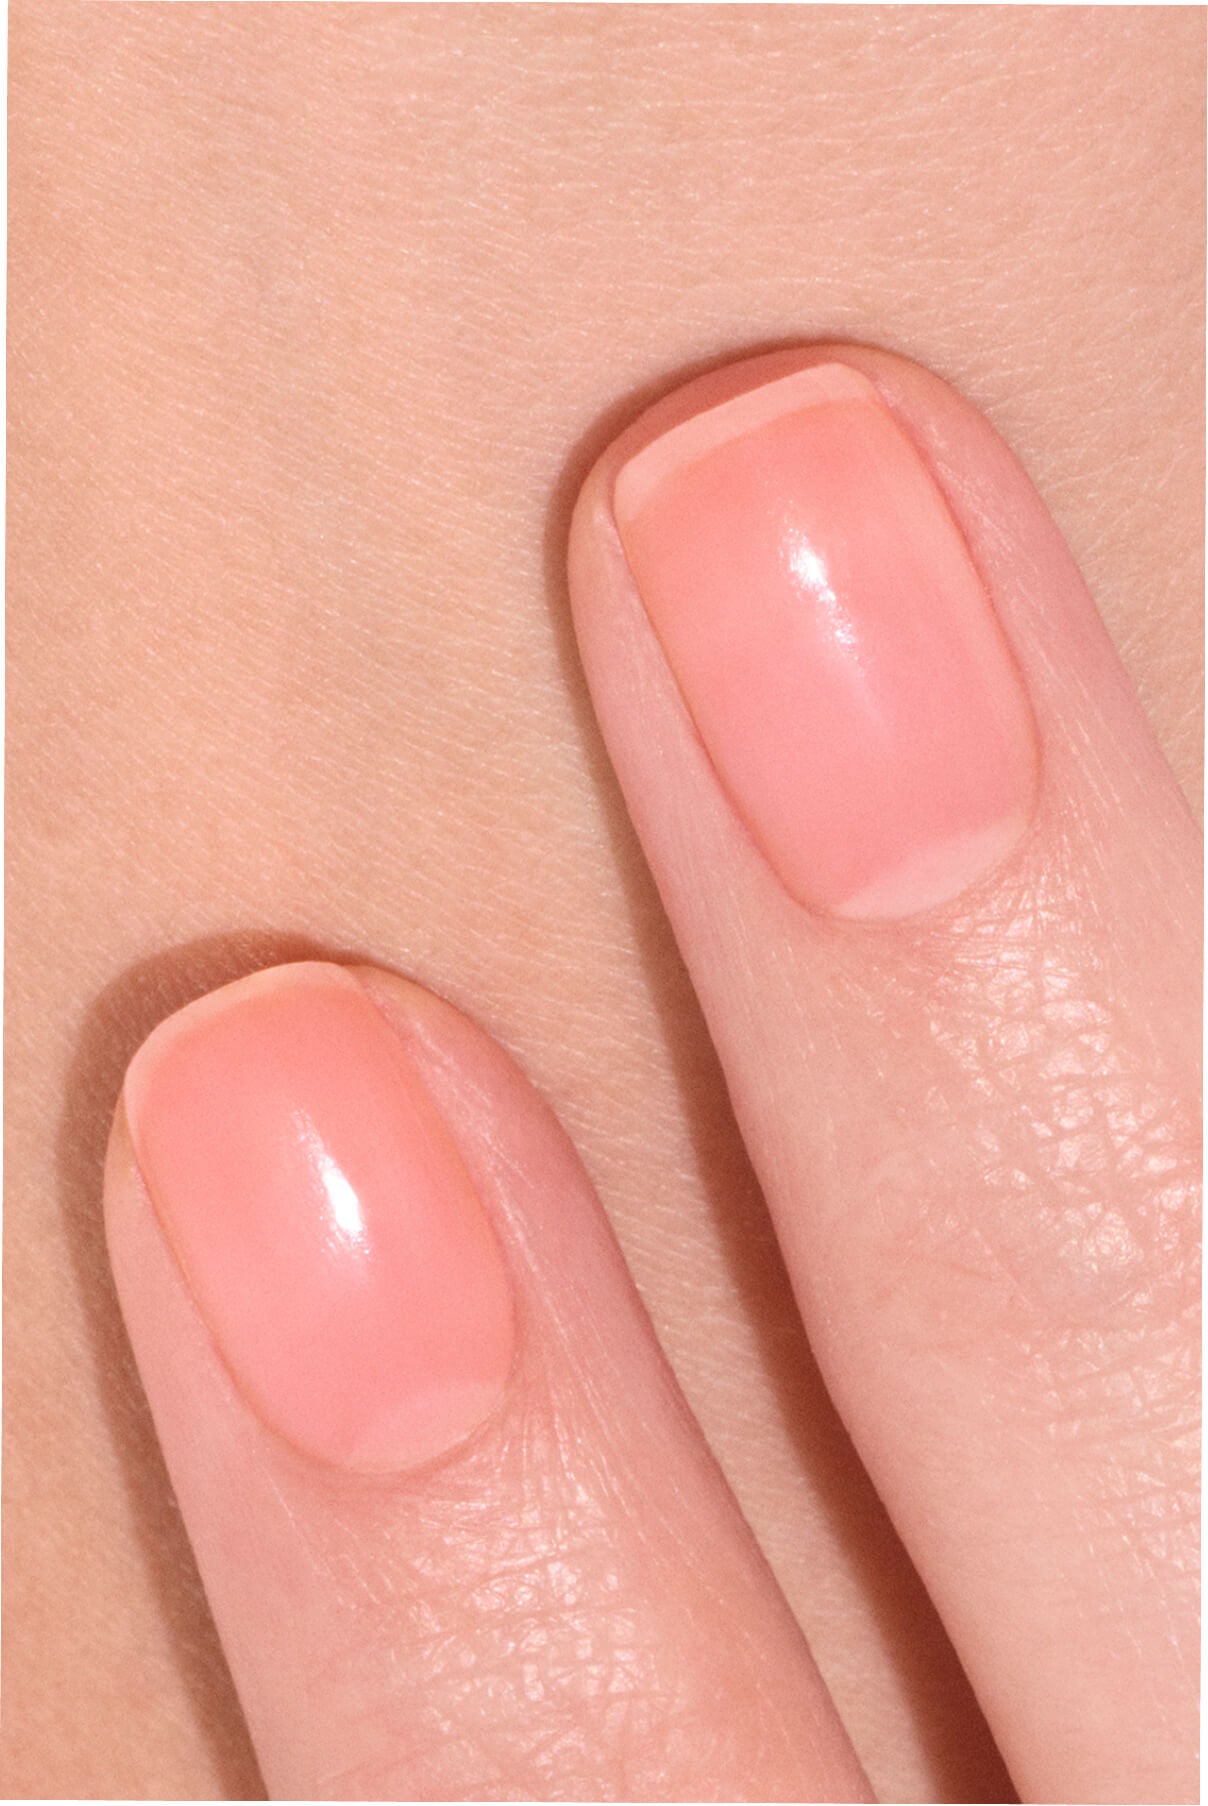
Another key step in the nail prep process is buffing, which will even out the surface of the nail. This step helps to open up the keratin scales to make it easier for the base coat to adhere and boost the staying power of your nail polish.
🛠️ The tool you need: a nail priming emery board.
👉 Steps to follow:
-
Gently buff the surface of your nails in the direction of growth without moving back and forth, i.e. from the base to the tip, finishing at the free edge.
The nail priming emery board will help you erase any imperfections left on the nail surface.
Step 5: Remove any dust
The filing and buffing mentioned previously will leave residue that could compromise the success of your manicure. So it is very important to clean your nails. Here is our method:
🛠️ The tool you need: our Dusting Brush. Inspired by pro routines, it gently and effectively removes any residual dust , including shimmer particles and glitter. Use it at the end of your nail prep or after applying nail art.
👉 Steps to follow:
-
Move the dusting brush over the surface of your nails and surrounding skin until they're neat and tidy. Bye bye dust!

For ultra-clean nails, get yourself a dusting brush!
Step 6: Remove any oil
The final nail prep step consists of removing any oily residue from your nails, as it could prevent the polish from adhering properly when you apply it.
🛠️ The tools you need:
-
Green™ Nail Oil Remover or Green Flash™ Nail Polish Remover, depending on whether you're going to use Green™ or Green Flash™ polish.
-
Some cotton squares.
👉 Steps to follow:
-
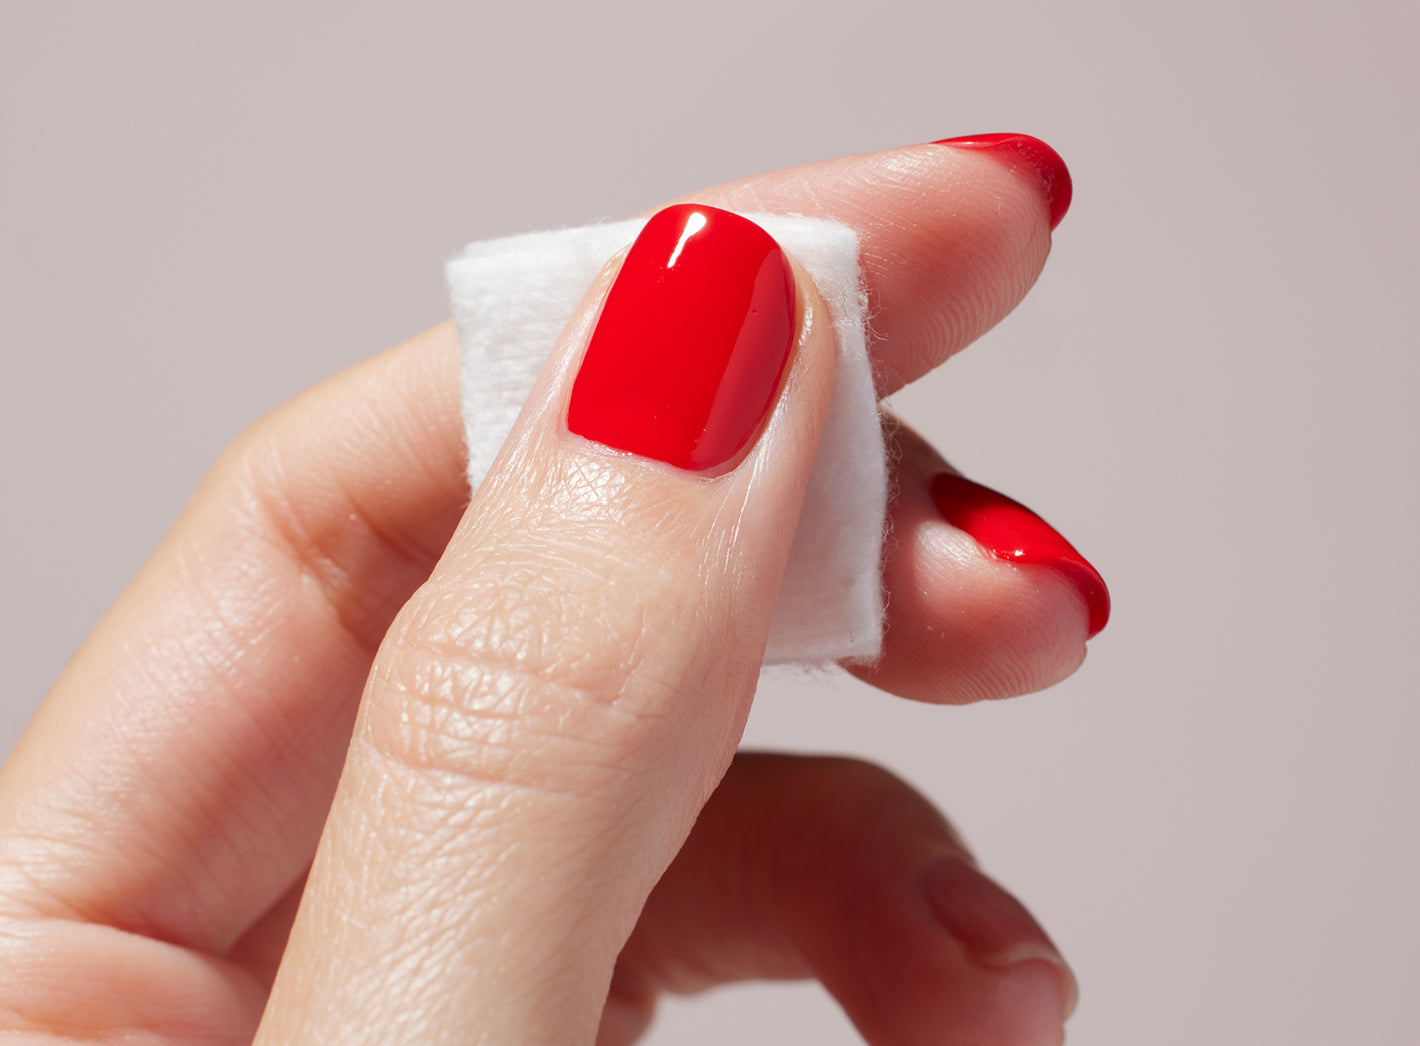
Soak a cotton square in a little Nail Oil Remover or Nail Polish Remover and remove the oil from your nails. This will clean them without drying them out.
Finish off your nail prep by removing the oil from your nails so they are ready to receive their new Green™ or Green Flash™ colour.
Et voilà, your nails are immaculate and ready for the rest of your manicure. Whether you opt for Green™ or Green Flash™ polish, follow our tips to make sure your new colour is perfectly applied. And you'll find all our nail prep essentials in a complete set you can keep handy at all times!
The nail prep set by Manucurist is a must-have for a professional manicure that laaaasts.
It's so effective, you won't want to be without it. We love it – how about you?


