Halloween is just around the corner... And what better way to complete your witchy look than with a spine-tingling manicure? From feline claws to hypnotic spirals, from chic to ultra-trendy, we’ve put together some hauntingly fun ideas—easy to recreate and paired with our nail care must-haves—for a standout, spellbinding mani.
Gently spooky nail art ideas
Cute cats
A mysterious black cat with feline finesse at your fingertips—this Halloween nail art brings a perfect blend of cuteness and spooky charm.
🖌️ How to do it:
-
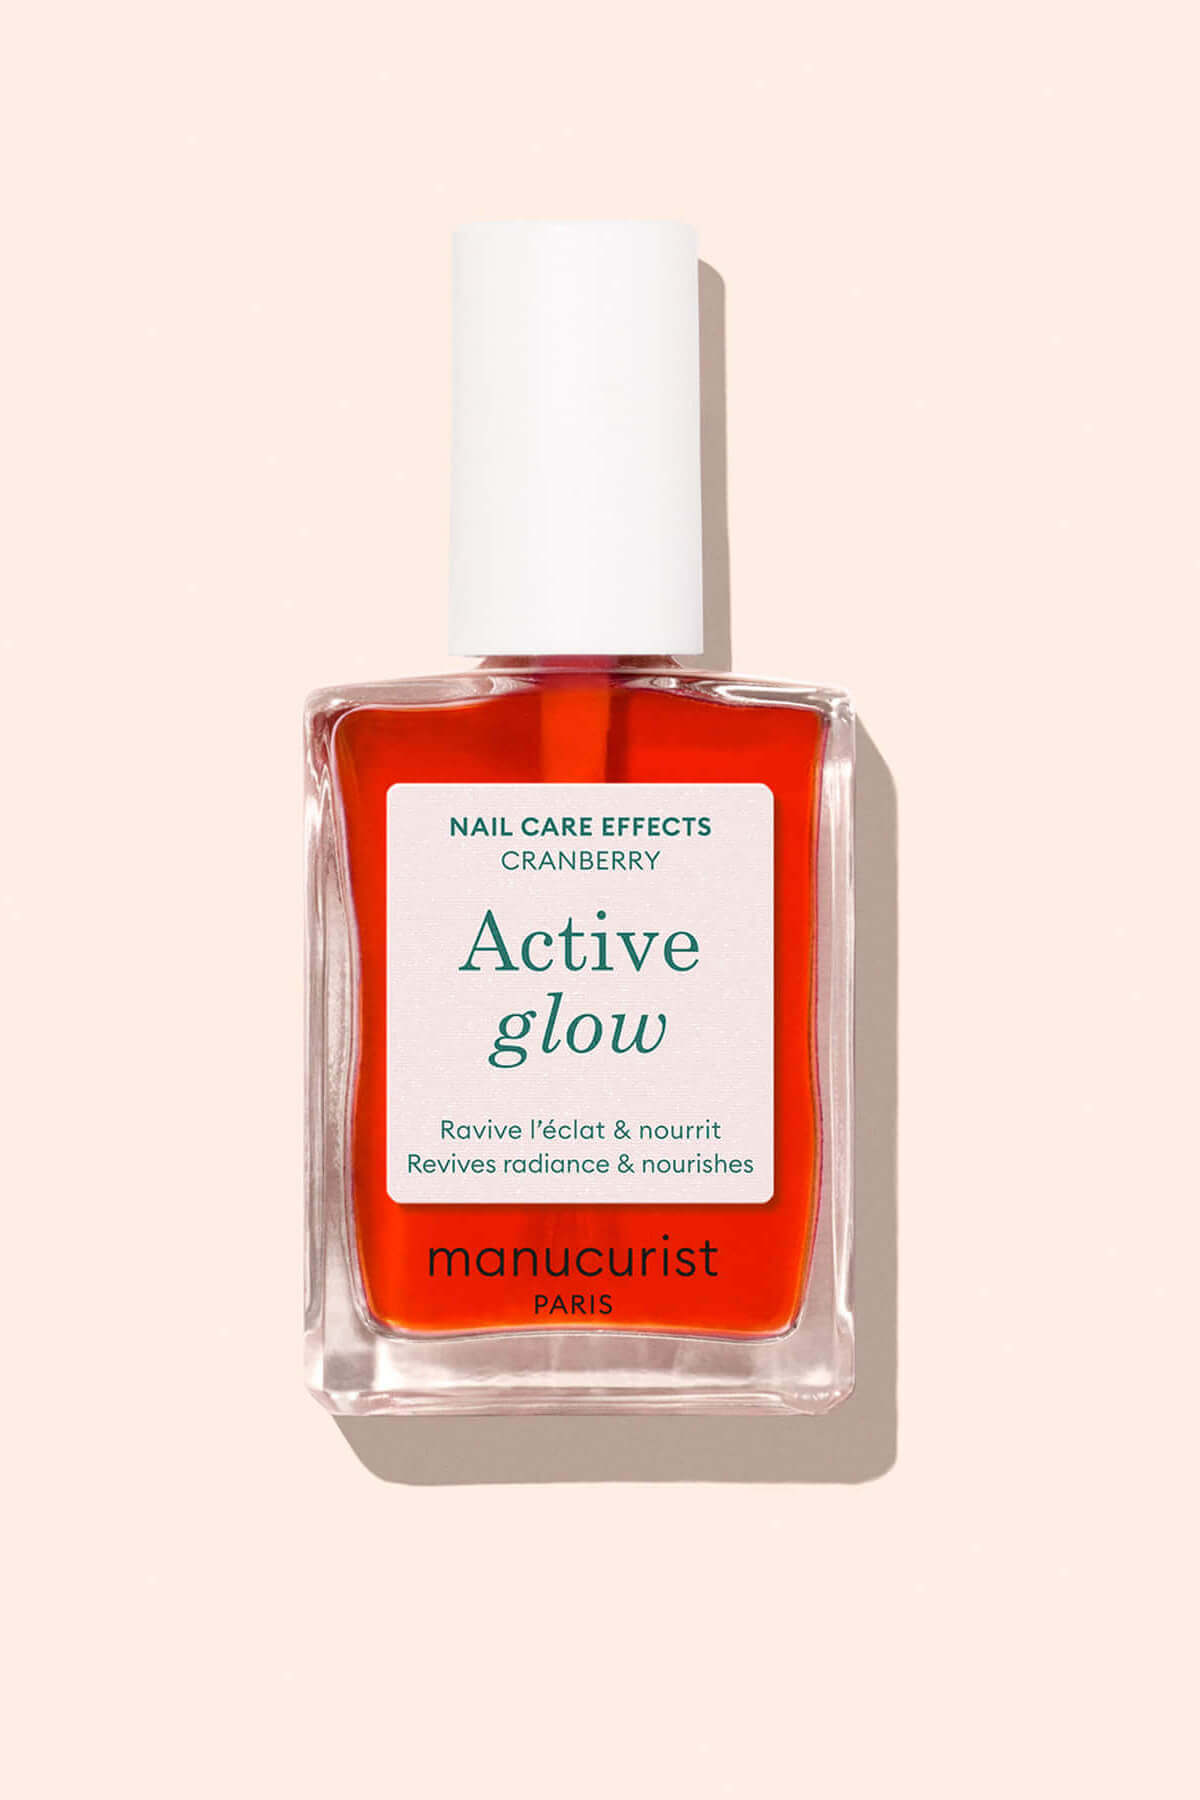
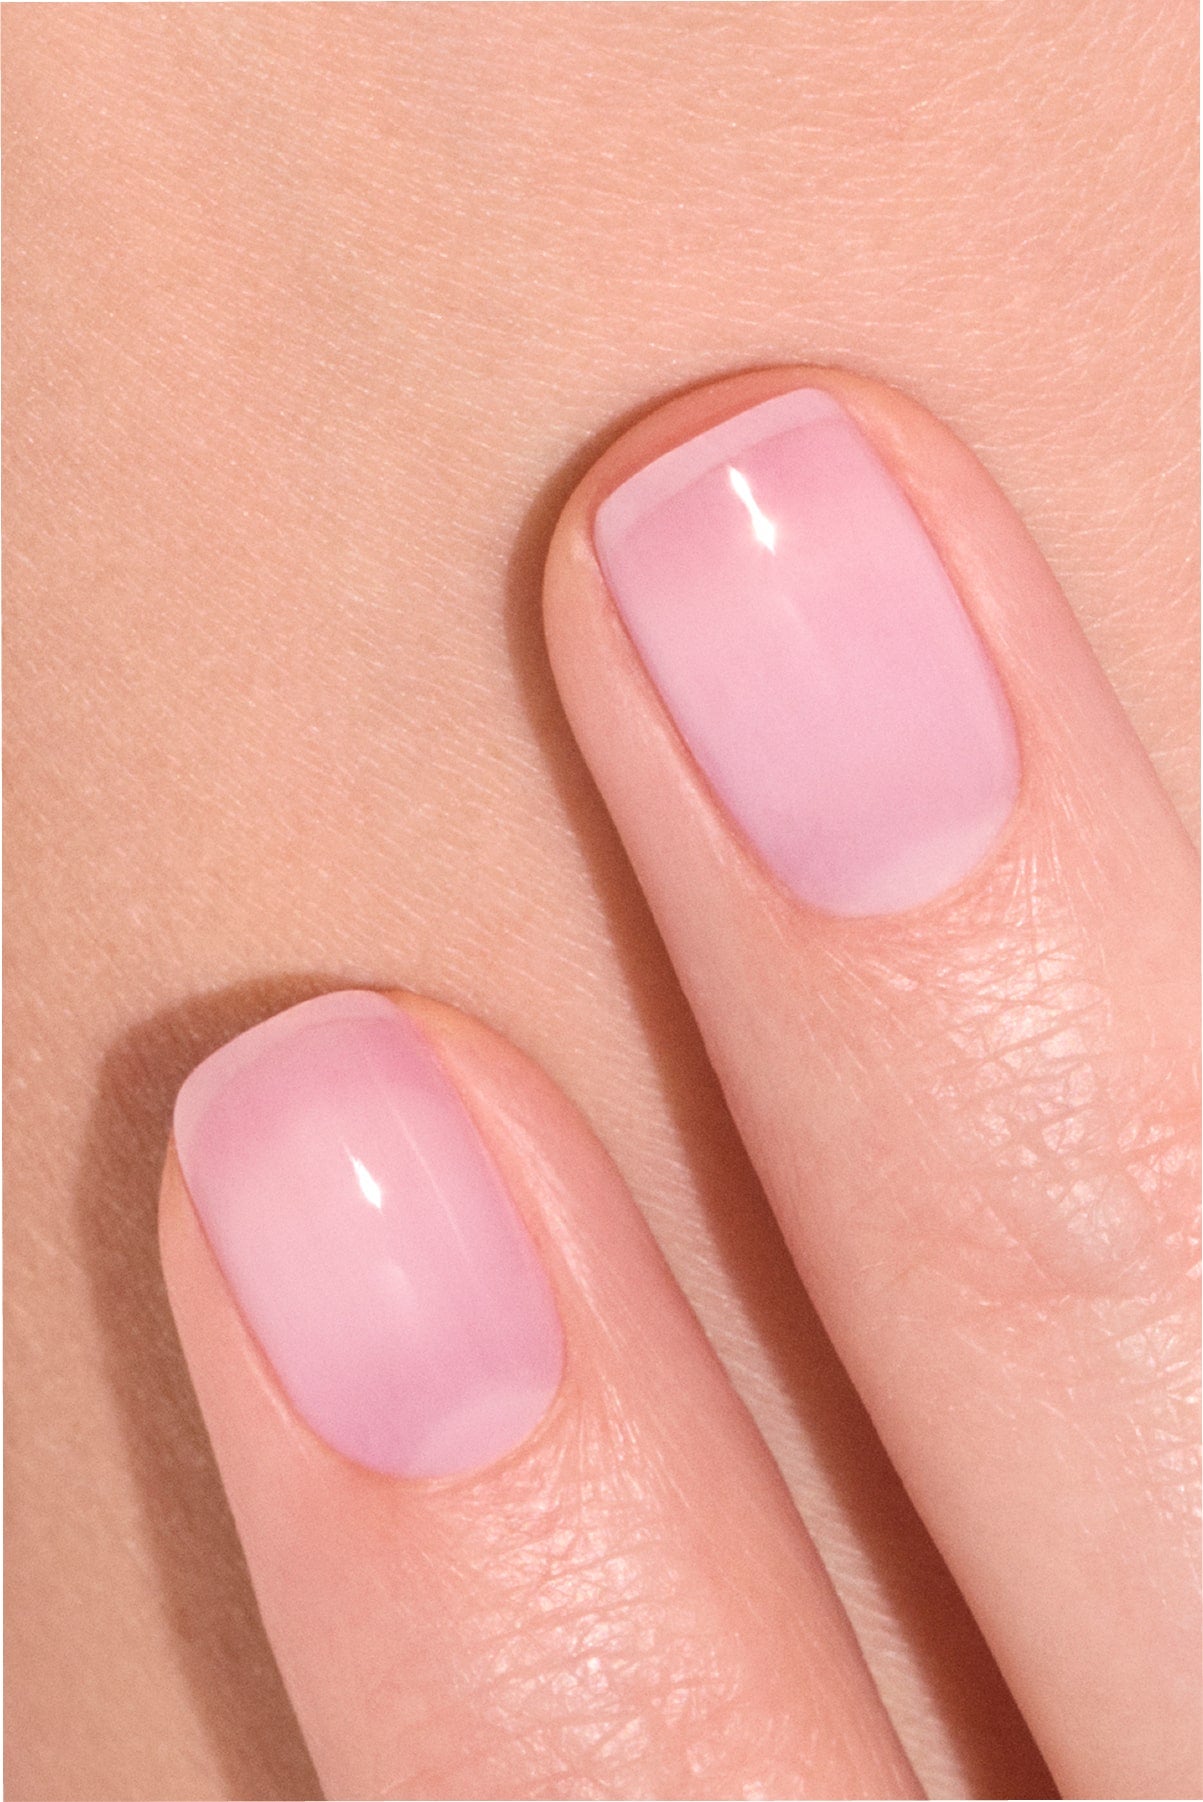
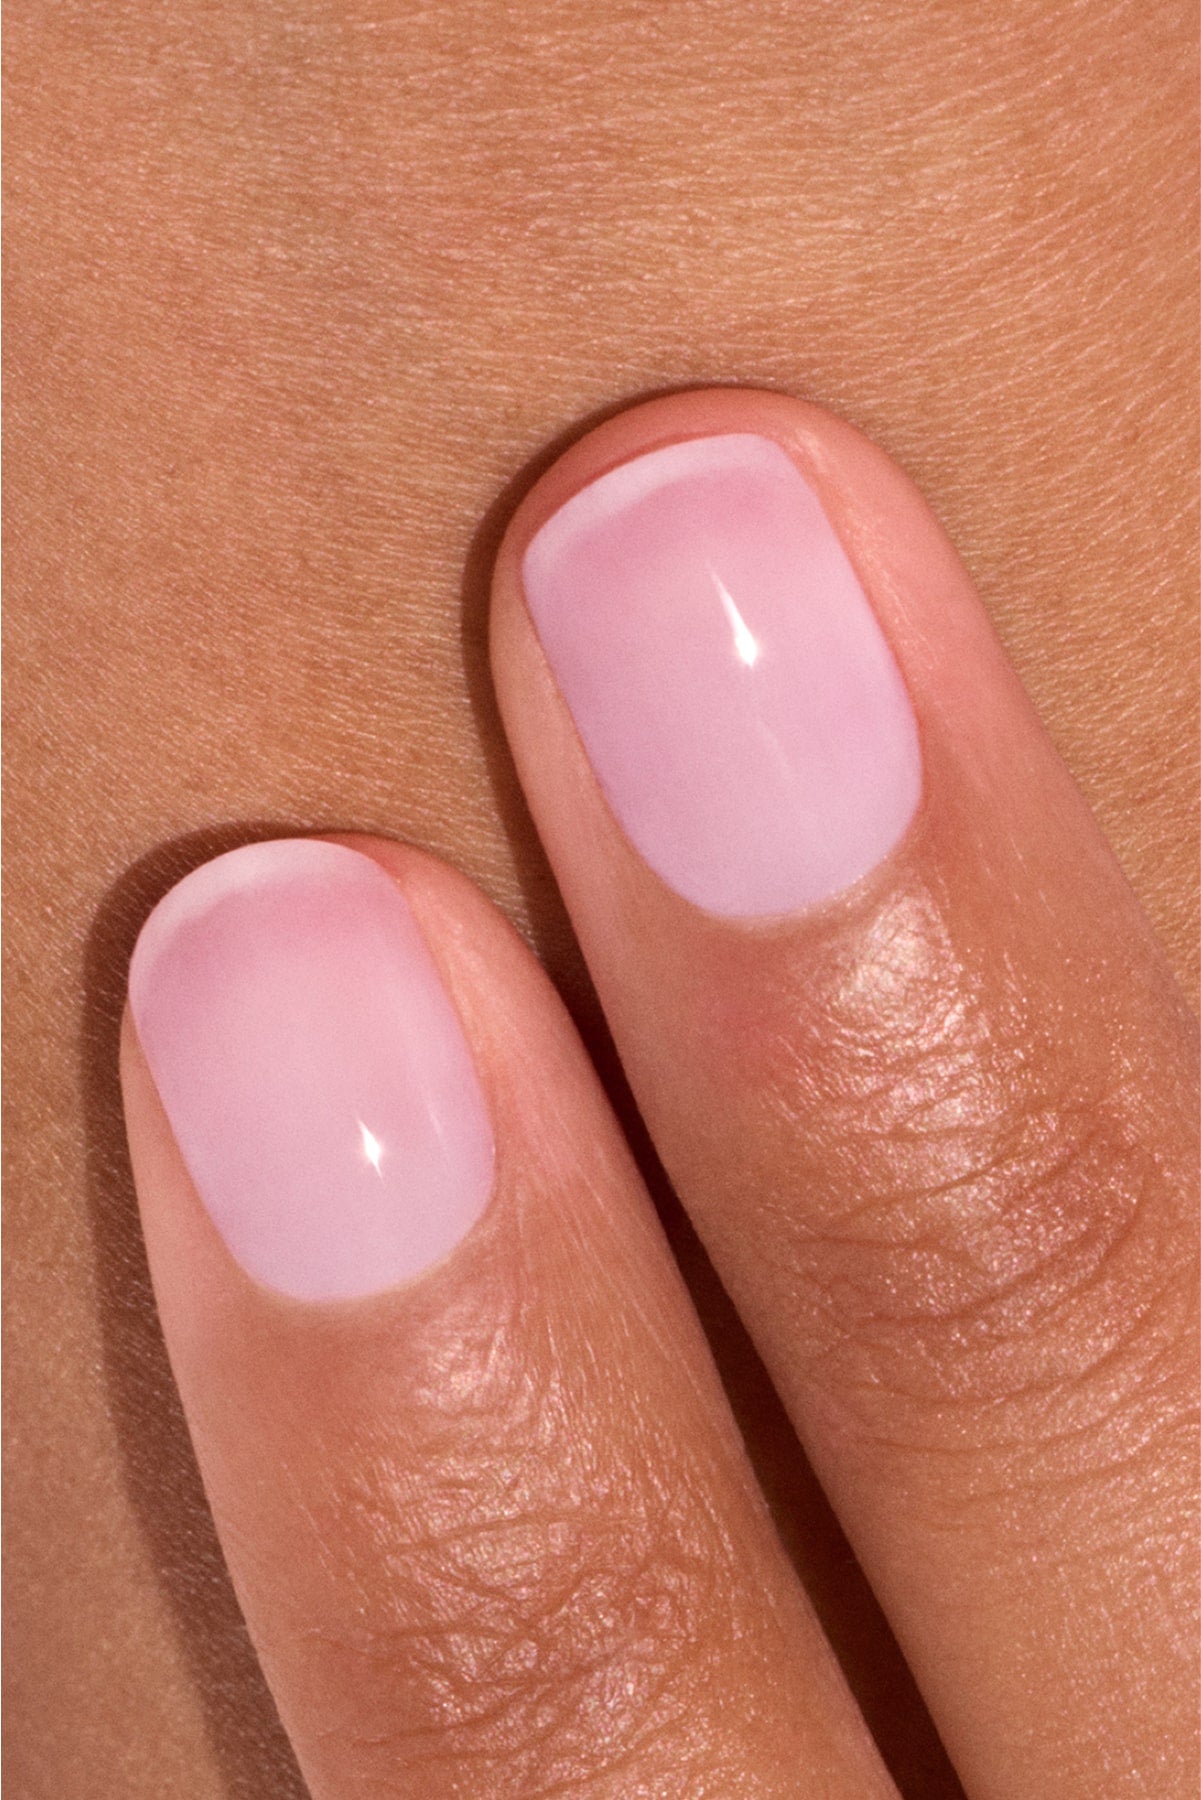
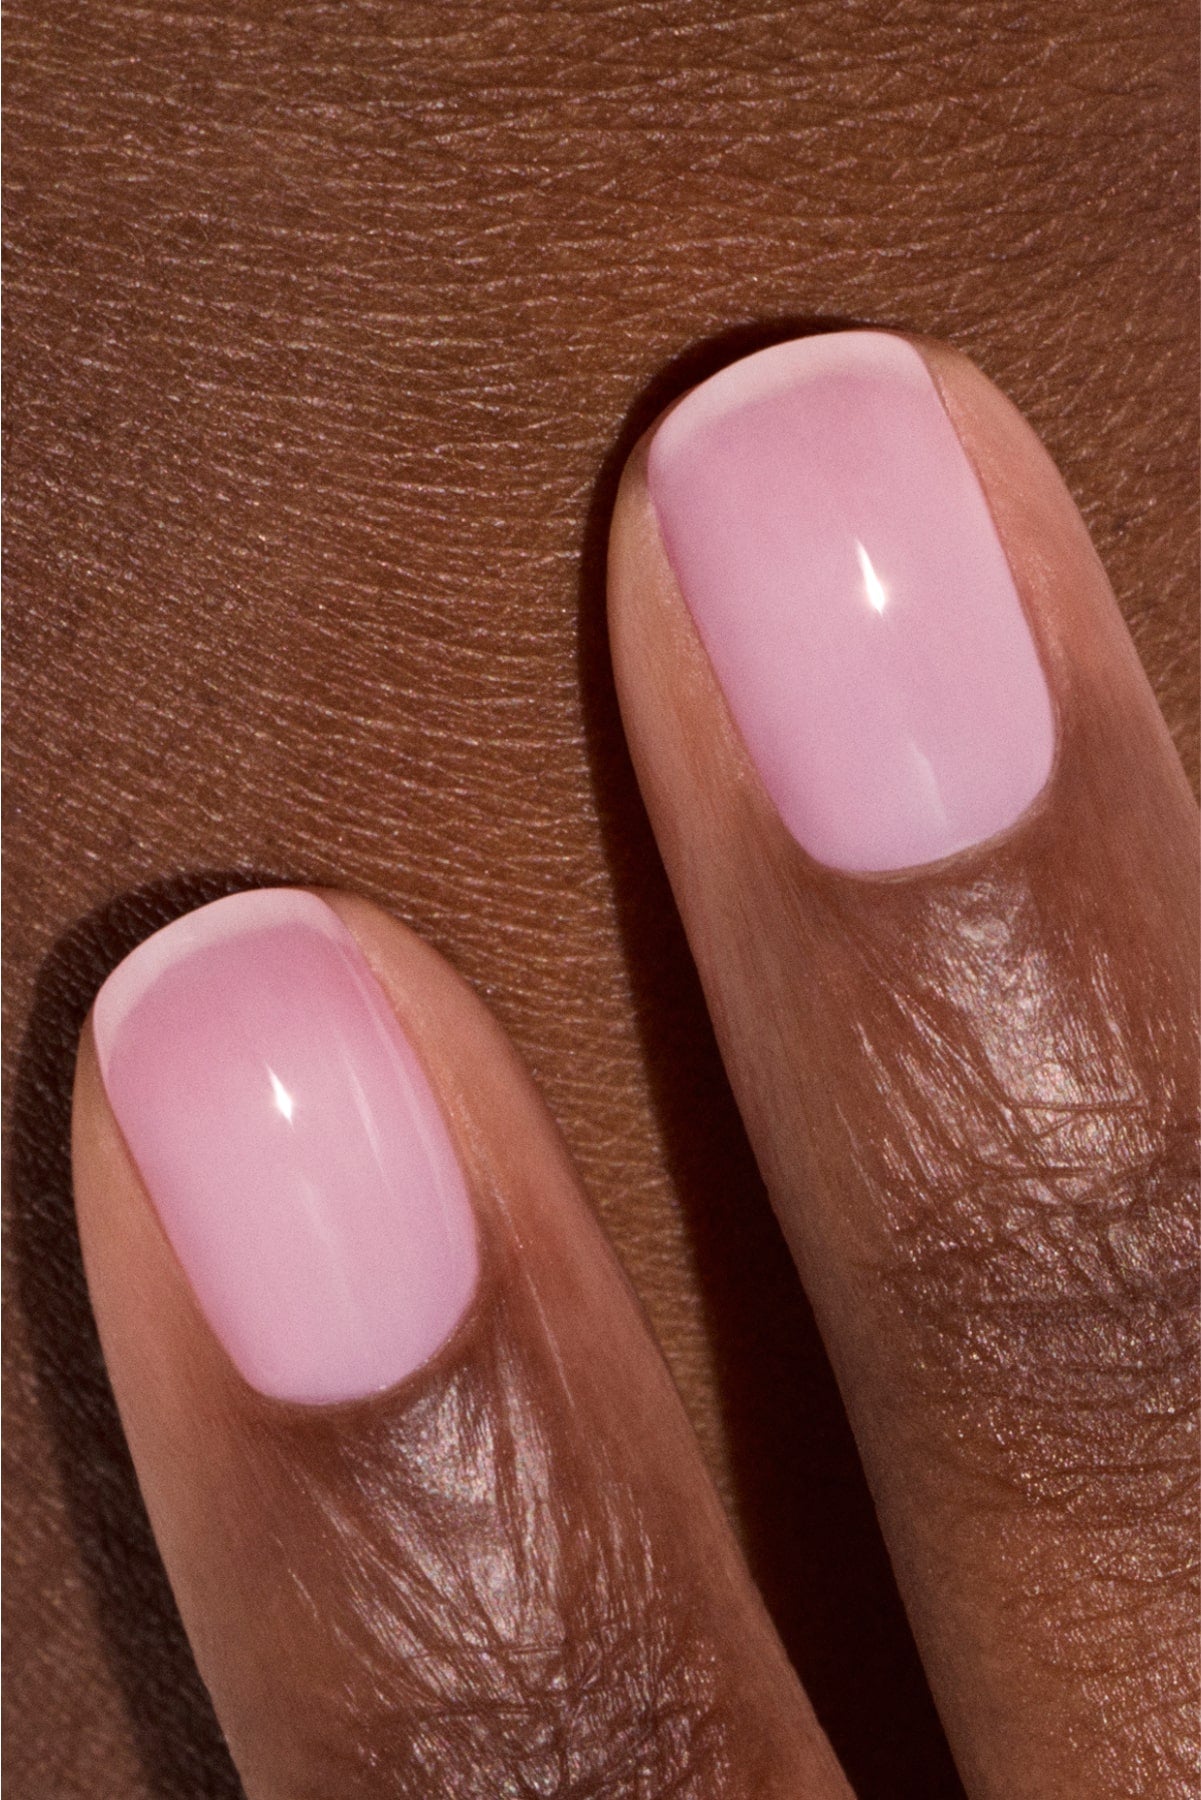
The base: Start with a coat of pink nail polish like Hortencia. Go for a full set or opt for an accent nail using black polish like Licorice in a colour block effect.
-
The design: With a fine brush and dotting tool, use Licorice to paint a black cat’s head from the tip of the nail—two pointy ears and almond-shaped eyes. For the eyes, use white polish like Snow or a silver polish like Disco, then dot a tiny black pupil in the centre.
Black & white ghosts
The ghost—a Halloween classic! Super simple to recreate, but always gets noticed when it makes its spectral appearance on your nails.
🖌️ How to do it:
-
The base: Alternate between Licorice and a sparkly black polish like Sparks for your ghosty nails.
-
The design: Use a fine nail art brush and Snow to paint your mini ghost, then add two round black dots for eyes with a dotting tool.

Cute yet creepy: black cats and tiny ghosts are making their way onto your nails.
(@catcreatesnails, @m.o.n.a.j)
Spider web
Delicate spider webs in the corners of your nails for a dramatic, gothic vibe. A Halloween staple that's spooky yet always stylish.
🖌️ How to do it:
-
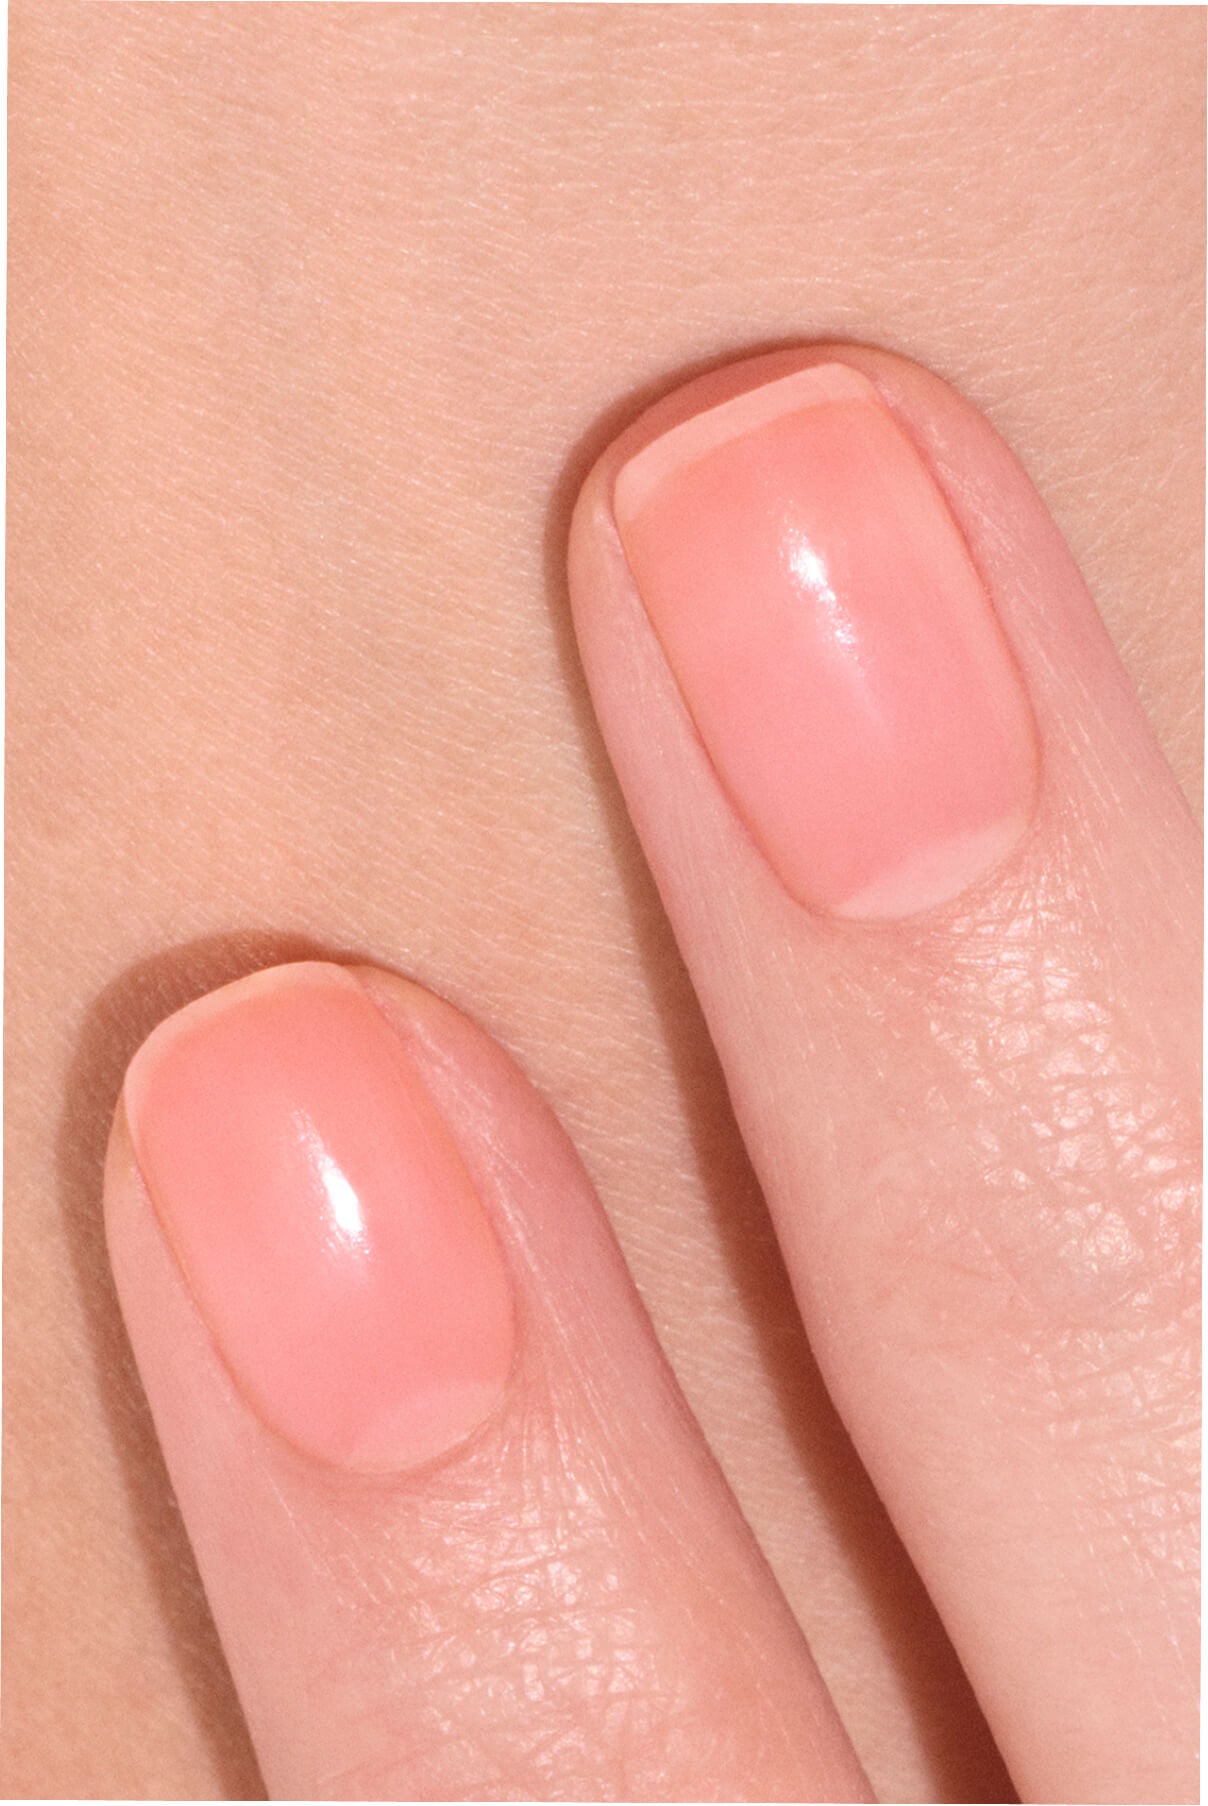
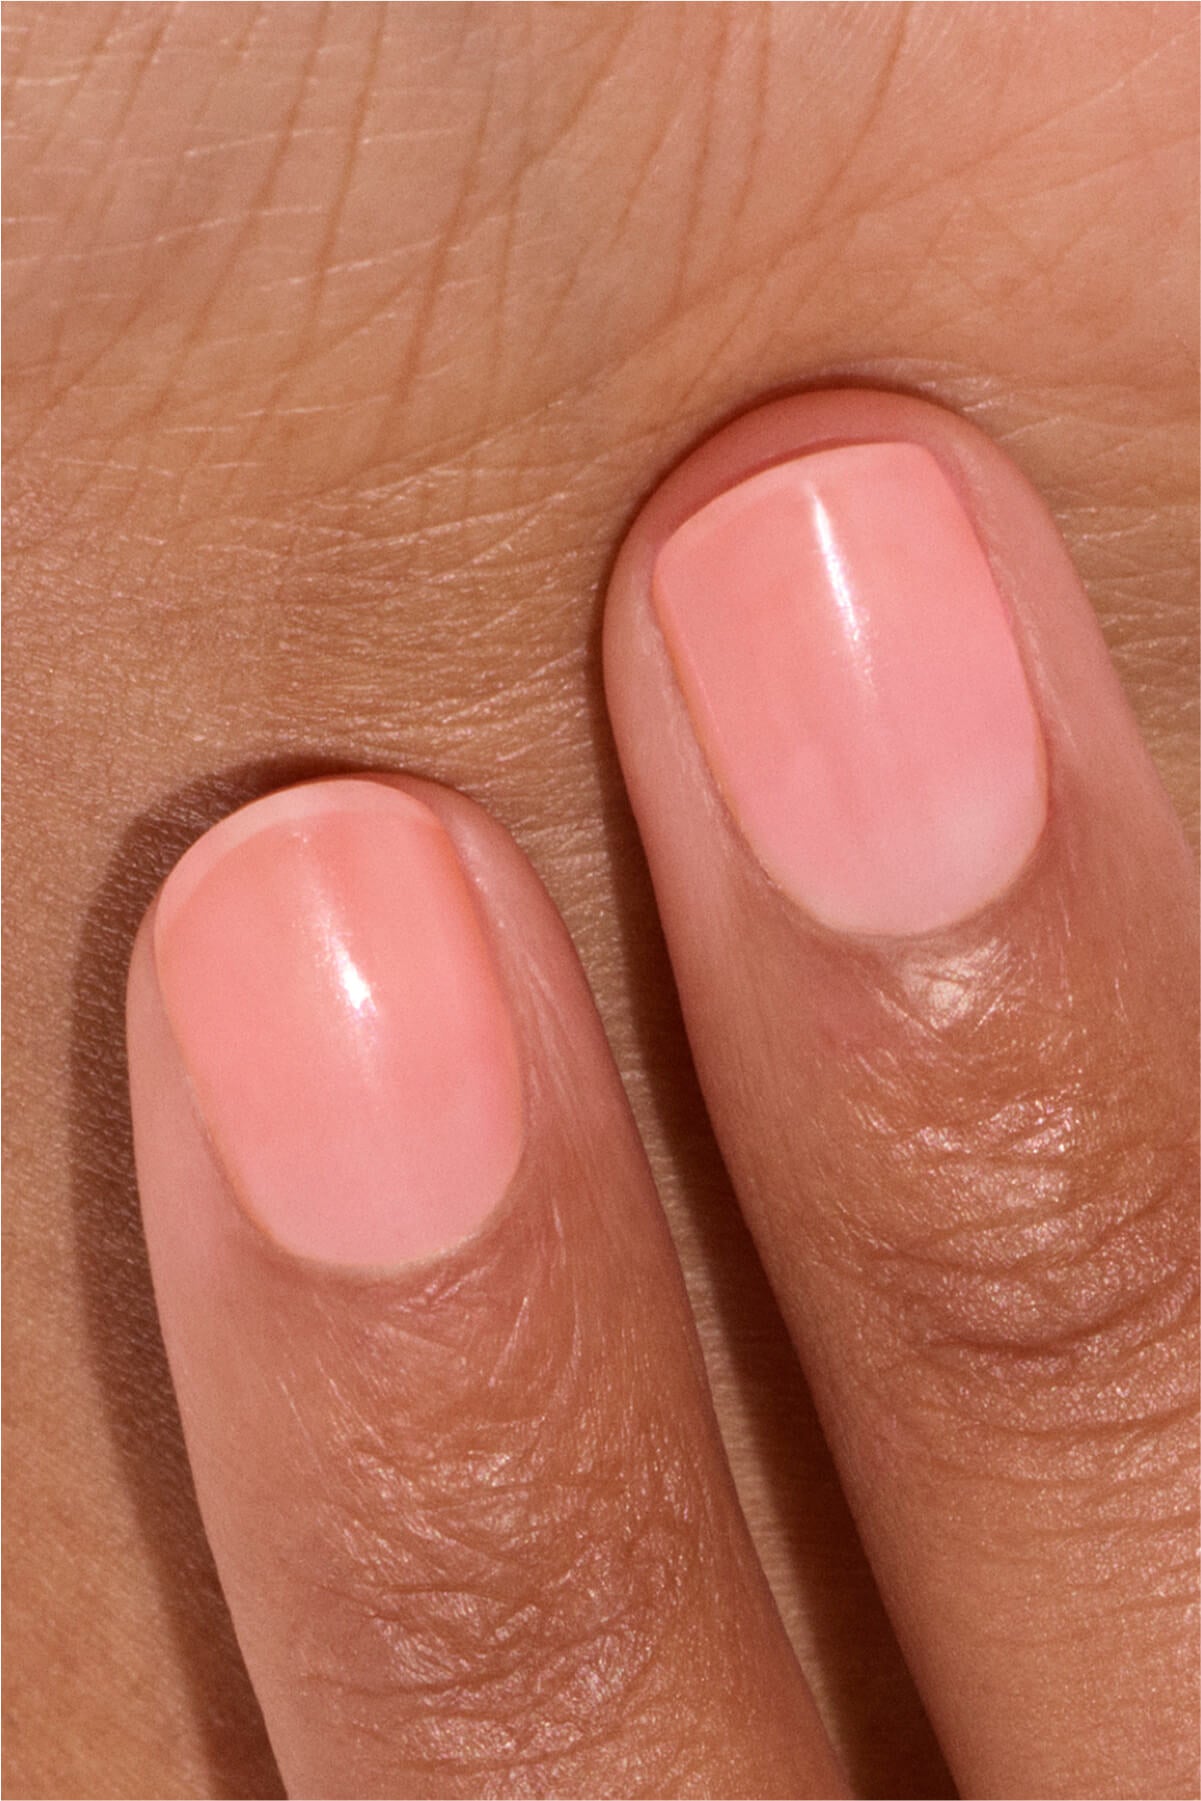
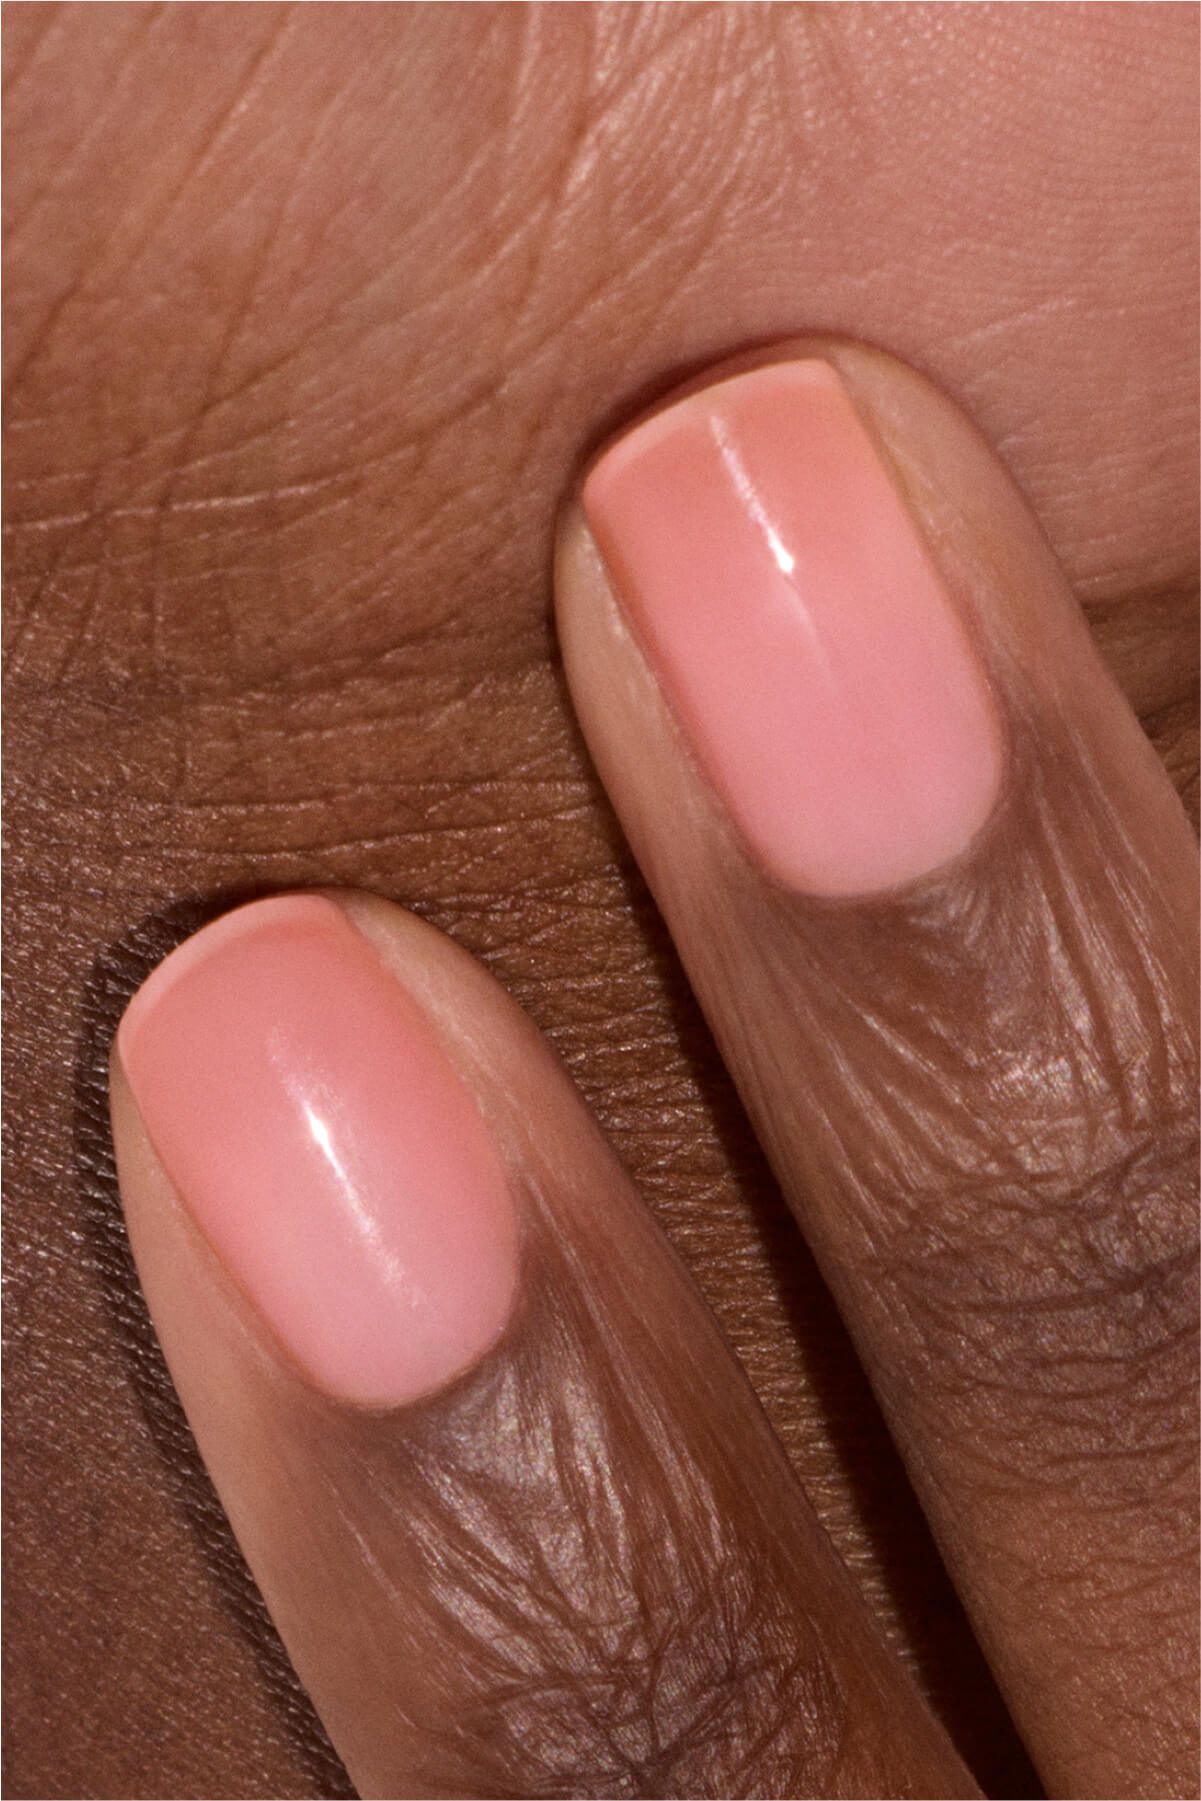
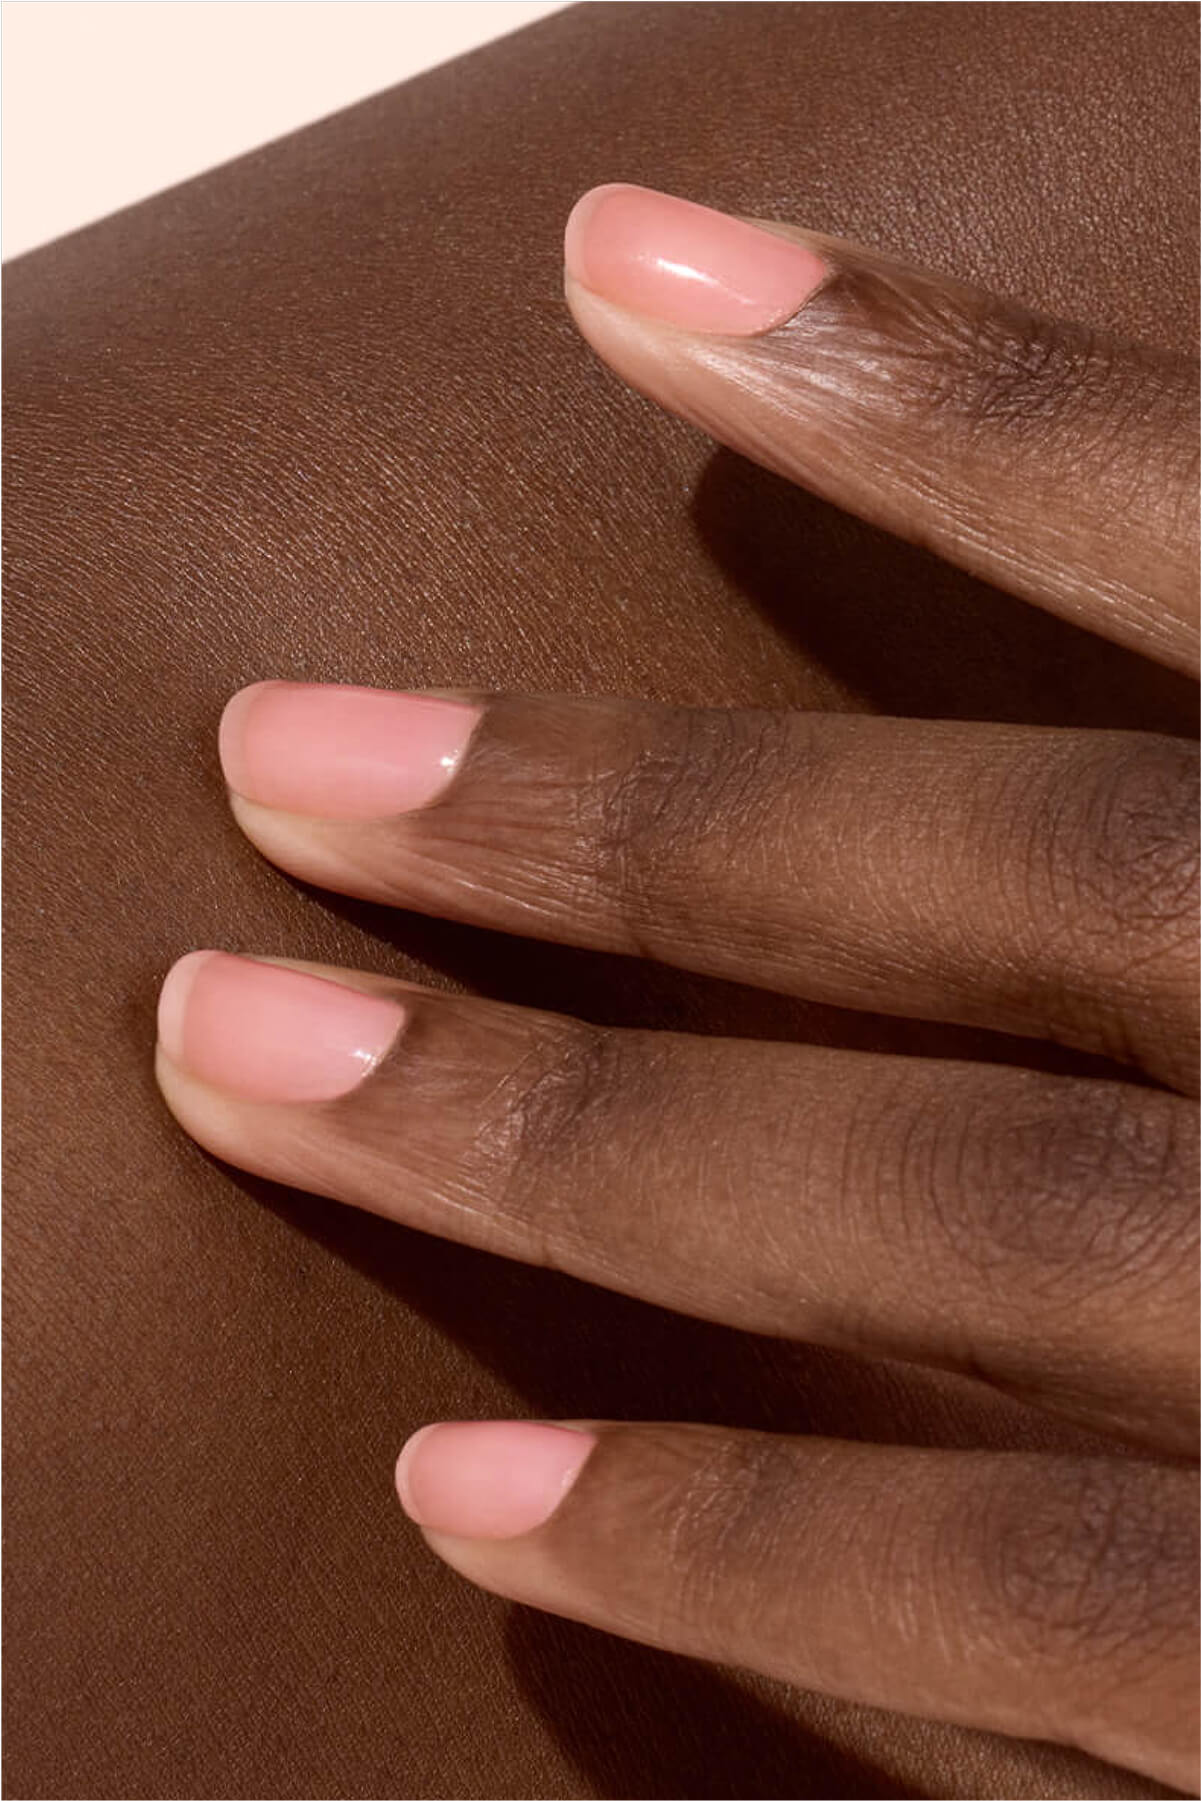
The base: Apply a nude polish like Pale Rose.
-
The design: With a fine brush, use Licorice to draw straight lines from the corner of your nail toward the centre, then add curved lines between them to create the web effect.
A timeless Halloween staple: spider webs at your fingertips.
(@m.o.n.a.j)
Hypnotic gradients
This ombré nail art lets you blend multiple shades from light to dark for a bewitching effect. For Halloween, we’re starting with a deep red velvet polish and fading into rich black Liquorice.
🖌️ How to do it:
-
The base: Pick two or three shades with varying intensities—like Red Cherry, Dark Pansy and Licorice—that can create a smooth gradient.
-
The design: Apply each shade in a horizontal stripe on a small sponge, going from darkest to lightest. Dab the sponge onto your nail, placing the darkest colour toward the tip. Let the first layer dry, then repeat until the fade is seamless and the colour payoff is intense.
Fade into Halloween with this hypnotic ombré look.
(@m.o.n.a.j)
Trendy crocodile texture
A top trend for 2025, this crocodile-skin inspired look is both chic and wild. With a mix of lilac and deep violet, these purple crocodile nails are full-on witchy glam.
🖌️ How to do it:
-
The base: Apply a coat of Lisa Lilas.
-
The design: Use a dotting tool to create scaly patterns with Fizz.
With these violet scales, Halloween goes full witchy-glam.
(@m.o.n.a.j)
For the Halloween queens
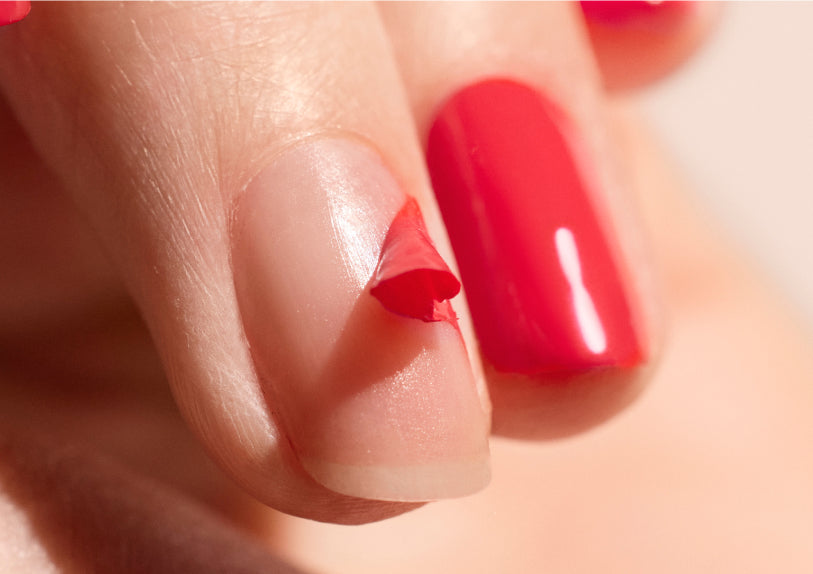
Blood drops
Whether realistic or stylised, this blood drop effect on a neutral base makes for a chic and dramatic nail art—ideal for drama queens!
🖌️ How to do it:
-
The base: Apply a nude polish like Beige.
-
The design: Use a dotting tool or fine brush to dot a few drops of red polish like Bohème or Dark Pansy near the tip of the nail. Gently drag them downward to create a dripping effect.
French Poison
The classic French manicure gets a wicked twist with a toxic-looking green polish and glitter—a dangerously chic result.
🖌️ How to do it:
-
The base: Start with a coat of Hortencia.
-
The design: Create a bold French tip using Poison, an intense dark green. Optional: add a touch of biodegradable glitter like Cactus for a glamorous toxic vibe.

Dripping blood and toxic French tips: dramatic nail art fit for queens.
(@look8thenails, @whatwomenwear_madrid)
How to nail your Halloween mani
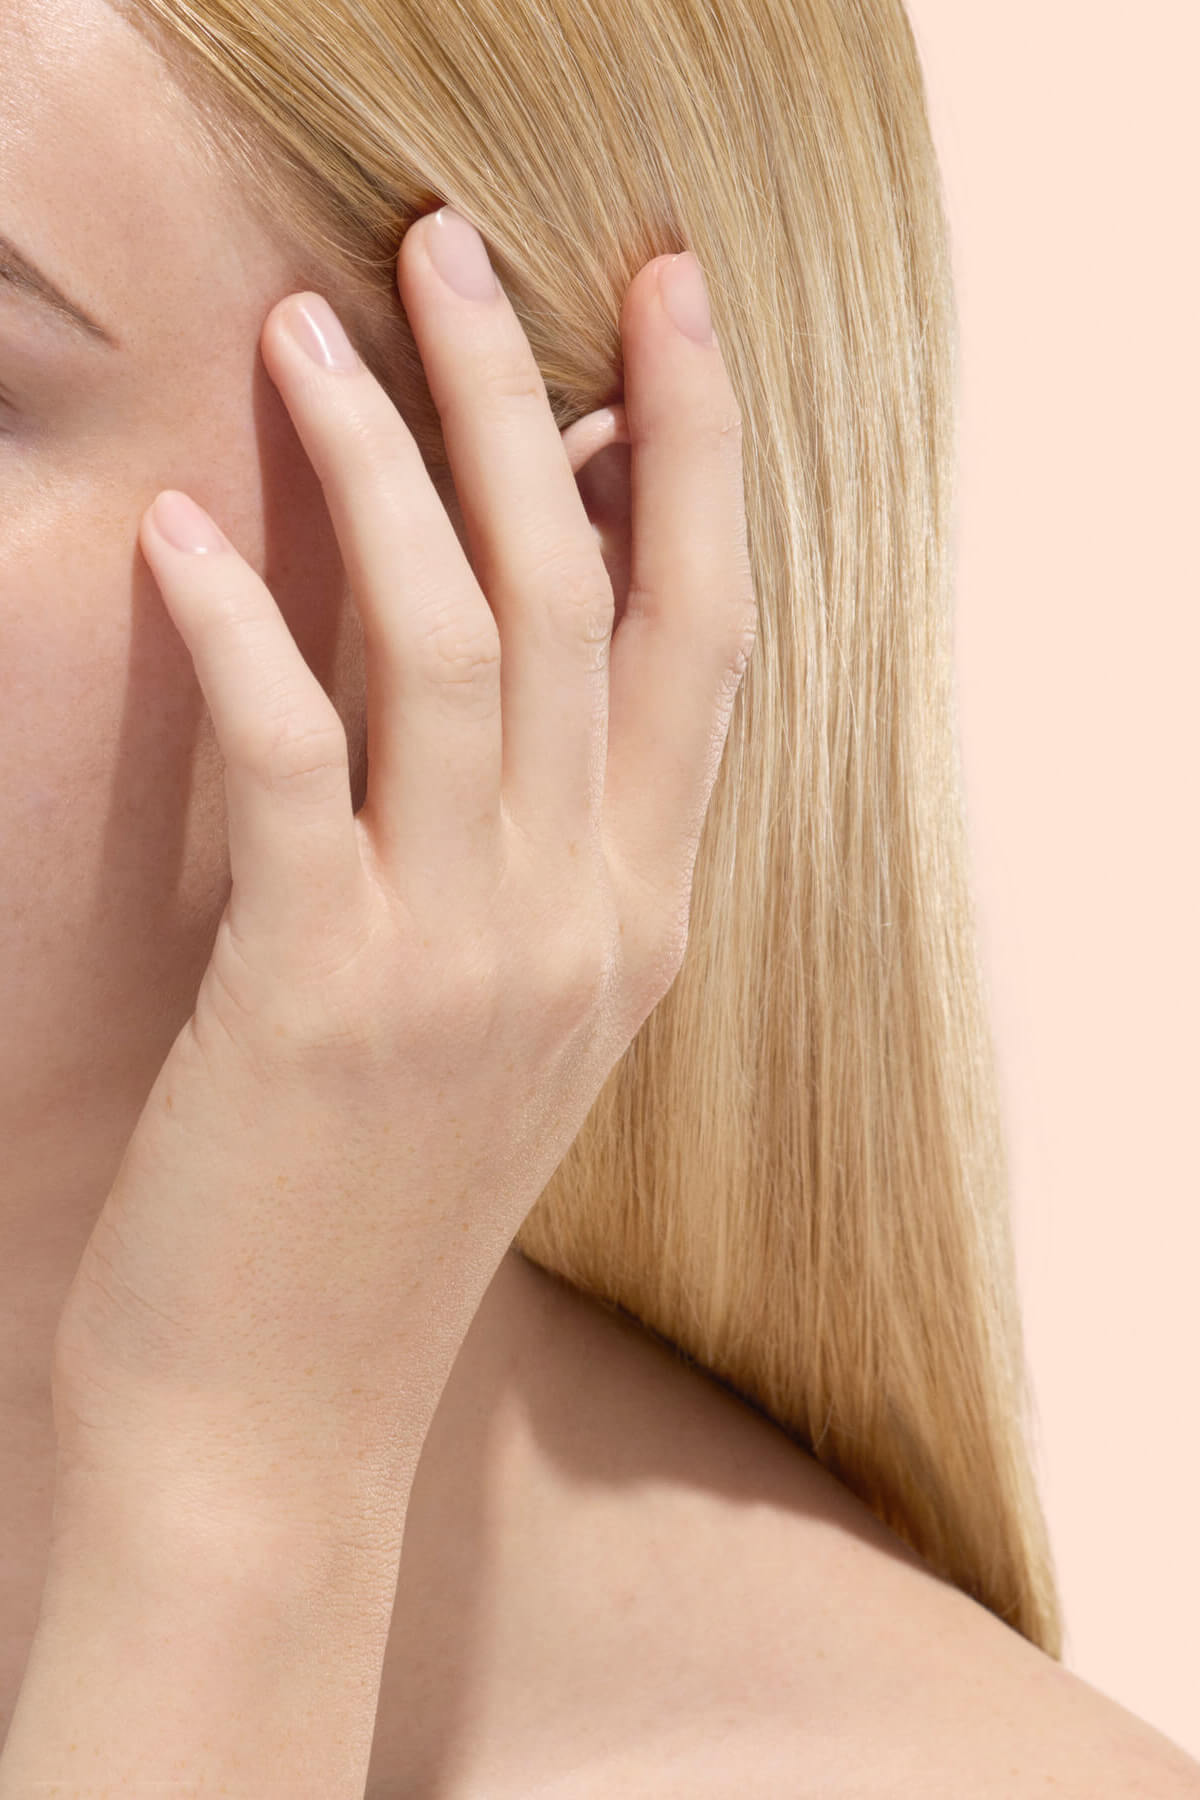
Prepping your nails properly
Every great nail art starts with proper prep—done in 4 key steps:
-
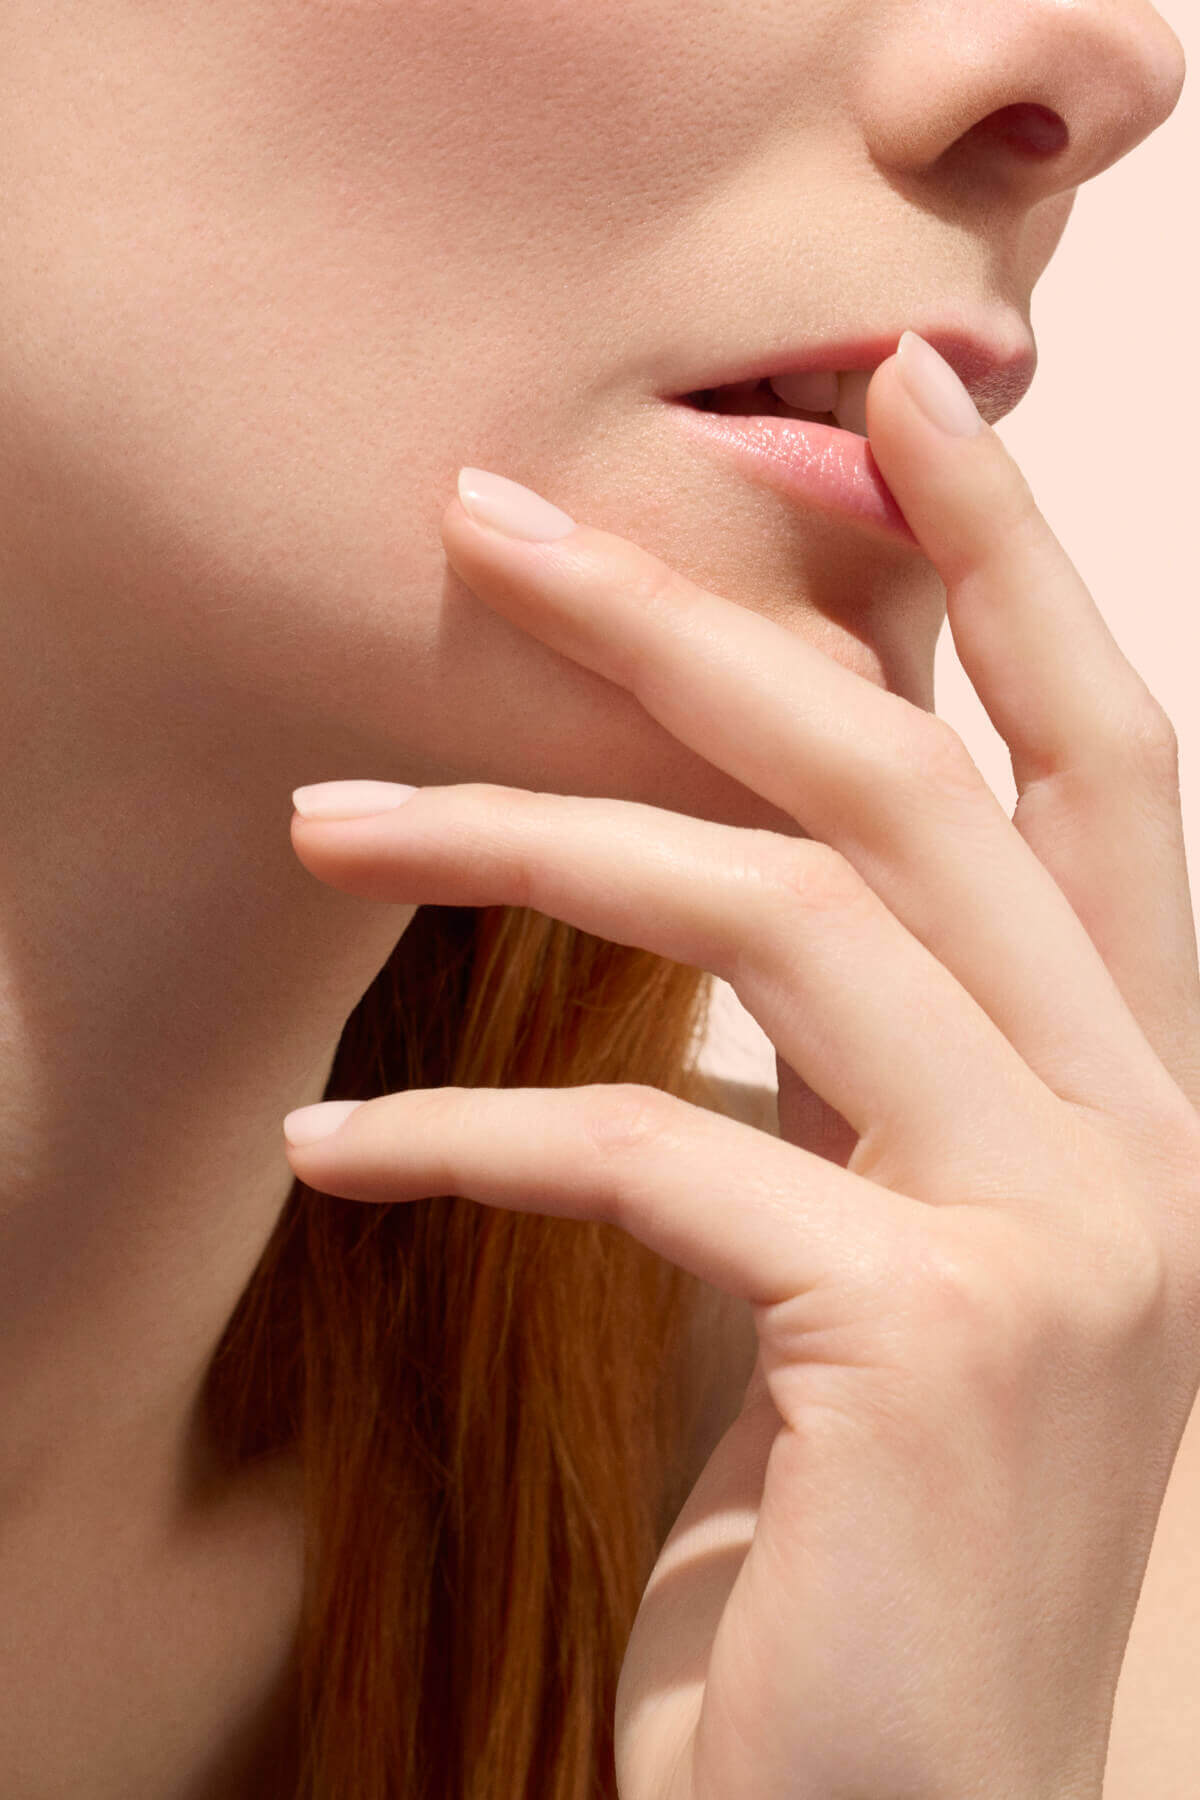
Shape your nails with a nail file for natural nails, choosing your preferred style: square, round or almond.
-
Apply a few drops of cuticle remover to soften cuticles, then gently push them back using a cuticle pusher for a clean finish.
-
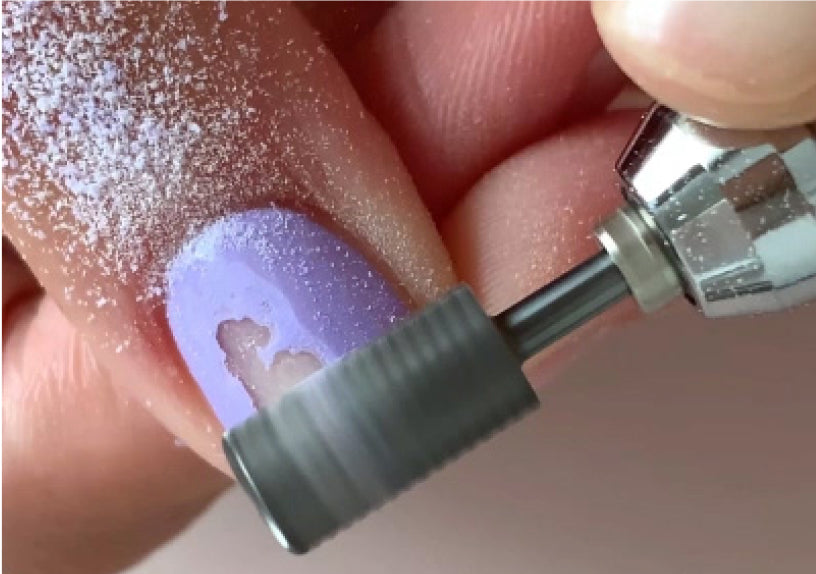
Lightly buff the nail surface with a nail priming emery board to remove any texture and help the polish grip better.
-
Degrease the nail plate with a degreaser or gentle nail polish remover to ensure a clean, oil-free surface before applying polish.

Even for Halloween, no magic without proper prep.
Essential tools for Halloween nail art
To bring your spooky nail designs to life, here’s your tool kit:
-
A dotting tool for perfect dots, blood drips, and tiny ghost eyes.
-
A fine-tipped nail art brush for precision work on details and patterns.
-
A glitter brush for a neat, even sparkle placement.
-
A corrector pen to tidy up smudges around the cuticles—especially handy for aura nails or sponge gradients.
-
Must-have: a top coat to seal your design and add shine and depth. Finish with Sunshine Top Coat for Green™ polish or Green Flash™ Top Coat for LED polish.

Dotting tools, brushes, corrector pen, top coat… the right tools make all the difference.
Now you're all set to spook up your nails! Say goodbye to soft pastels—it’s time for bold, dramatic shades that capture the spirit of Halloween. From mysterious cats to ghostly glows and captivating aura fades, Halloween 2025 is your moment to experiment with daring designs, playful textures, and iconic shades. Take time to prep, grab your brushes, and let the magic begin. Have fun and let Halloween cast its spell 👻